Deploy Laravel Apps with Coolify: The Complete Guide
By
Amas
Coolify is a powerful open-source software that enables you to host your projects with ease, similar to Heroku / Netlify / Vercel, etc.
Behind the scenes, Coolify uses Docker and Traefik to manage containerization and traffic routing to orchestrate your application workloads.
Coolify offers a variety of pre-built recipes for quick and easy application deployments. However, until now, I couldn't find a straightforward way to run Laravel applications with it. This is likely due to the diverse nature of Laravel projects, which can vary widely in their requirements, such as databases, Redis, or queue management tools like Laravel Horizon, etc. So I decided to fix that.
In this article, I provide a comprehensive tutorial for deploying common types of Laravel applications using Coolify.
Let's dive in! 👇
1. Building Your Image
To deploy your application on Coolify, or any container-based orchestrator like Kubernetes, you need to build a Docker image that contains all your code and dependencies.
One of the best production-grade Docker images for Laravel apps is provided by ServersideUp.
The base image from ServersideUp is highly efficient and comes packed with useful features.
To get started, create a file named Dockerfile in your project directory and add the following content to it. Adjust the configuration as needed for your specific requirements:
FROM serversideup/php:8.3-fpm-nginx

ENV PHP_OPCACHE_ENABLE=1

USER root

RUN curl -sL https://deb.nodesource.com/setup_20.x | bash -
RUN apt-get install -y nodejs

COPY --chown=www-data:www-data . /var/www/html

USER www-data

RUN npm install
RUN npm run build

RUN composer install --no-interaction --optimize-autoloader --no-dev
The instructions in the dockerfile are straightforward:
- Base Image and PHP Optimization: First, we inherit the ServersideUp image and enable PHP OpCache for production optimization. You can remove this flag if you are not deploying in a production environment.
- Install Node.js and Dependencies: Next, we install Node.js, copy the project code into the image, and install npm dependencies. If your project is API-based and doesn’t require Node.js, you can omit this step.
- Install Composer Dependencies: Finally, we install our Composer dependencies.
After completing these steps, you need to build your image and push it to a Docker registry.
Important Considerations:
- Private Repository: If you are using Docker Hub to host your images, ensure that you are pushing your image to a private repository. Note that a pro Docker Hub account is required for private repositories.
- Naming Convention and Versioning: It’s crucial to agree on a naming convention for your images. Versioning your image is highly recommended, using a semantic versioning scheme (major.minor.patch), e.g., 1.0.0.
You should tag your image with “latest” (or a similar tag) to simplify the deployment process. By doing this, Coolify can easily fetch and deploy the latest version of your application without requiring you to update the version tag each time you build a new version.
Now run the following commands to build and push your application docker image:
docker build -t username/image:latest .
docker push username/image:latest
Tip:
This entire process can be automated using a CI/CD pipeline, such as GitHub Actions, to build the application image whenever you create a new tag on your repository. However, that’s a topic for another article. For now, we’ll focus on building the image locally on your computer.
2. Setup Coolify on Your Server
Setting up coolify itself is beyond the scope of this tutorial, you can do that by following this video:
3. Setup Your Project on Coolify
If you are deploying a private docker image, you'll need to login to your docker hub account on Coolify so that Coolify can read your image and download it. You can follow the docs here to do that.
Once you setup your Coolify server and login to your docker registery, now it's time to setup your Laravel application on Coolify.
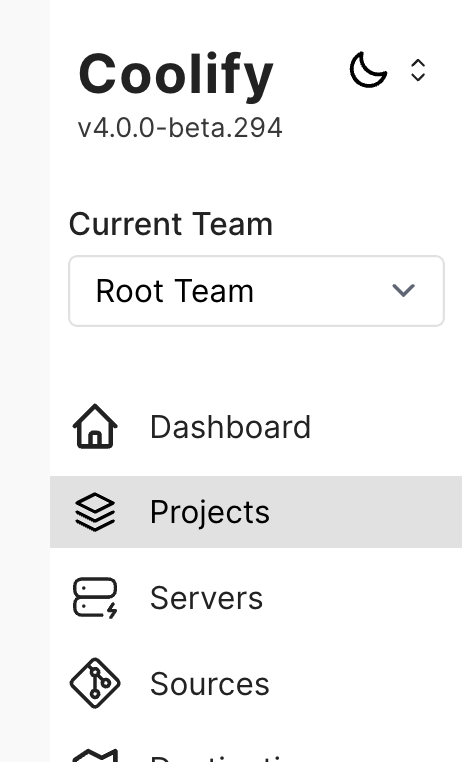
- From the left hand side click on "Projects"
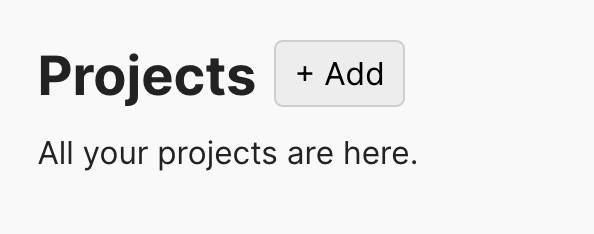
- Then click "+ Add".
- Enter name and info for your project, then click create.

- Choose the environment that you want to deploy your application to.
- Click "Add New Resource".
- Under "Docker based", select "Docker Compose".

- Select the server you want to deploy to.
- Select a destination where you want to deploy, typically "Standalone Docker (coolify)"
- Now enter the following docker compose configs:
services:
  app:
    image: 'username/image:latest'
    volumes:
      - './storage:/var/www/html/storage'
The docker compose file only contains the main application container, and created a volume mount for local storage.
If your application runs commands, you will need to add the scheduler as a separate container like following:
services:
  app:
    image: 'username/image:latest'
    volumes:
      - './storage:/var/www/html/storage'
  scheduler:
    image: 'username/image:latest'
    command: [ "php", "/var/www/html/artisan", "schedule:work" ]
    volumes:
      - './storage:/var/www/html/storage'
    environment:
      PHP_FPM_POOL_NAME: app_scheduler
And if you run any other separate job like Laravel Horizon for example, you can just add one more container for that like this:
services:
  app:
    image: 'username/image:latest'
    volumes:
      - './storage:/var/www/html/storage'
  scheduler:
    image: 'username/image:latest'
    command: [ "php", "/var/www/html/artisan", "schedule:work" ]
    volumes:
      - './storage:/var/www/html/storage'
    environment:
      PHP_FPM_POOL_NAME: app_scheduler
  horizon:
    image: 'username/image:latest'
    command: [ "php", "/var/www/html/artisan", "horizon" ]
    volumes:
      - ./storage:/var/www/html/storage
    environment:
      PHP_FPM_POOL_NAME: "app_horizon"
- Click "Save"
Now you have to set a domain name for your application.
- Go to your domain provider and set an "A" record with the IP address of the server that hosts your application.
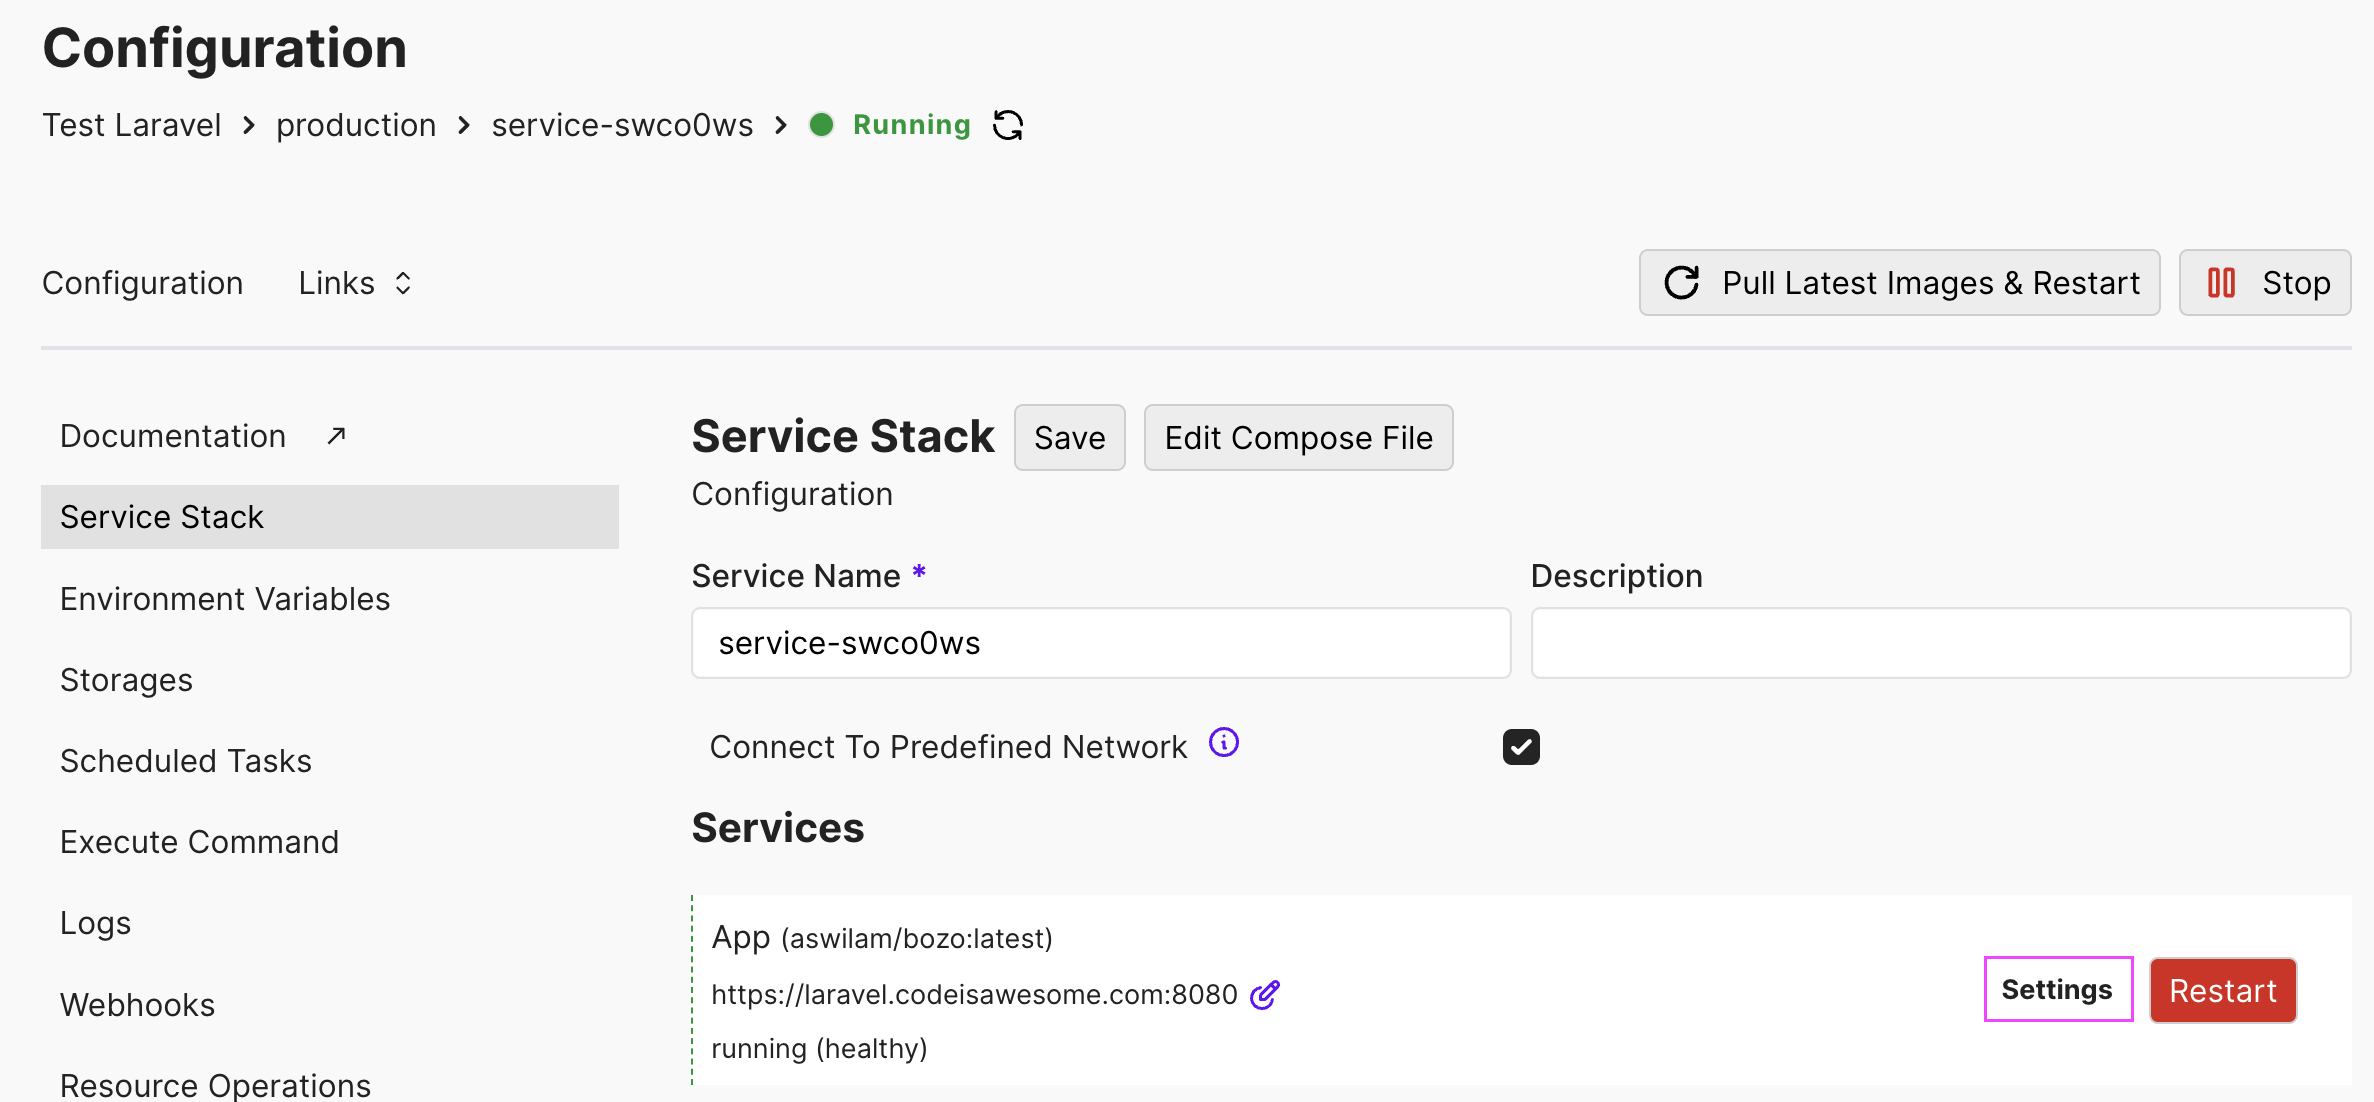
- Choose "Service stack", then click on "Settings".
- In the "Domains" field you need to enter the domain name of your application followed by a colon then the port that the application listens to "inside" your container. For ServersideUp images, this port is 8080, so just enter that. For example your domain should look something like https://your-domain.com:8080
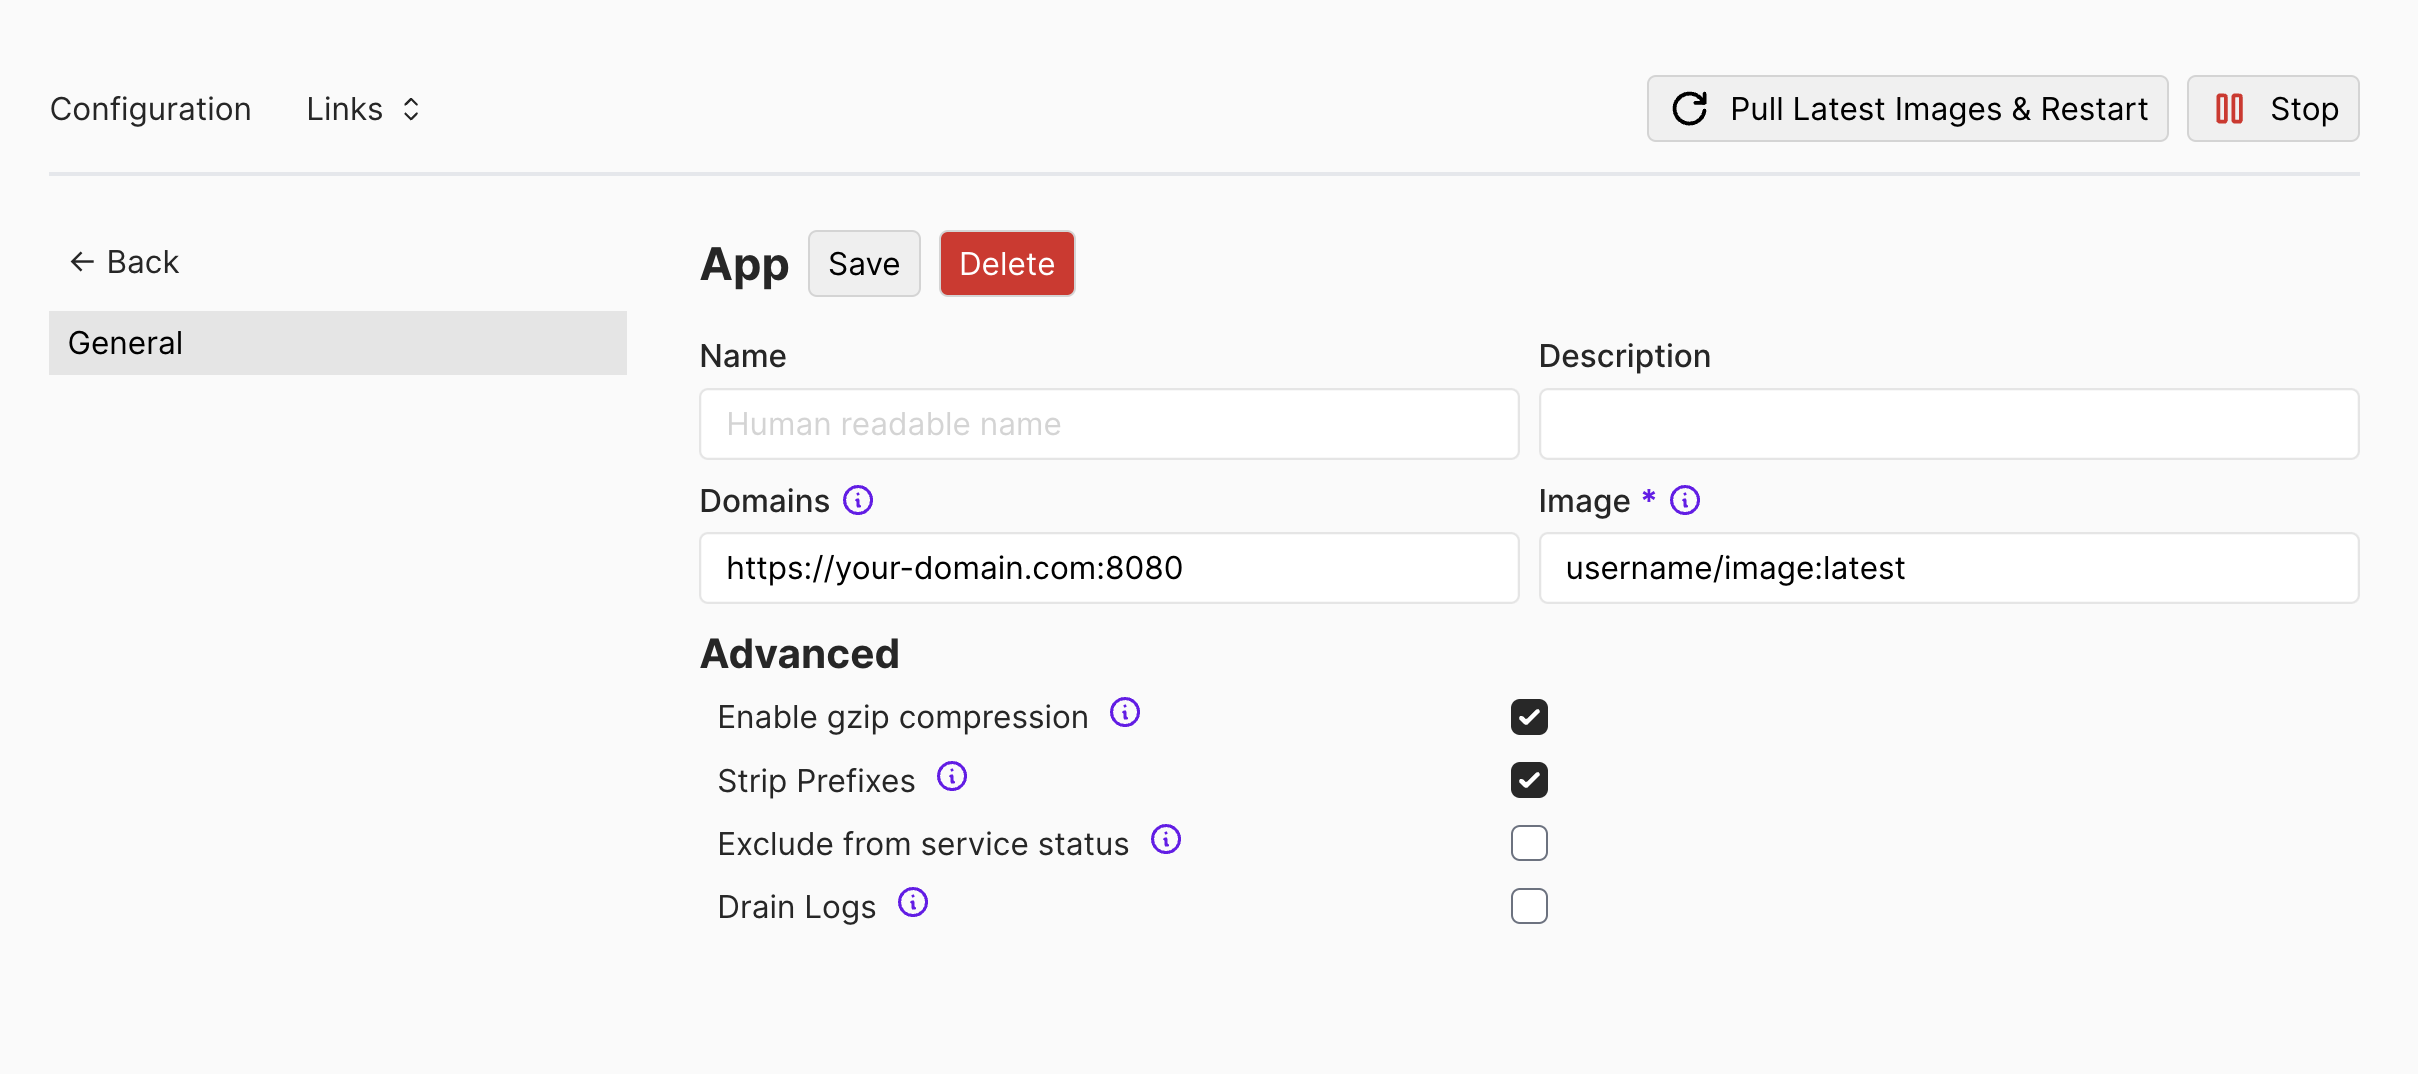
- Then click "Save".
- Once done, click "Deploy".
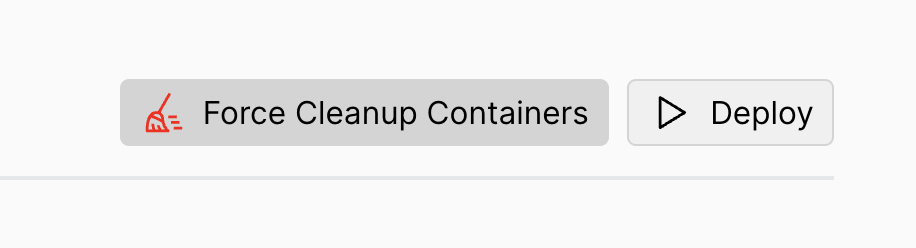
And that's it. Your application should be live now! 🚀
Note: you might face an issue with permissions when it comes to mounting the "storage" volume. This is because Coolify usually uses the root user to mount that volume, but the docker container uses "www-data" user.
Luckily, Coolify gives us the ability to execute commands on the server to fix that.
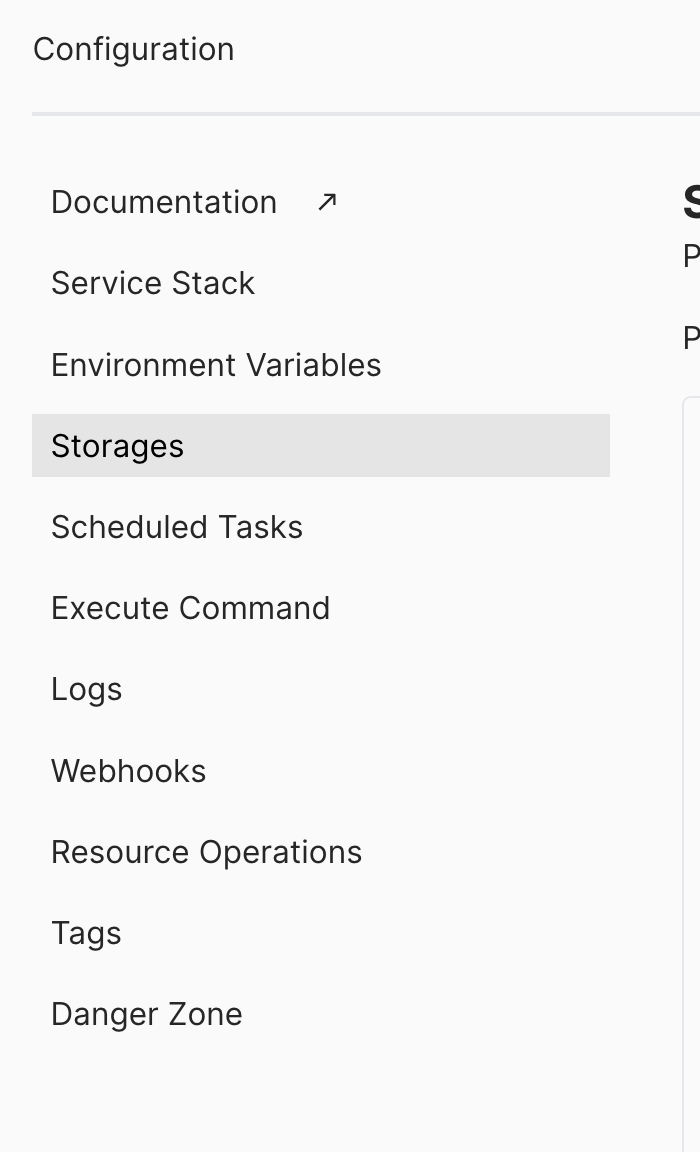
First, click on "Storages" from the sub-side menu, and copy the path of the volume.
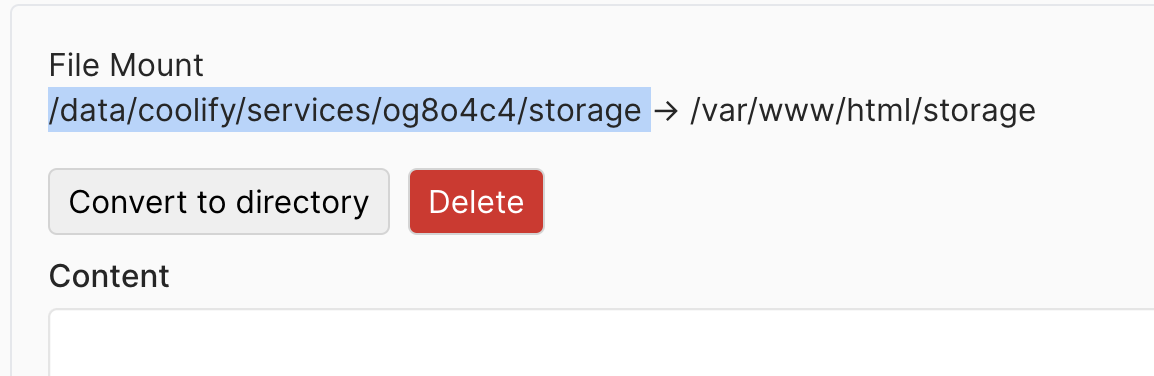
Then from the side menu click "Command Center", choose the server on which your application is installed on, then execute the following commands:
mkdir -p {VOLUME_PATH_YOU_JUST_COPIED}/framework/{sessions,views,cache}
chmod -R 775 {VOLUME_PATH_YOU_JUST_COPIED}/framework
That should fix the permissions problem.
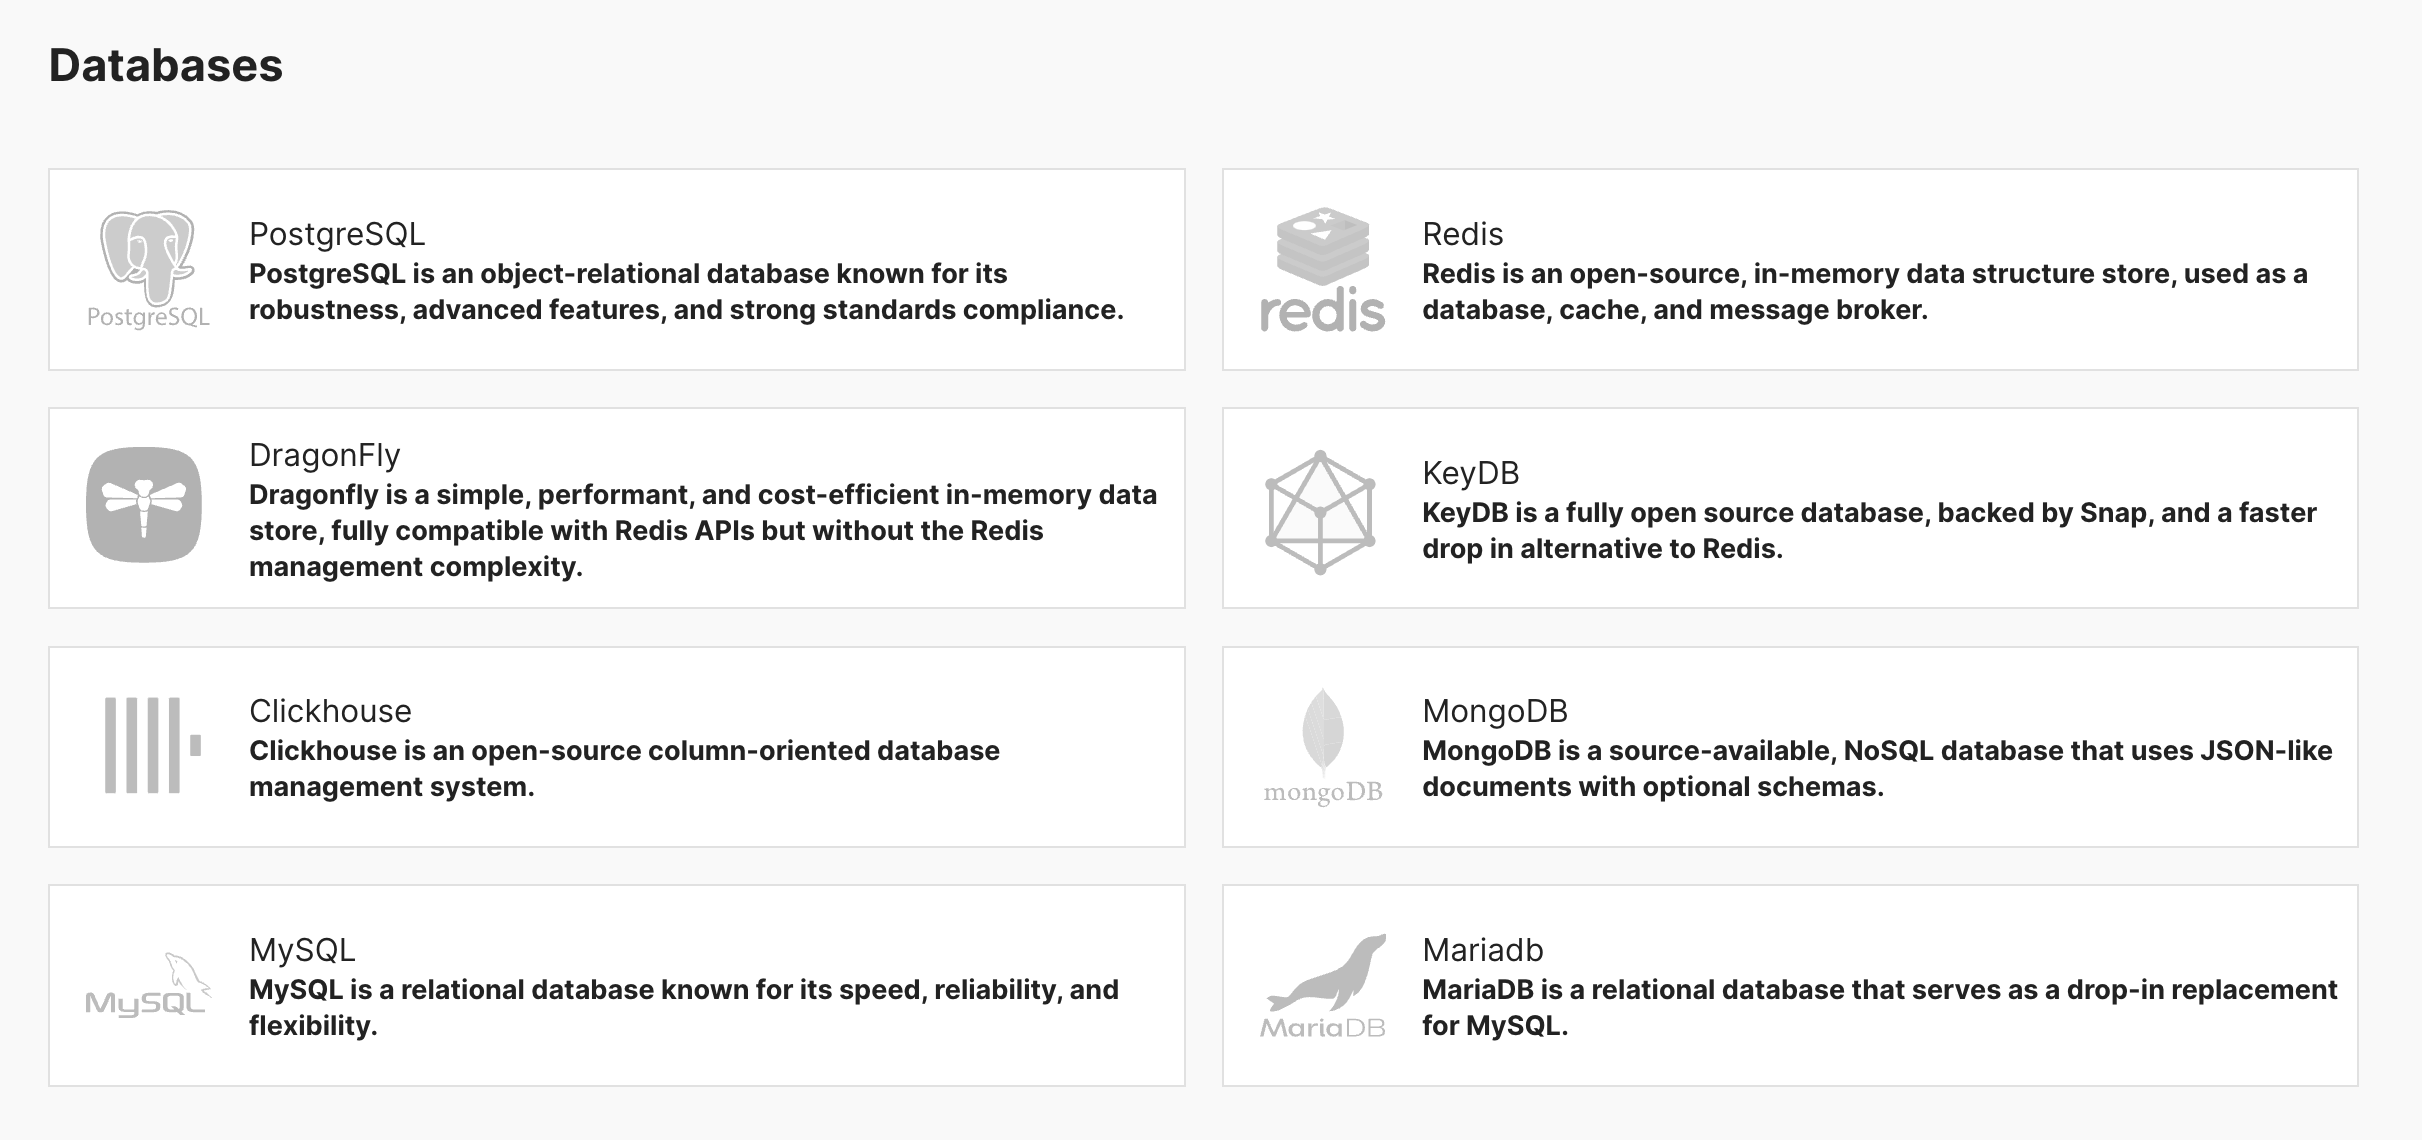
4. Adding Database To Your Laravel Application
One of the cool things about coolify is that it allows you to install any component to your application in a few clicks.
To do that, go to your Coolify project's resources, then click "+ New" to add a new one, then select the database your are interested to add.
Then, pick the same server and the destination you chose for your Laravel application before.
Then click "Start" to run the container.
Coolify auto generates the database credentials for you. You will need those to connect to your database later.
Go to your Laravel application, and on "Service Stack" click on "Edit Compose File", and insert the database credentials there.

services:
  app:
    image: 'username/image:latest'
    volumes:
      - './storage:/var/www/html/storage'
    environment:
      DB_CONNECTION: mysql
      DB_HOST: GENERATED_HOST_NAME
      DB_PORT: 3306
      DB_DATABASE: GENERATED_DB_NAME
      DB_USERNAME: GENERATED_USERNAME
      DB_PASSWORD: GENERATED_PASSWORD
One of the great things about ServersideUp images is that they can automatically run Laravel migrations command on container load.
All what you need to do to activate that is to set the environment variabled "AUTORUN_ENABLED" to true.
services:
  app:
    image: 'username/image:latest'
    volumes:
      - './storage:/var/www/html/storage'
    environment:
      AUTORUN_ENABLED: true
      DB_CONNECTION: mysql
      DB_HOST: GENERATED_HOST_NAME
      DB_PORT: 3306
      DB_DATABASE: GENERATED_DB_NAME
      DB_USERNAME: GENERATED_USERNAME
      DB_PASSWORD: GENERATED_PASSWORD
Tip:
You might want to consider adding the environment variable AUTORUN_LARAVEL_MIGRATION_ISOLATION with the value "true" to ensure that only one container runs migrations at a time. This is particularly important if you have multiple instances of your application running, as it prevents migrations from being executed multiple times on each container. However, do not set this variable before running the initial migrations, as Laravel uses the database to maintain the lock on the migration job.
Now, under "Service Stack", you need to make sure that "Connect To Predefined Network" is checked, and then click "Save". This makes sure that your app container can reach other services in the same network (the database we just created)

Now, redeploy your application.
And that's it! Your migrations should run on container boot, and your Laravel should be live! 🥳
Bonus cleanups:
You might want to clean that up a little bit by using Coolify's environment variables to add all the secrets there and then use those environment variables in composer file (as Coolify will make those environment variables available to your docker-compose file)
So you could end up with something like this in your Laravel app's docker compose file:
services:
  app:
    image: 'username/image:latest'
    volumes:
      - './storage:/var/www/html/storage'
    environment:
      AUTORUN_ENABLED: true
      DB_CONNECTION: mysql
      DB_HOST: '${DB_HOST_FROM_COOLIFY_ENV_VARS}'
      DB_PORT: '${DB_PORT_FROM_COOLIFY_ENV_VARS}'
      DB_DATABASE: '${DB_DATABASE_FROM_COOLIFY_ENV_VARS}'
      DB_USERNAME: '${DB_USERNAME_FROM_COOLIFY_ENV_VARS}'
      DB_PASSWORD: '${DB_PASSWORD_FROM_COOLIFY_ENV_VARS}'
That should cover everything. I hope you found this tutorial valuable and helpful for your project.
Keep rocking! 🚀 🤘