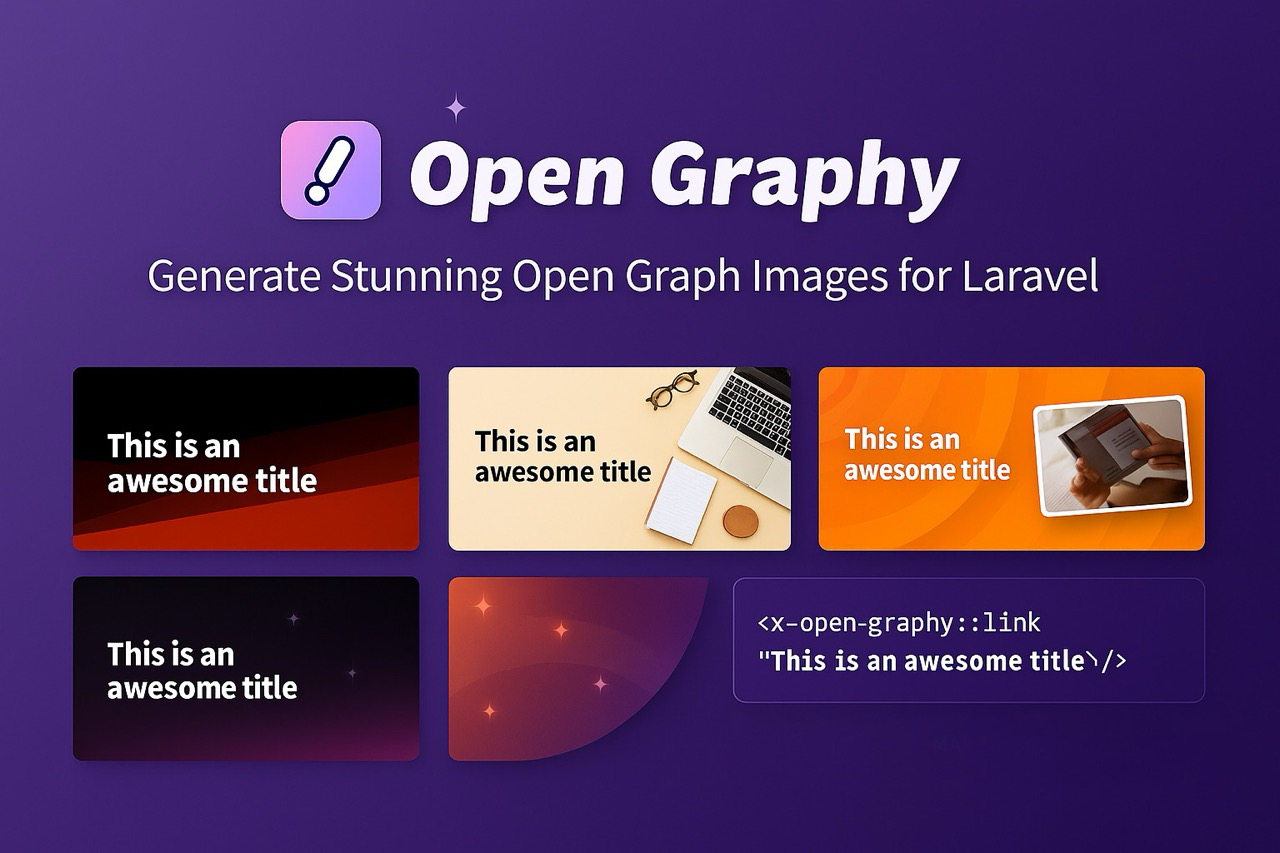
Generate Stunning Open Graph Images For Laravel

Open Graph images to a blog post are like thumbnails to YouTube videos. They serve as the first impression and play a big role in capturing the viewer's attention on social media.
A well-crafted Open Graph image can significantly boost click-through rates, drive traffic to your site, and enhance the overall user experience. However, manually creating these images for each piece of content can be time-consuming and repetitive.
Enter Laravel Open Graphy: An awesome open graph (social cards) image generator package for Laravel.
Open Graphy features:
- Generate beautiful open graph images for your website for X / twitter / facebook.
- Add title, an image and your logo to the open graph image.
- Add a screenshot of the page inside the open graph image to show the preview of the page.
- 5 different templates to choose from.
- Customize the colors and styles of the templates.
- Cache the generated images.
- Create your own template if you want.
Example Open Graph Images

Installation
- You need to install the chromium or chrome browser on your server as it's being used by Open Graphy to render images.
- Ubuntu/Debian:
sudo apt-get install -y chromium-browser- MacOS:
brew install --cask google-chrome- Laravel Sail using MacOS (Apple Silicon): I found the following steps to work for me on my M1 Macbook Pro:
apt-get install software-properties-common
add-apt-repository ppa:xtradeb/apps -y
apt update
apt install chromium- Once done, You can install the package via composer:
composer require saasykit/laravel-open-graphyYou can publish the config file with:
php artisan vendor:publish --tag="open-graphy-config"
The config files looks like this:
<?php

// config for SaaSykit/OpenGraphy
return [
    'chrome_binary' => null, // leave empty for autodiscovery, or set it to 'chrome' or 'chromium' depending on the binary you want to use. You can also provide full path to the binary
    'open_graph_image' => [  // final generated open graph image settings
        'width' => 1200,
        'height' => 630,
        'type' => 'png',  // png or jpg
    ],

    'image' => null,  // path (relative to public directory) or url to the image to be added to the open graph image

    'logo' => [
        'enabled' => false, // set to false to disable the logo
        'location' => '', // path (relative to public directory) or url to the logo to be added to the open graph image
    ],

    'render_timeout' => 10000, // maximum time to wait for the screenshot to render before failing

    'screenshot' => [
        'enabled' => false,  // set to true to add a screenshot of the page into the open graph image
        'render_width' => 1100,
        'render_height' => 1000,
    ],

    // The cache location to use to store the generated images.
    'storage' => [
        'disk' => 'public',
        'path' => 'open-graphy',
    ],

    'template' => 'verticals',

    'template_settings' => [
        'strings' => [
            'background' => '#5e009e',
            'stroke_color' => '#9f6eee',
            'stroke_width' => '2',
            'text_color' => '#ffffff',
        ],
        'stripes' => [
            'start_color' => '#5e009e',
            'end_color' => '#9f6eee',
            'text_color' => '#ffffff',
        ],
        'sunny' => [
            'start_color' => '#5e009e',
            'end_color' => '#9f6eee',
            'text_color' => '#ffffff',
        ],
        'verticals' => [
            'start_color' => '#FFFFFF',
            'mid_color' => '#F5F5F5',
            'end_color' => '#CCCCCC',
            'text_color' => '#5B4242',
        ],
        'nodes' => [
            'background' => '#330033',
            'node_color' => '#550055',
            'edge_color' => '#440044',
            'text_color' => '#ffffff',
        ],
    ],
];
Here are the configuration options that you can update:
- chrome_binary: Specifies the browser to use for rendering. Set to either "chrome" or "chromium" based on your installation. If left as null, the system will auto-detect the binary. Alternatively, you can provide the full path to the browser binary.
- open_graph_image: Configuration settings for the final open graph image to be generated.
- image: The relative path (from the public directory) or the URL of the image to be included in the open graph image.
- logo: Configuration settings for the logo that will be added to the open graph image.
- render_timeout: Defines the maximum time allowed for rendering the screenshot before timing out.
- screenshot: Configuration settings for the screenshot that will be incorporated into the open graph image.
- storage: Specifies the cache location where the generated images will be stored.
- template: Defines the template to be used for creating the open graph image.
- template_settings: Configuration settings for the templates that are included in the package.
How to use Open Graphy
<x-open-graphy::links title="This is an awesome title"/>
And that's it, an open graph image should be included into your page.
This open-graphy::links component accepts the following parameters:
- title: The title displayed on the open graph image. (required)
- image: The image to be shown on the open graph image, either a path from the public directory or a URL. (optional)
- template: The template for the open graph image. Options include: background, stripes, sunny, verticals, nodes. (optional)
- screenshot: When set to true, a screenshot of the page is added to the open graph image, overriding the screenshot.enabled setting in the config file. (optional) See the "Website screenshot" section for more details.
- logo: When set to true, a logo is added to the open graph image, overriding the logo.enabled setting in the config file. (optional)
Choosing the best design
Open Graphy includes a testing route, accessible only in a local environment, that allows you to experiment with different templates and settings. To use this feature, visit /open-graphy/test in your browser.
The following query parameters are accepted:
- title: The title to be displayed on the open graph image.
- image: The image to be displayed on the open graph image. (optional)
- template: The template for the open graph image. Options include: background, stripes, sunny, verticals, nodes. (optional)
To achieve the best design for your website, you will typically need to modify the colors and styles of the templates in the config file and continue testing until you find the ideal combination.
Website Screenshots
You can add a screenshot of the page to the open graph image, providing a preview of the page. To enable this feature, set screenshot.enabled to true in the config file.

Important Notes:
-
This feature only works if the page is accessible from where the package is installed. The package opens the page in a headless browser, takes a screenshot, and adds it to the open graph image. This will NOT work on a Laravel Sail installation without additional configuration.
-
While screenshotting generally works well, longer pages or those with heavy effects may timeout. You can increase the render_timeout setting in the config file to allow more time for rendering the screenshot. If a screenshot cannot be taken, Open Graphy will fail gracefully, generating the open graph image without the screenshot.
Clearing Cache
php artisan open-graphy:clearBuild a Custom Template
To create a custom template, first publish the views (if you haven't already) using the following command:
php artisan vendor:publish --tag="open-graphy-views"
Next, create a new Blade file in the resources/views/vendor/open-graphy/templates directory. This file should contain the HTML and CSS for your template. You can find inspiration from the existing templates in the package.
After creating your template, set the template key in the config file to the name of your template file (without the .blade.php extension). For example, if you created a file called custom.blade.php, you would set the template key to "custom".
Open Graphy provides everything you need to give your web pages in your Laravel application an attractive look on social media. Check out Open Graphy on github and explore its powerful features.


