Zero Downtime Deployment for Laravel
By
Amas

Zero downtime deployment is a software development practice aimed at ensuring continuous availability and seamless user experience during the deployment process. In zero downtime deployment, updates, patches, or new features are rolled out to the production environment without causing any interruption in service.
This is achieved by employing strategies such as blue-green deployments, canary releases, or rolling updates, where new code is gradually deployed while the old version remains operational. By minimizing or eliminating downtime, zero downtime deployment allows businesses to maintain high levels of availability, reliability, and customer satisfaction, ensuring that users can access services or applications without disruption even during updates or maintenance.
Zero Downtime Deployment in PHP
From PHP's perspective, achieving zero downtime deployment is not tricky, since it's an interpreted language and doesn't require compilation. So using a small trick like symlinking the current version of the code to the new version can help achieve zero downtime deployment. But on top of that there are some steps that need to be part of any continuous deployment process, like running migrations, clearing caches, and restarting services, building assets, etc.
What is PHP Deployer?
PHP Deployer is a deployment tool that allows you to automate the deployment process for your PHP applications. It provides a simple and flexible way to deploy your code to multiple servers, manage releases, and execute tasks before or after deployment. Deployer comes with multiple recipes that support popular PHP frameworks and applications, including Laravel.
Although you can use PHP Deployer to provision your server (or in other words set up your server), we are going to assume you have a server already set up with PHP, Composer, and Git & NPM and you just want to use Deployer to deploy your project.
To implement zero downtime deployment for your Laravel project using PHP Deployer, follow these steps:
1. Install PHP Deployer using Composer:
composer require --dev deployer/deployer
2. Initialize Deployer in your Laravel project:
vendor/bin/dep init
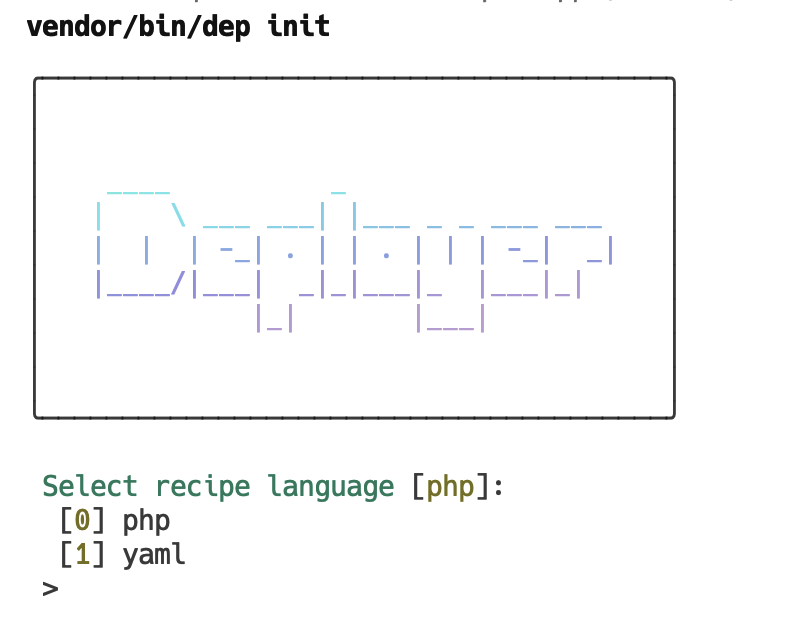
3. You will be prompted to select the format of the configuration file that will be generated. For better future configurability, choose the default option (PHP) by pressing Enter.
4. You will be asked to select the recipe to use. Choose the Laravel recipe [12].
5. You will be asked about the repository URL. Enter the URL of your Git repository.
6. Then you will be prompted to enter a name for your project. Do that.
7. Then enter the host, which is the IP address or hostname of your server that you want to deploy to.
8. Finally, you will be asked to confirm the initialization. Press Enter to confirm.
Now this process should have created a `deploy.php` file in your project root directory.
The `deploy.php` file will contain something similar to the following:
<?php
namespace Deployer;

require 'recipe/laravel.php';

// Config

set('repository', 'https://github.com/deployphp/deployer');

add('shared_files', []);
add('shared_dirs', []);
add('writable_dirs', []);

// Hosts

host('123.123.123.123')
->set('remote_user', 'deployer')
->set('deploy_path', '~/project-name');

// Hooks

after('deploy:failed', 'deploy:unlock');
Make sure to set the "remote_user" to the user that you want to use for deployment, and the "deploy_path" to the path where you want to deploy your Laravel project.
9. If you use Vite, you might want to add the following configuration to your "deploy.php" file:
desc('Install & build npm packages');

task('npm:build', function () {
    run('cd {{release_path}} && npm ci && npm run build');
});

after('artisan:migrate', 'npm:build');
This will install the npm packages and build the assets after running the migrations every time we run the deployment, which is required for any application using Vite.
10. Now we have one more step to do before we can deploy our Laravel project using PHP Deployer. Every time you deploy your app, Deployer will need to connect to your server using SSH, then it will try to clone your Git repository to deploy your Laravel project, so you need to make sure that your server can access your Git repository.
You can do this by adding the public key of your server to your Git repository. You can find the public key of your server in the `~/.ssh/id_rsa.pub` file. Copy the contents of this file and then go through the below steps:
- Click on the top right corner of your Git repository.
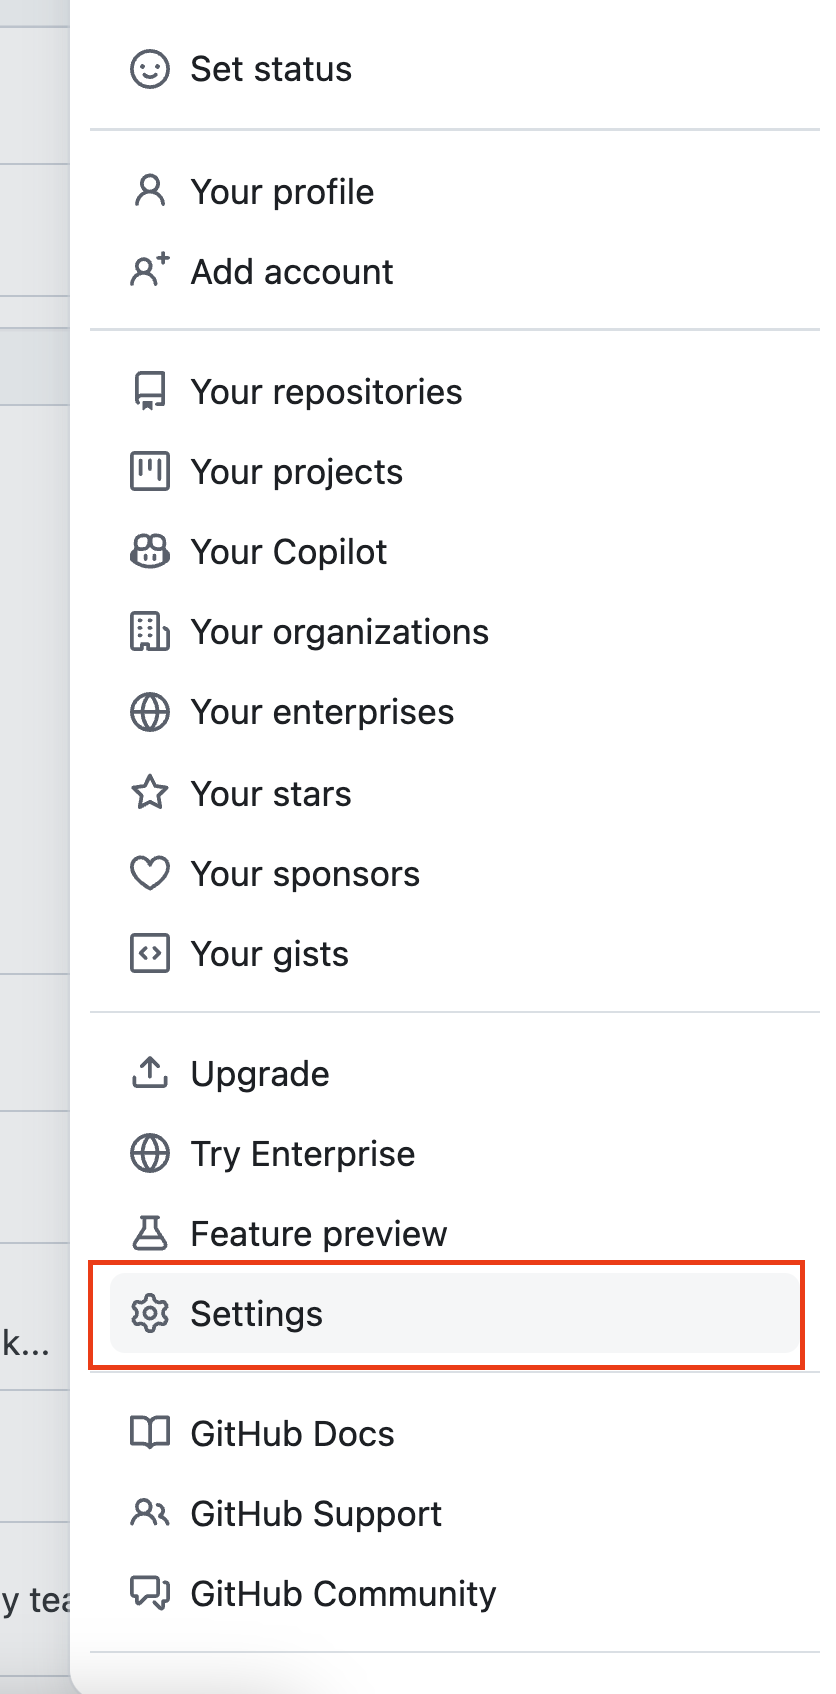
- Go to "Settings".
- Go to "SSH and GPG keys".
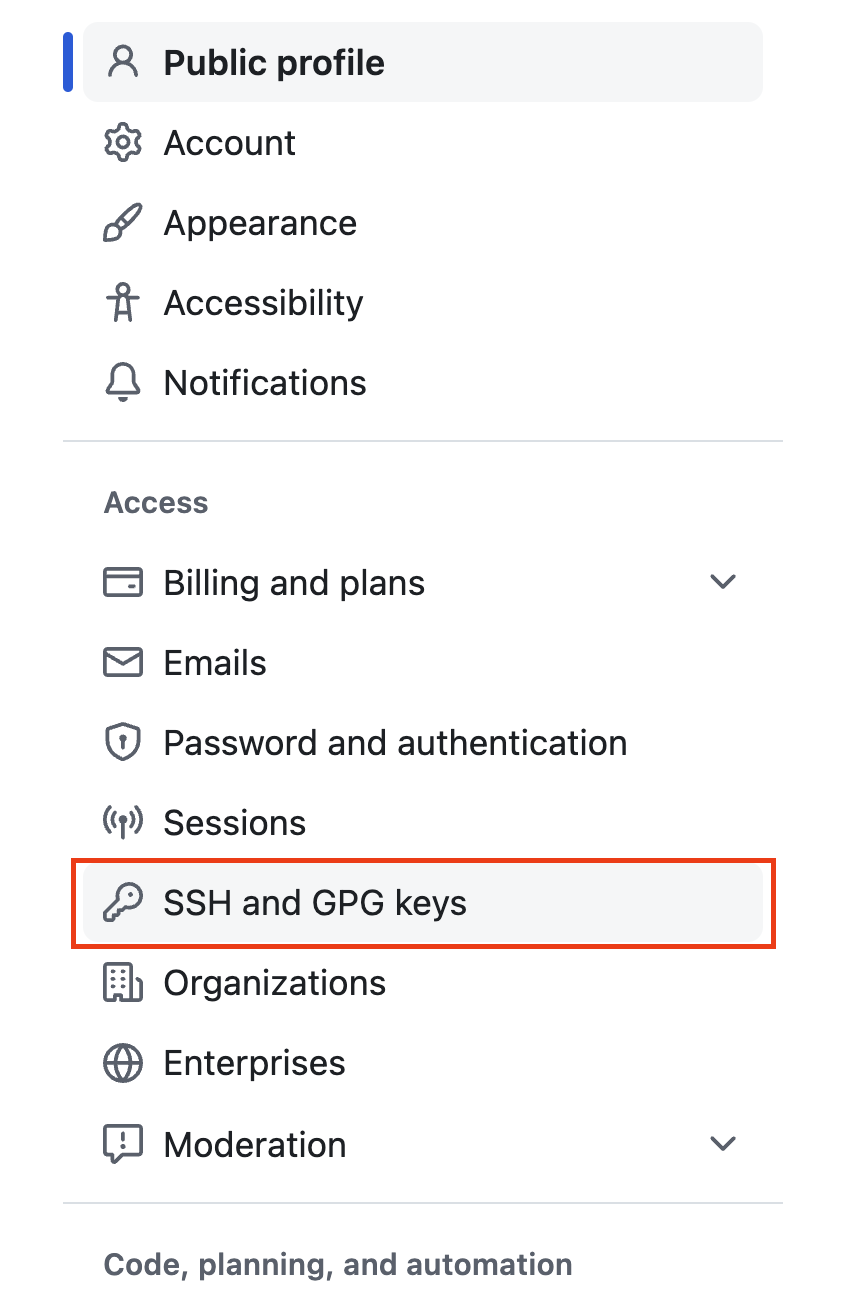
- Click on "New SSH key".

- Paste the contents of the `~/.ssh/id_rsa.pub` file and give it a title.
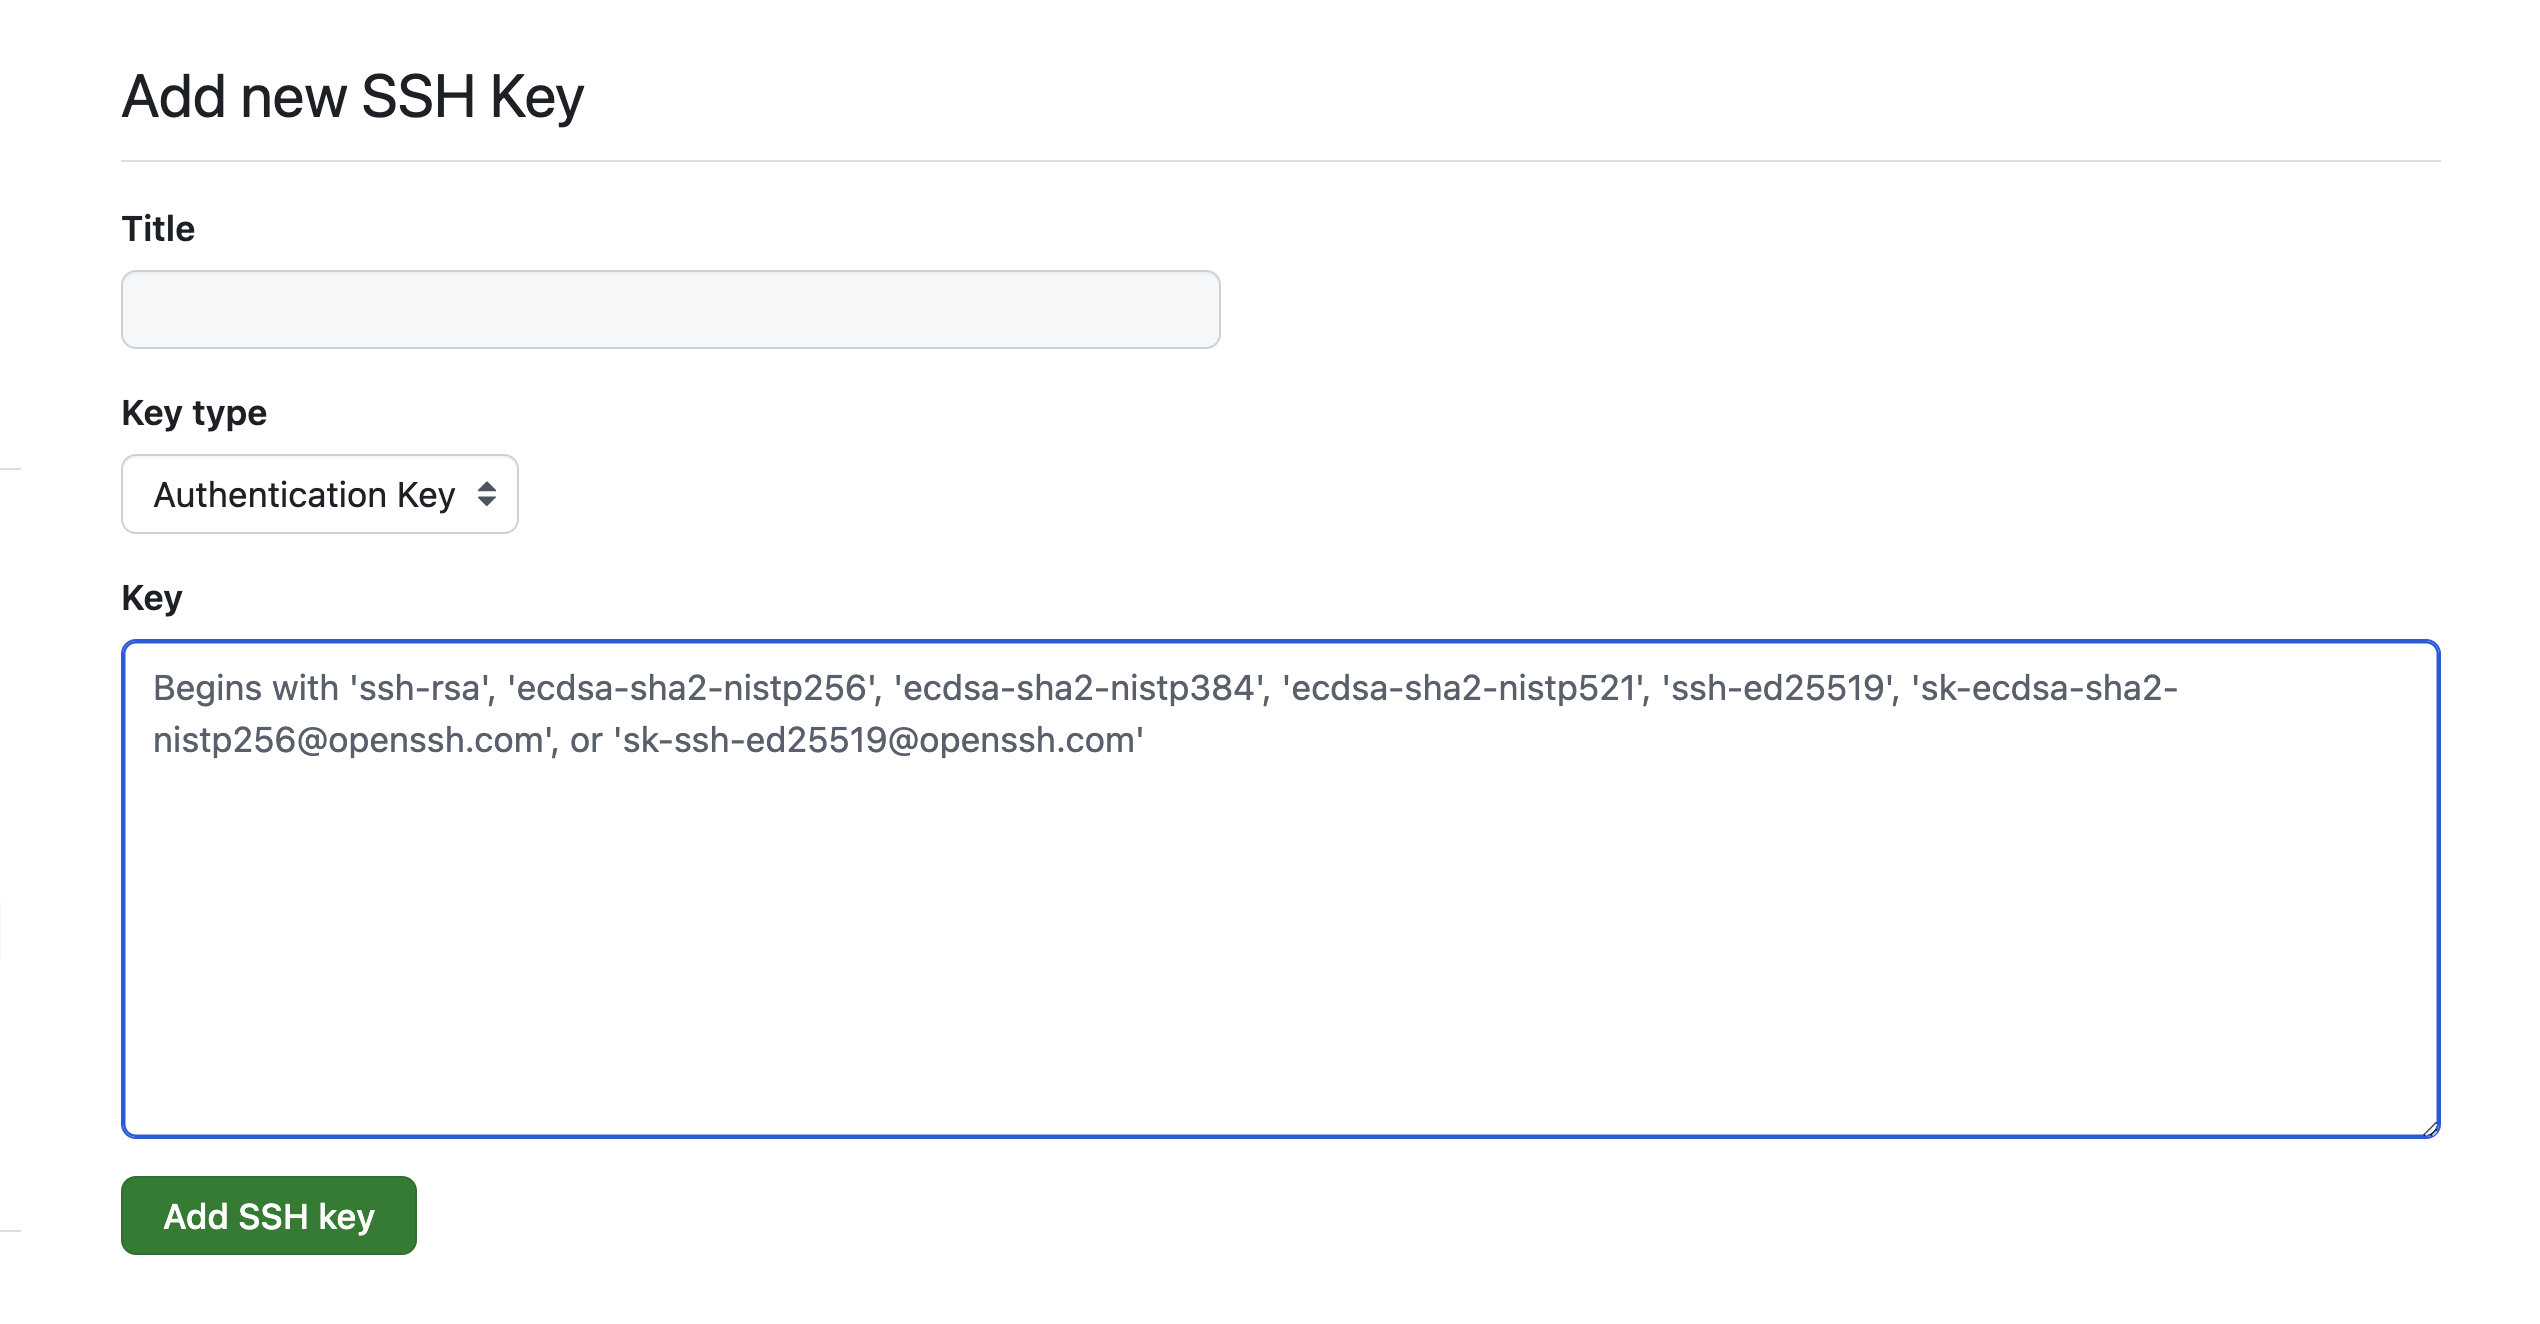
- Click on "Add SSH key".
Now you are ready to deploy your Laravel project using PHP Deployer. Run the following command to deploy your project:
vendor/bin/dep deployDuring your first deployment you will get a warning that looks like this:
warning Your .env file is empty! Skipping.... This is normal, as the .env file is not created yet. You will need to create it in the next step.
11. You will need to create a ".env" file in your project root directory on your server. You can copy the ".env.example" file and update the values as needed. Make sure to set the APP_ENV to production.
SSH into your server and navigate to the project root directory (you can use the handy "./vendor/bin/dep ssh" command to SSH into your server). Then run the following command to create the ".env" file:
./vendor/bin/dep sshcp .env.example ../../shared/.env
Deployer creates a new release directory for each deployment and symlinks the "shared" directory to the "current" directory.
We are copying the ".env.example" file to the "shared" directory, which is shared between releases. This way, we can keep the ".env" file consistent across releases.
Now you can edit the `.env` file and update the values as needed. Make sure to set the APP_ENV to production and update other configuration values as needed.
nano ../../shared/.envIf you haven't already, you can generate a new application key by running the following command:
php artisan key:generateAfter updating the ".env" file, you can run the deployment command again (exit the SSH session first):
exitThen:
vendor/bin/dep deployThis time you shouldn't see any warnings, and your Laravel project should be deployed successfully.
Happy coding! 👨💻