🔑 Authentication
SaaSykit offers a complete authentication system out of the box. It is based on Laravel's authentication system, but it has been extended to support seamless authentication flows for SaaS applications.
SaaSykit support the following authentication types (you can enable/disable them in the Admin Panel):
- Email and Password (traditional authentication)
- Social Login (Google, Facebook, X, etc) using OAuth
- One-time password (OTP) using email
SaaSykit also support Recaptcha which you also can enable/disable in the Admin Panel for extra security.
Authentication Flows
User Registration
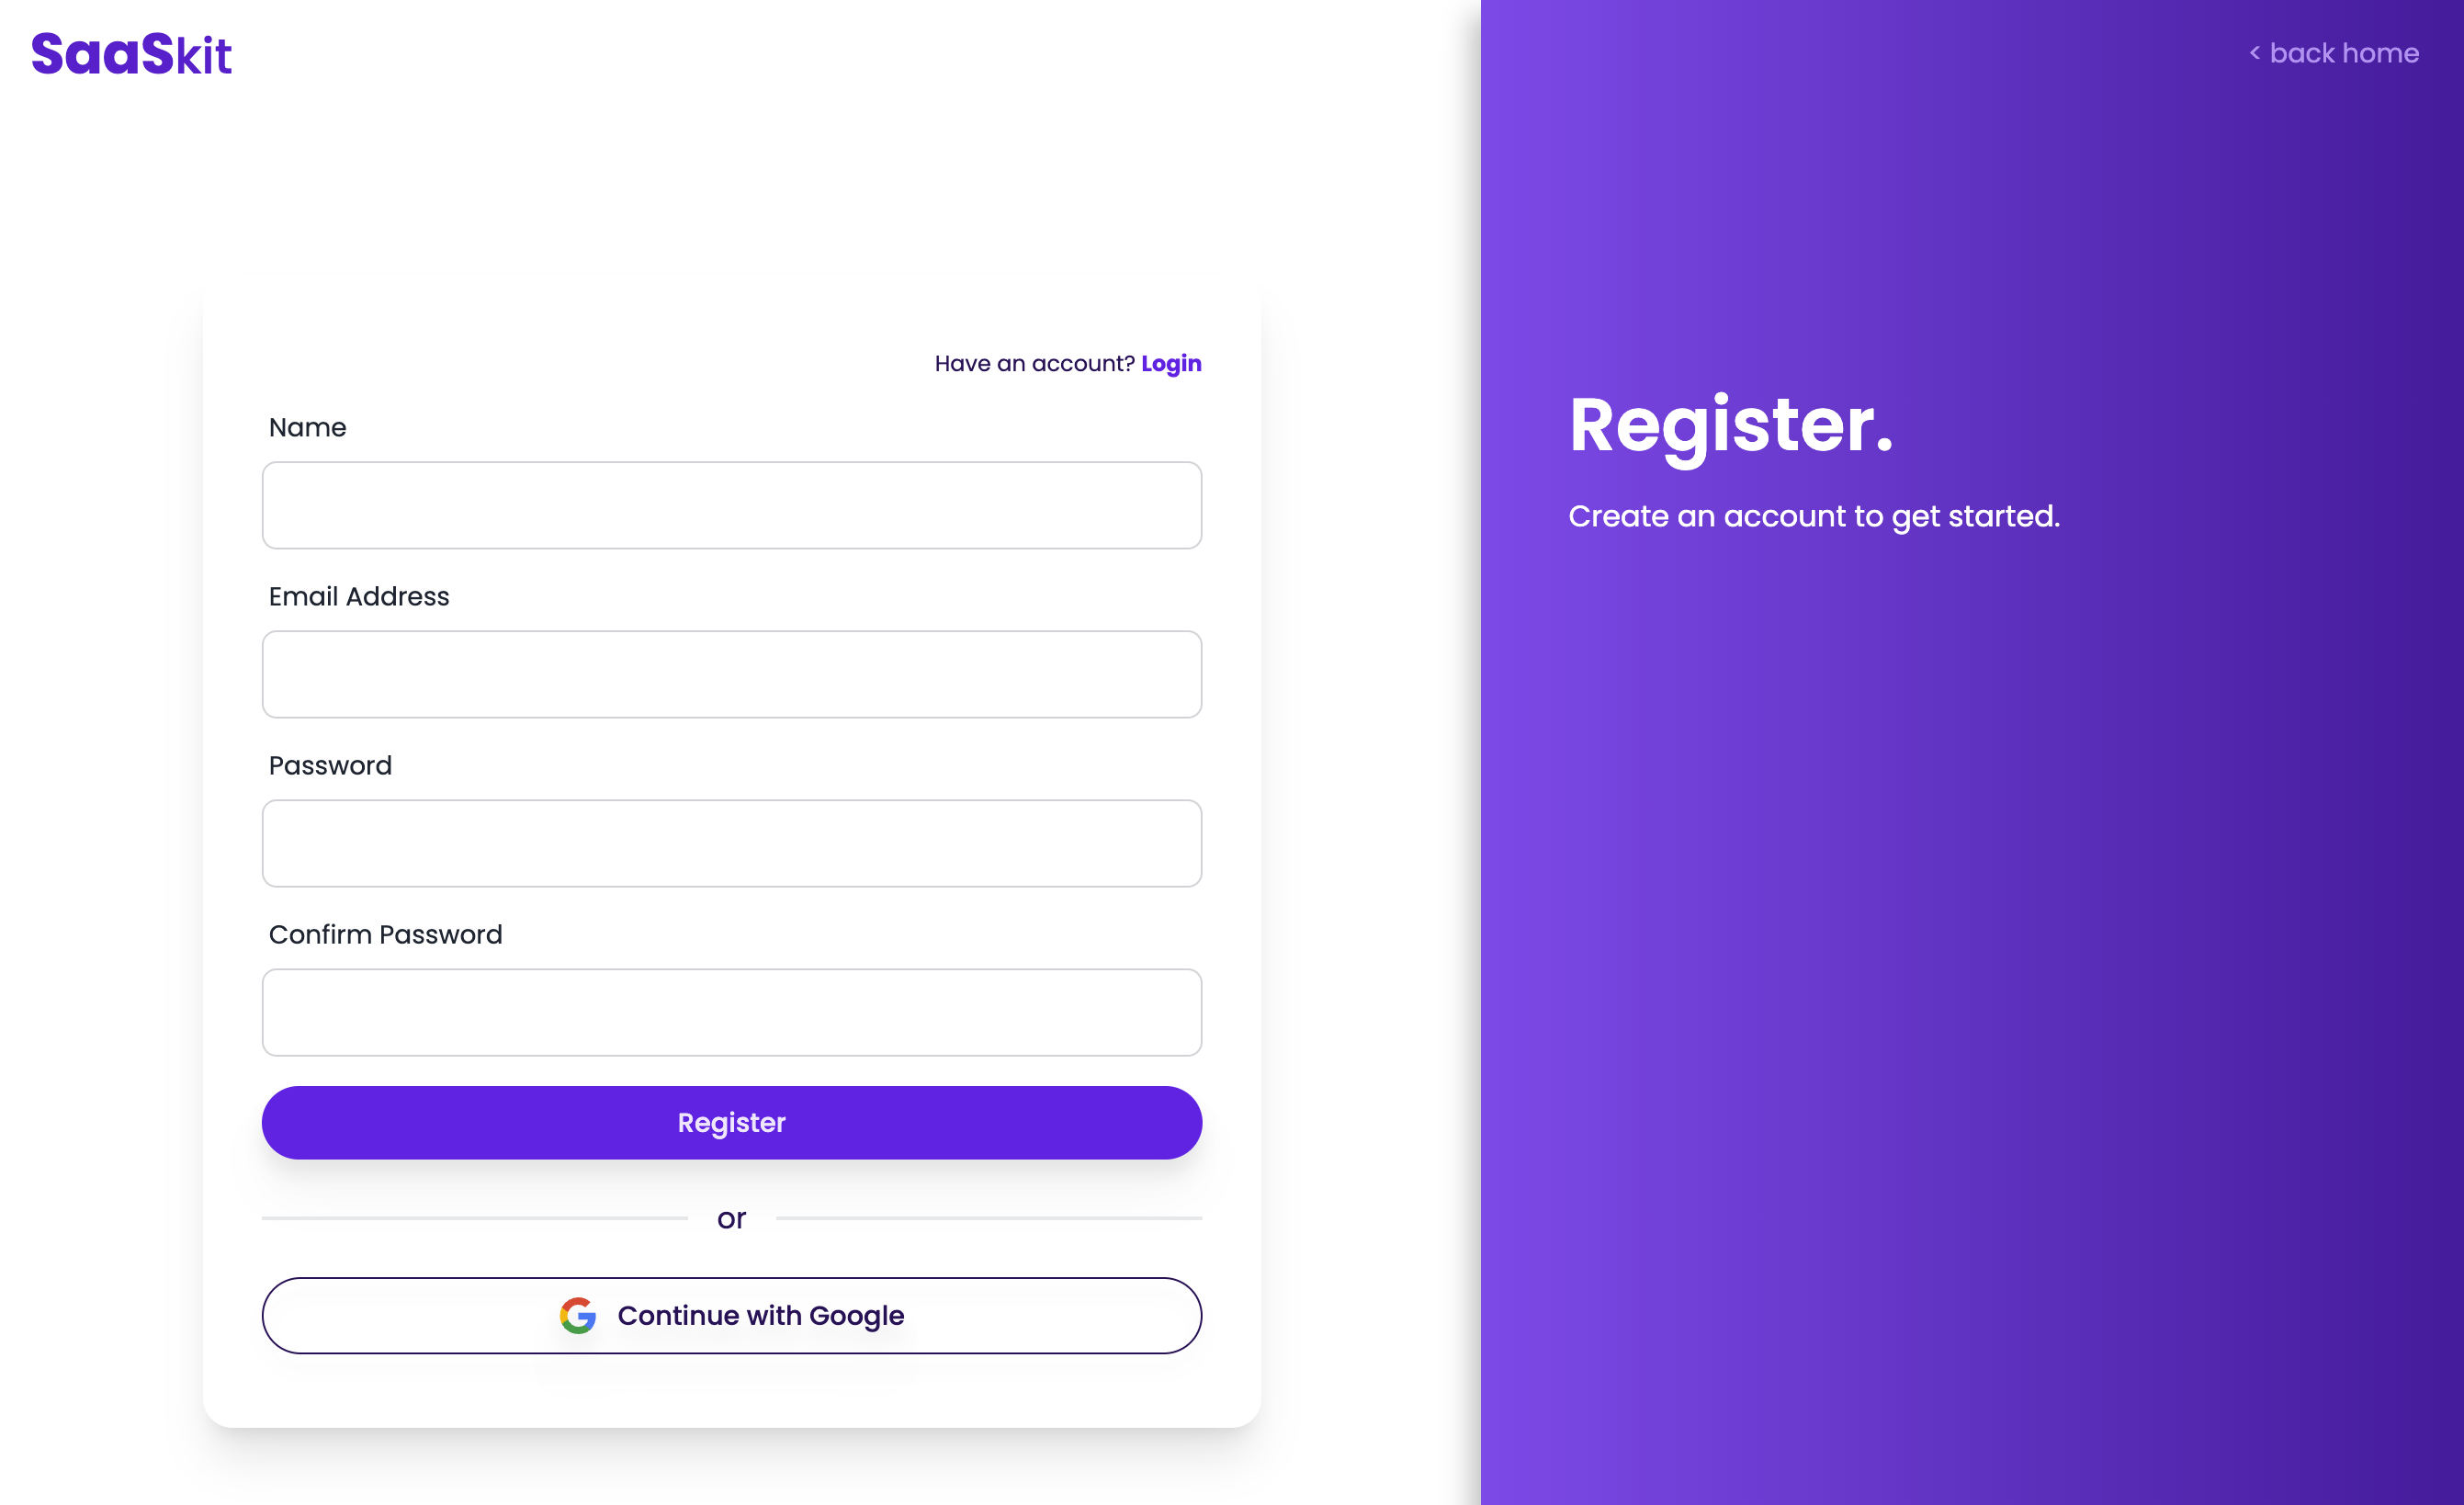
The user registration flow is pretty standard. The user fills in the registration form, submits it, and receives a verification email. Once the user clicks on the verification link, the user is redirected to the login page.
User email verification is not enforced by default, but you can easily "lock" certain pages behind the email verification wall. For example, you can lock the dashboard page behind the email verification wall, by implementing a middleware that checks if the user is verified or not.
Your users can also register using their social accounts (Google, Facebook, X, etc), if you enable that in the Admin Panel. Check Oauth Social Login for more information on how to enable social login.
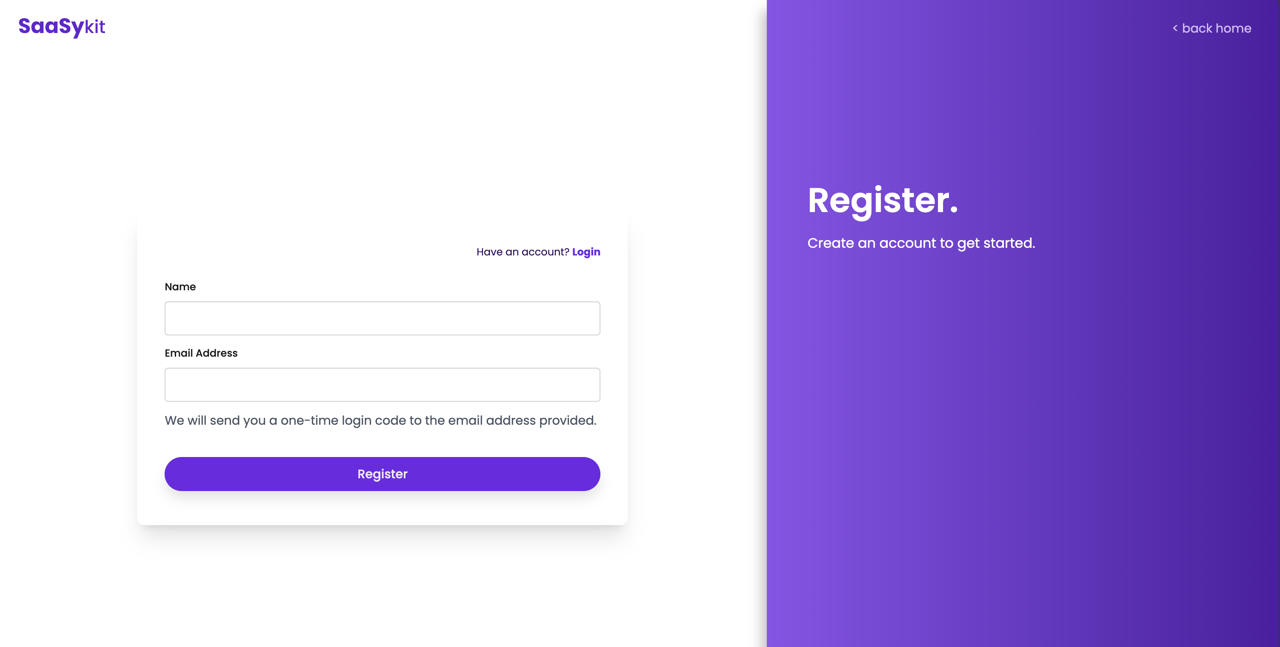
The registration form is shown in a focused layout to avoid any distractions that might prevent the user from completing the registration process.
If a users chooses a plan from your plans to subscribe for, the user will be redirected automatically to the checkout page after they register to provide a the smoothest subscription experience.
User Login
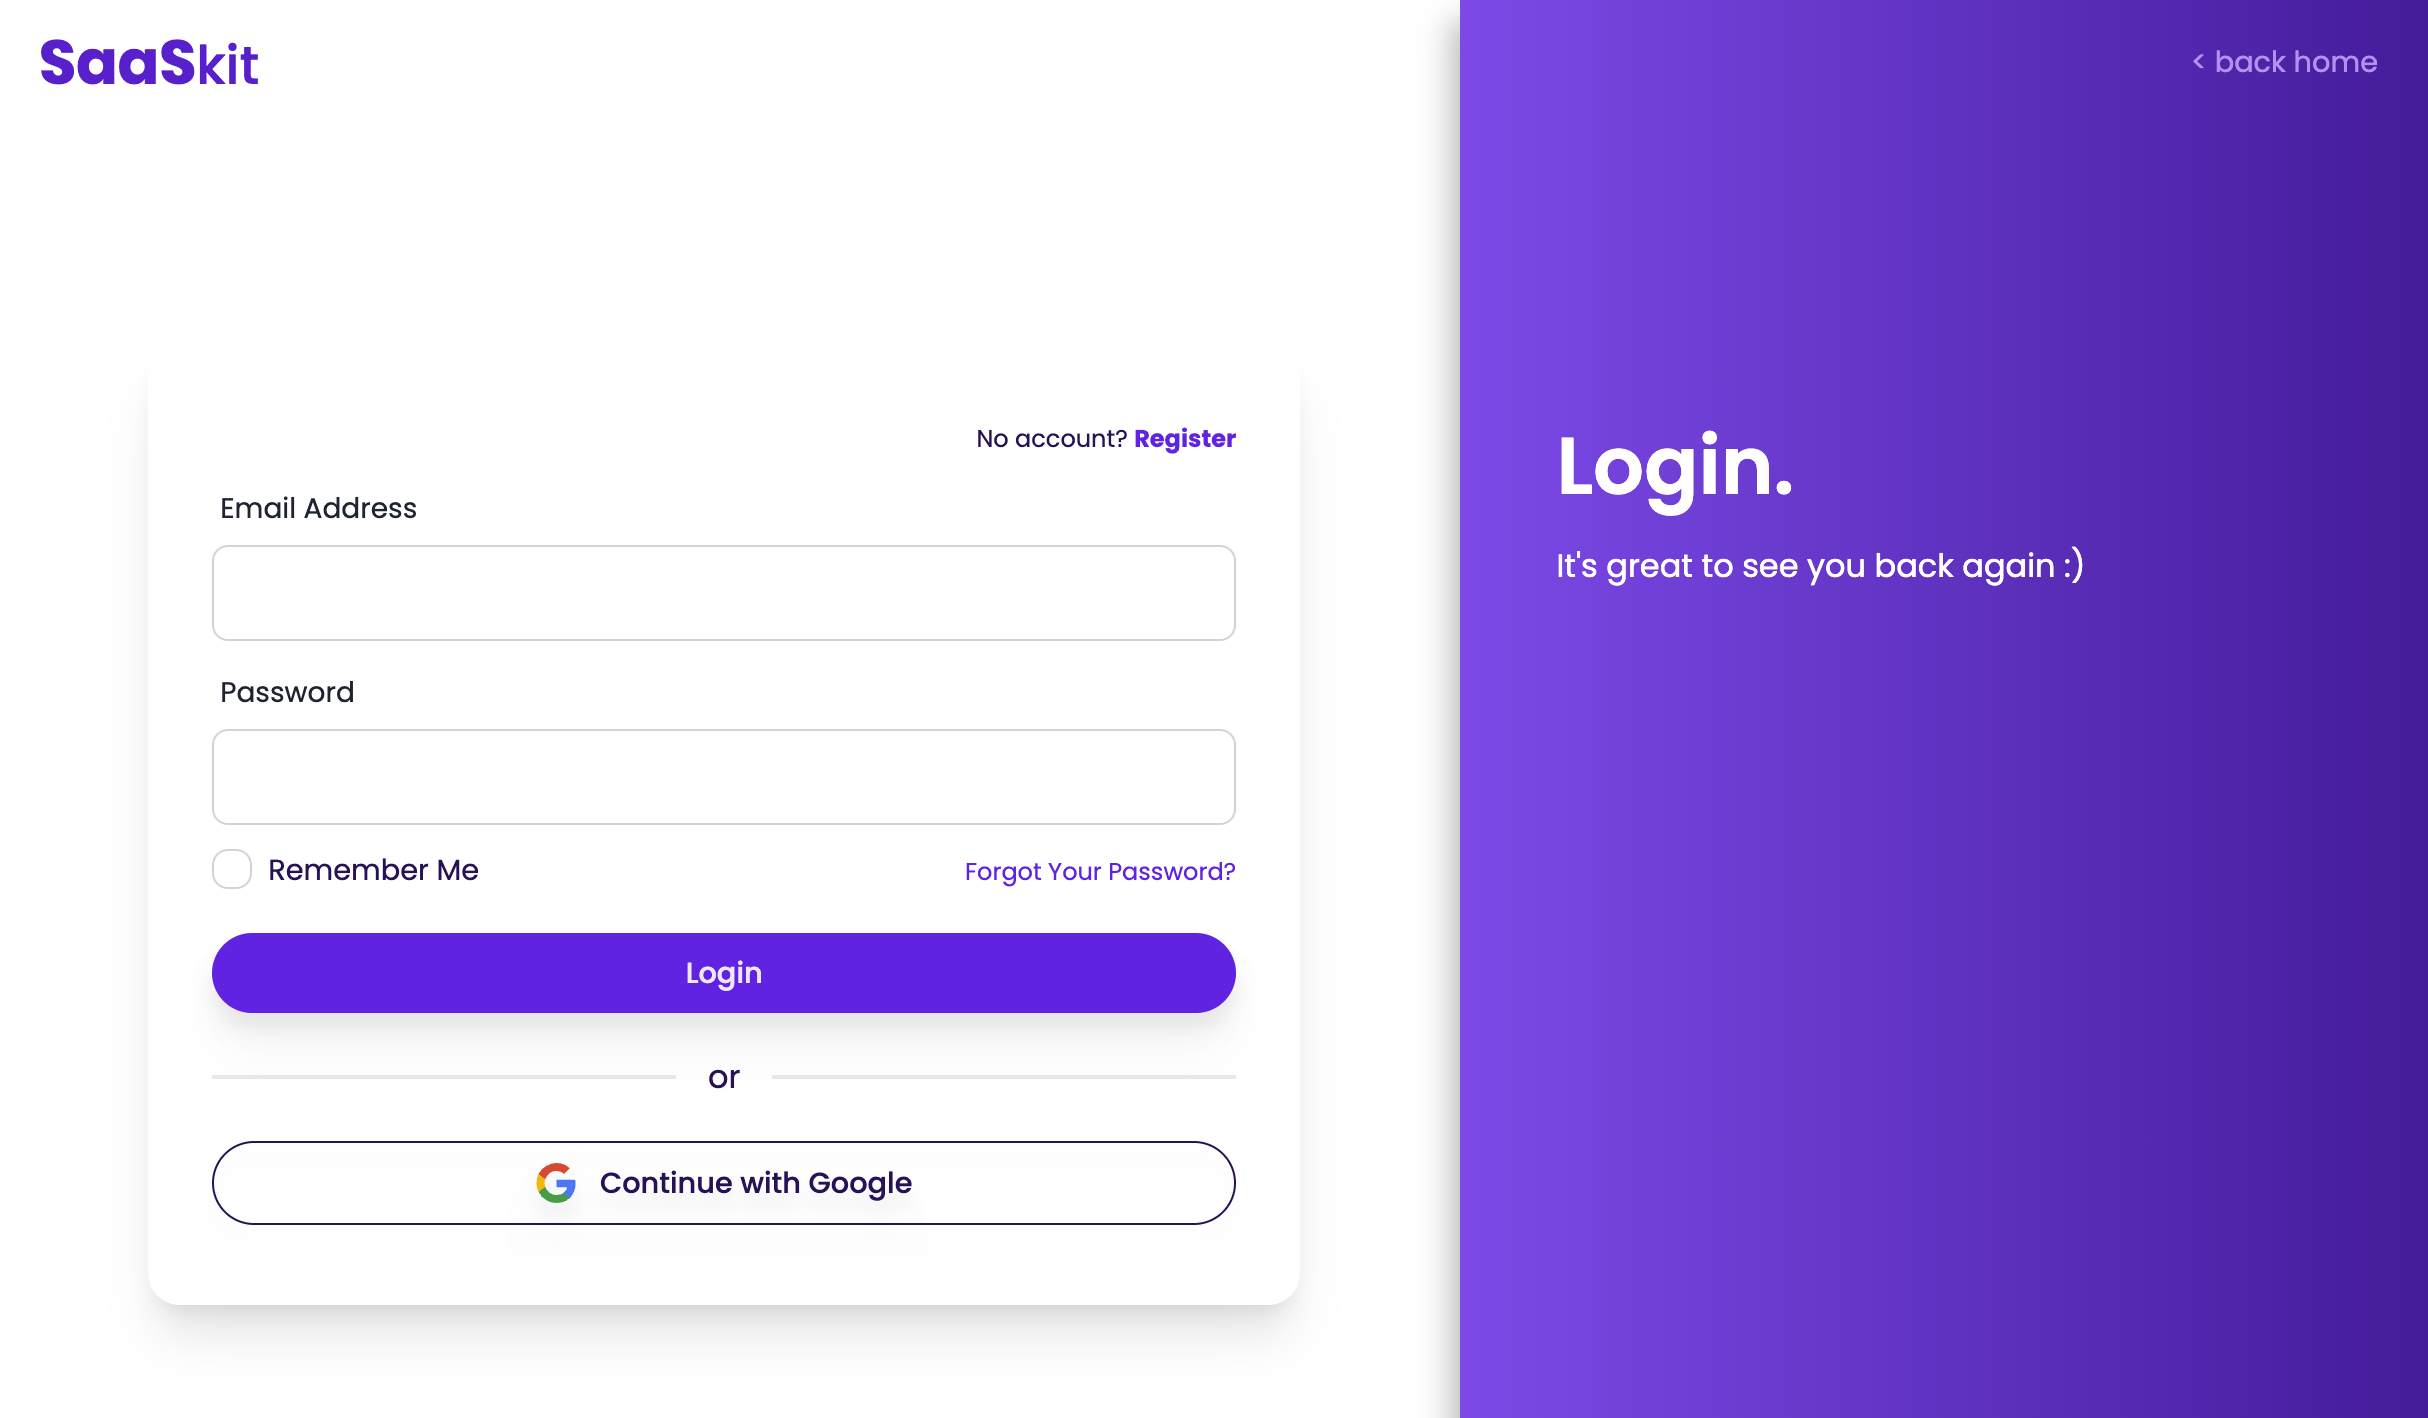
The user login flow is also pretty standard. The user fills in the login form, submits it, and is redirected to their dashboard page.
Just like the registration flow, your users can also login using their social accounts (Google, Facebook, X, etc), if you enable that in the Admin Panel. Check Oauth Social Login for more information on how to enable social login.
Password Reset
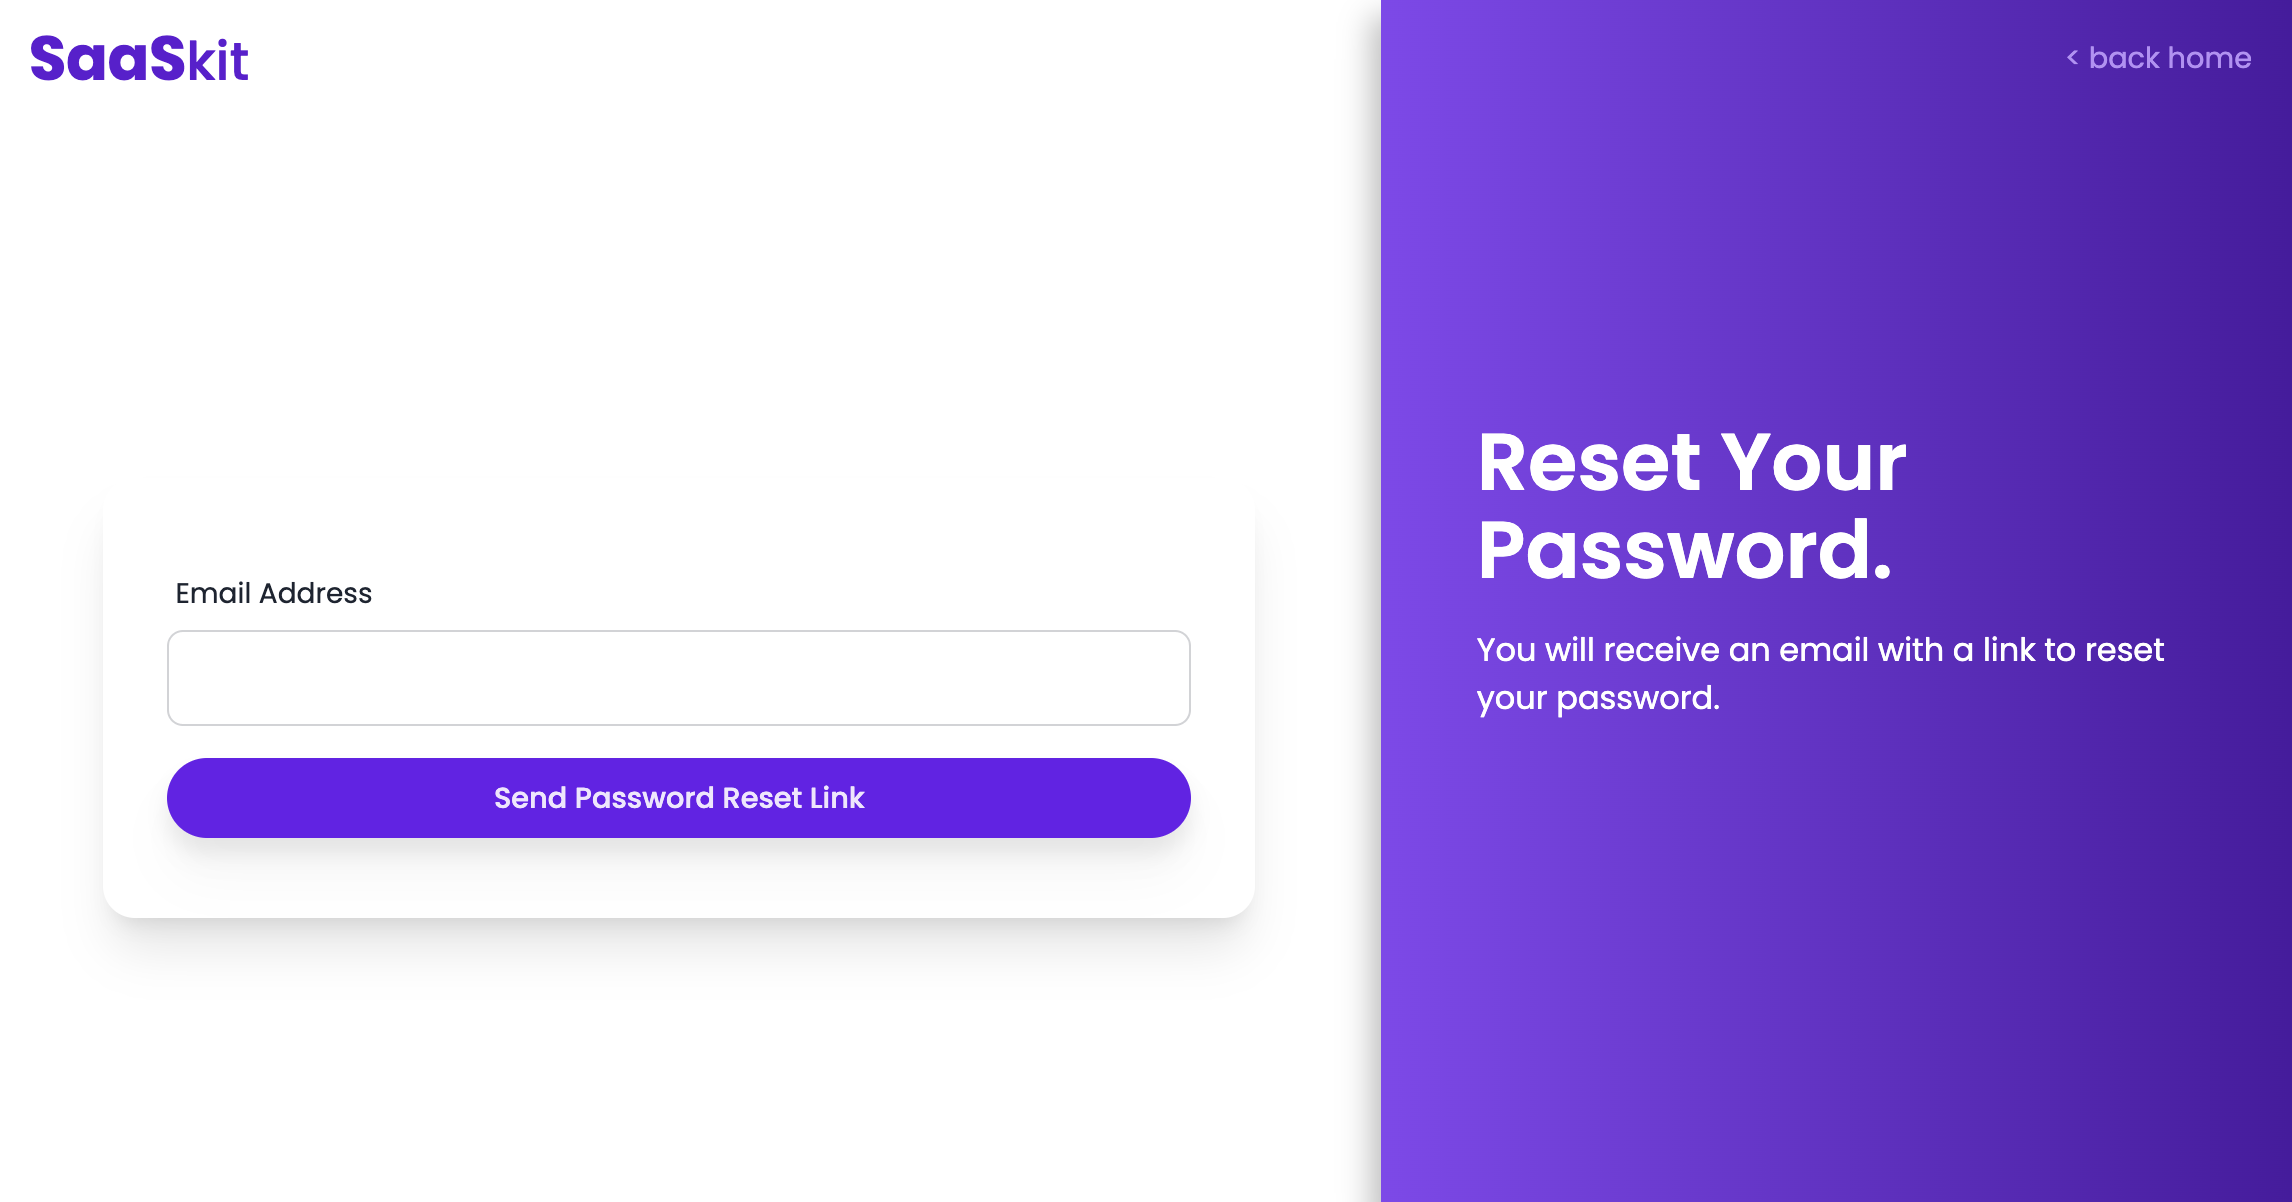
The password reset flow is also pretty standard. The user fills in the password reset form, submits it, and receives a password reset email. Once the user clicks on the password reset link, the user is redirected to the password reset page.
One-time Password Authentication (OTP)
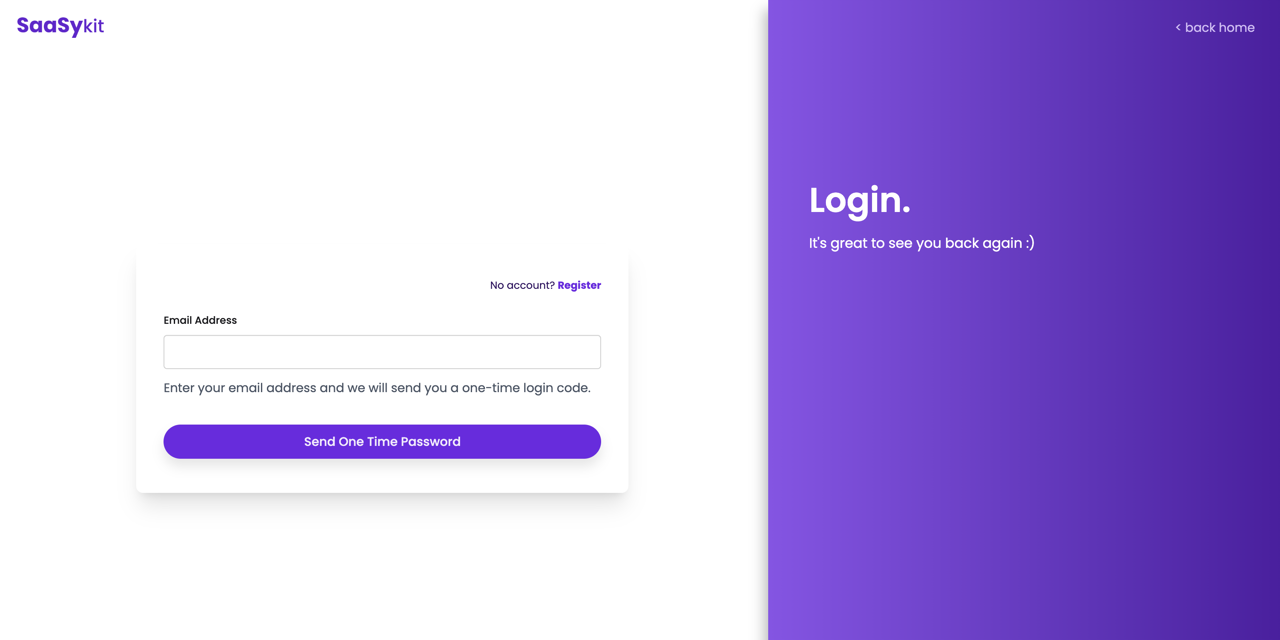
You can enable one-time password (OTP) authentication using email. This allows your users to login without a password, by receiving a one-time password (OTP) in their email.
You can enable this feature in the Admin Panel, under "Settings" >> "Authentication & Security" tab.
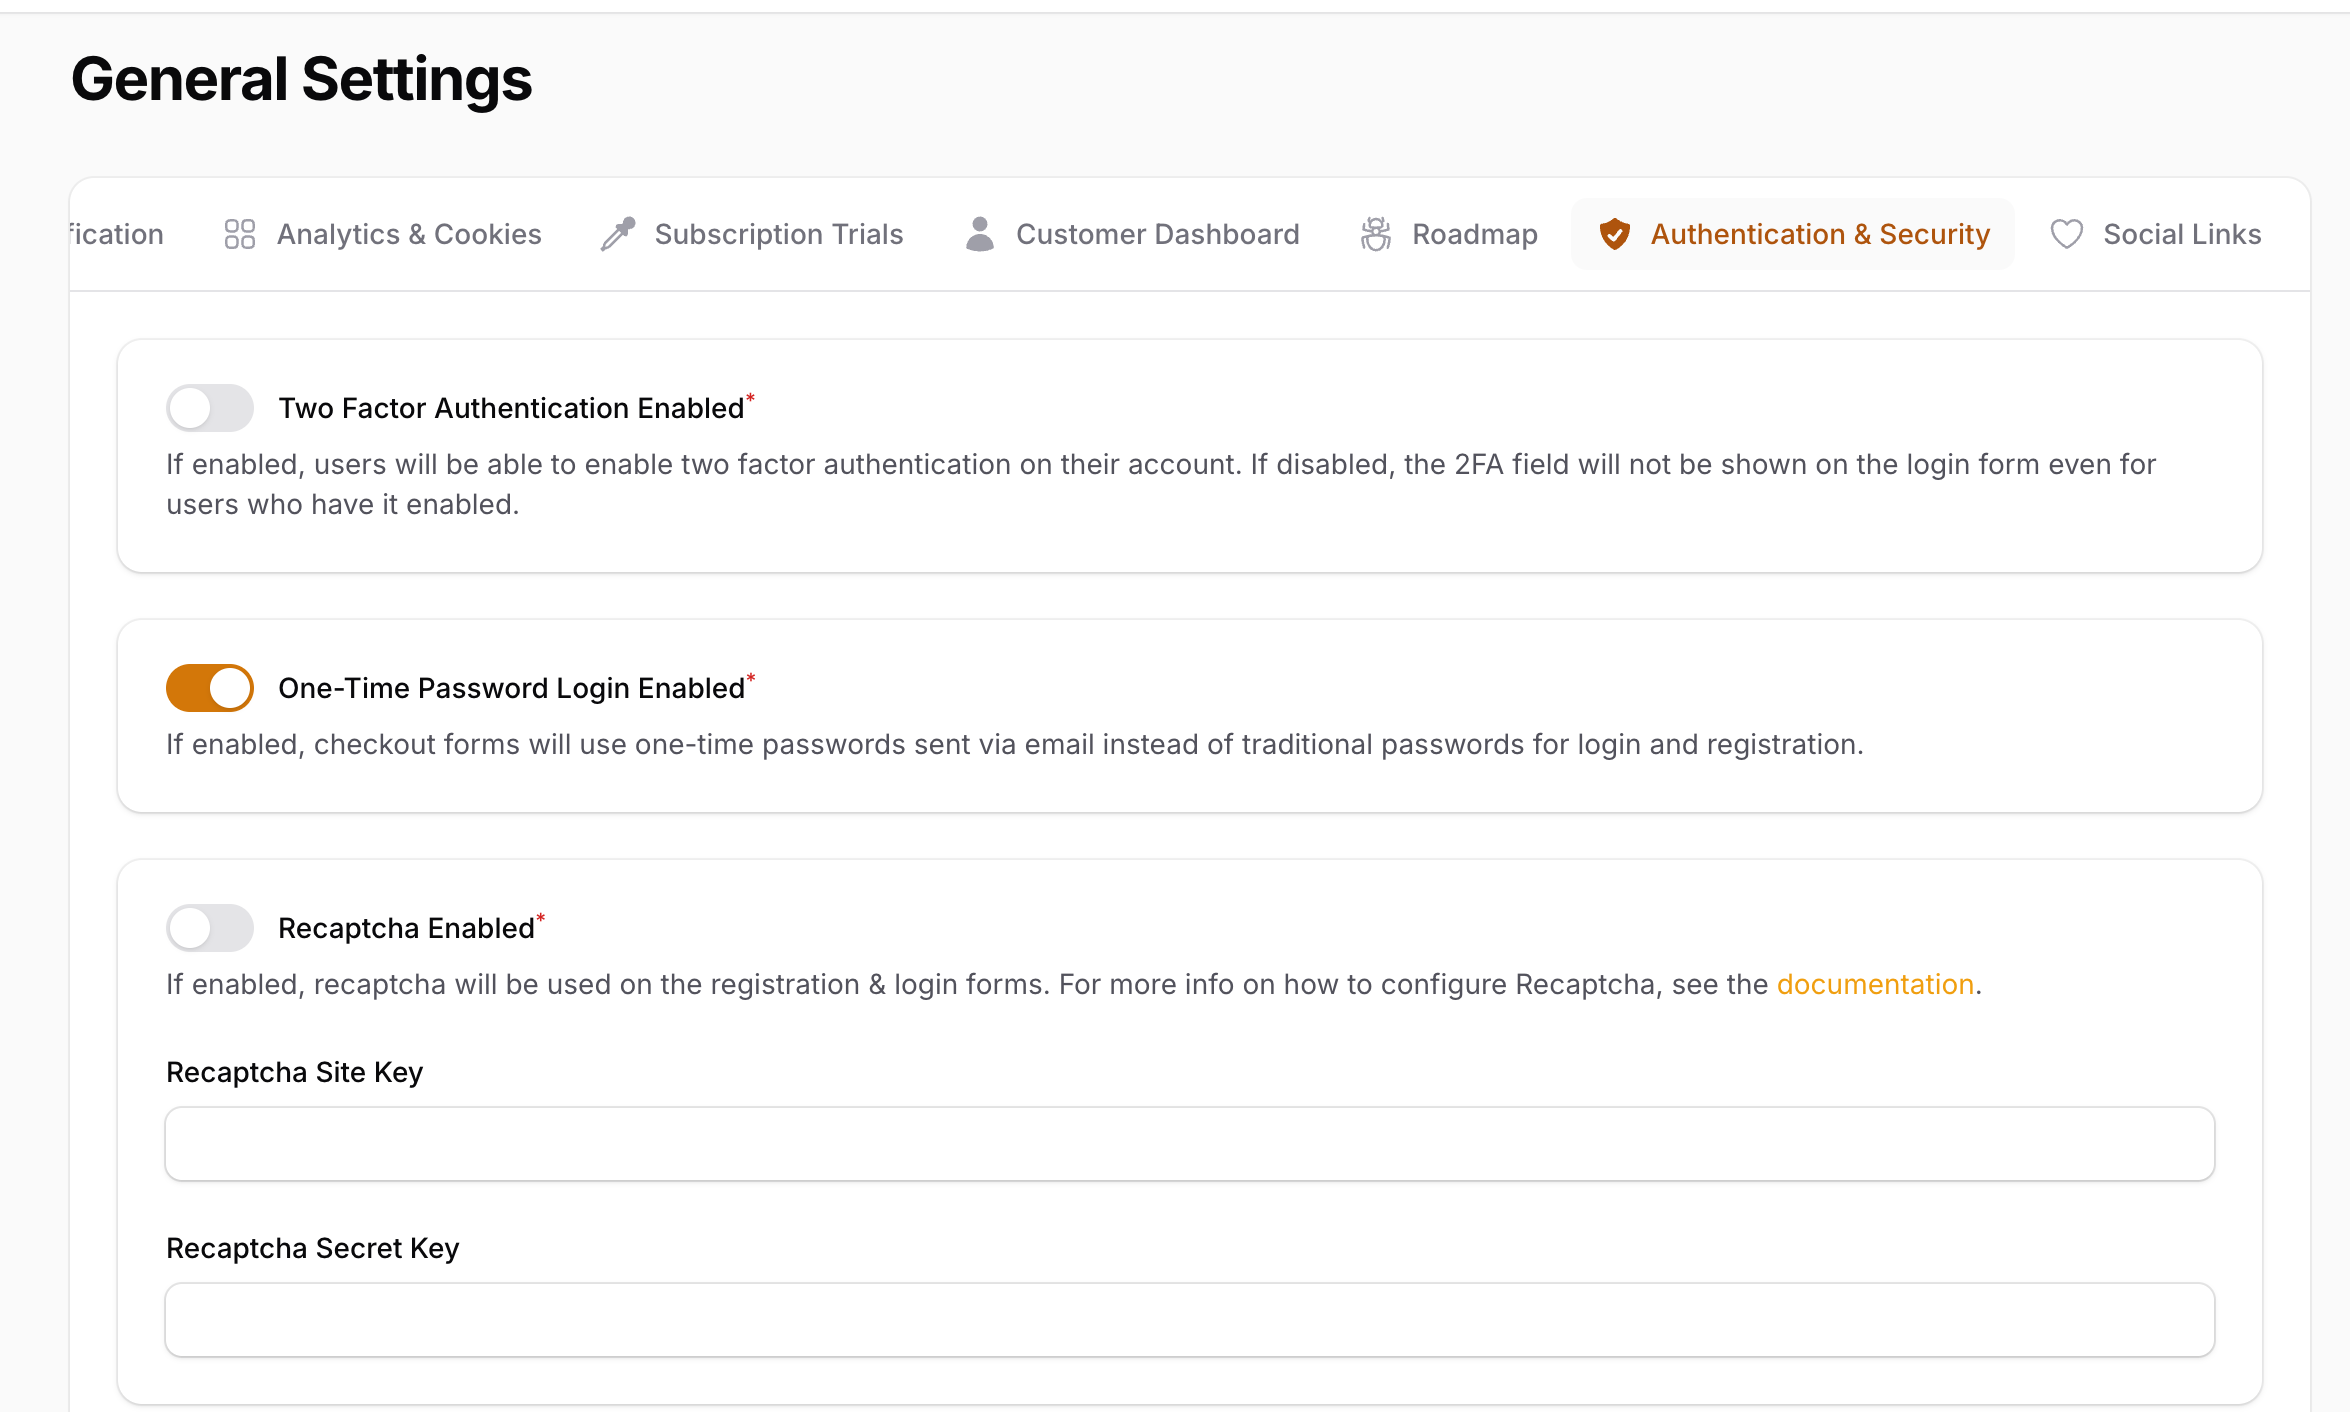
When this feature is enabled, the login form will not include a password field but instead the user will need to enter their email address, and they will receive a one-time password (OTP) in their email. The user can then use the OTP to login to their account.
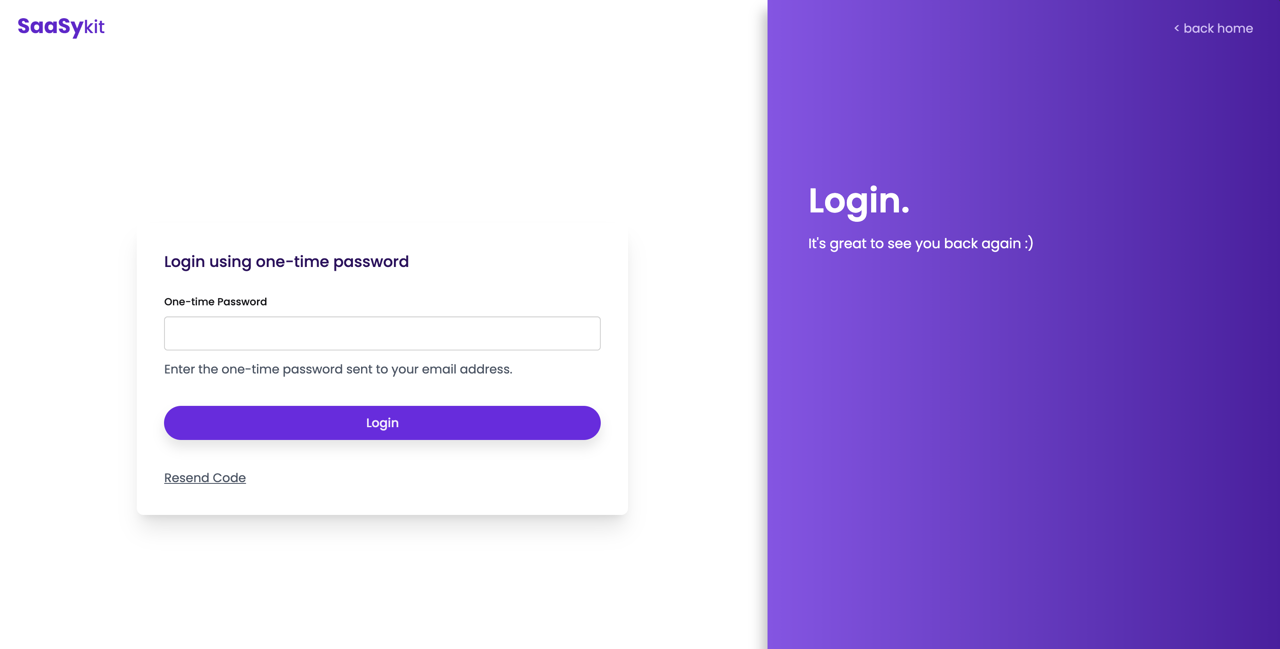
Once the user receives the OTP in their email, they can enter it in the OTP login form to login to their account.
The registration form will also use OTP if you enable that in the Admin Panel. The user will need to enter their email address, and they will receive a one-time password (OTP) in their email.
Blocking Users
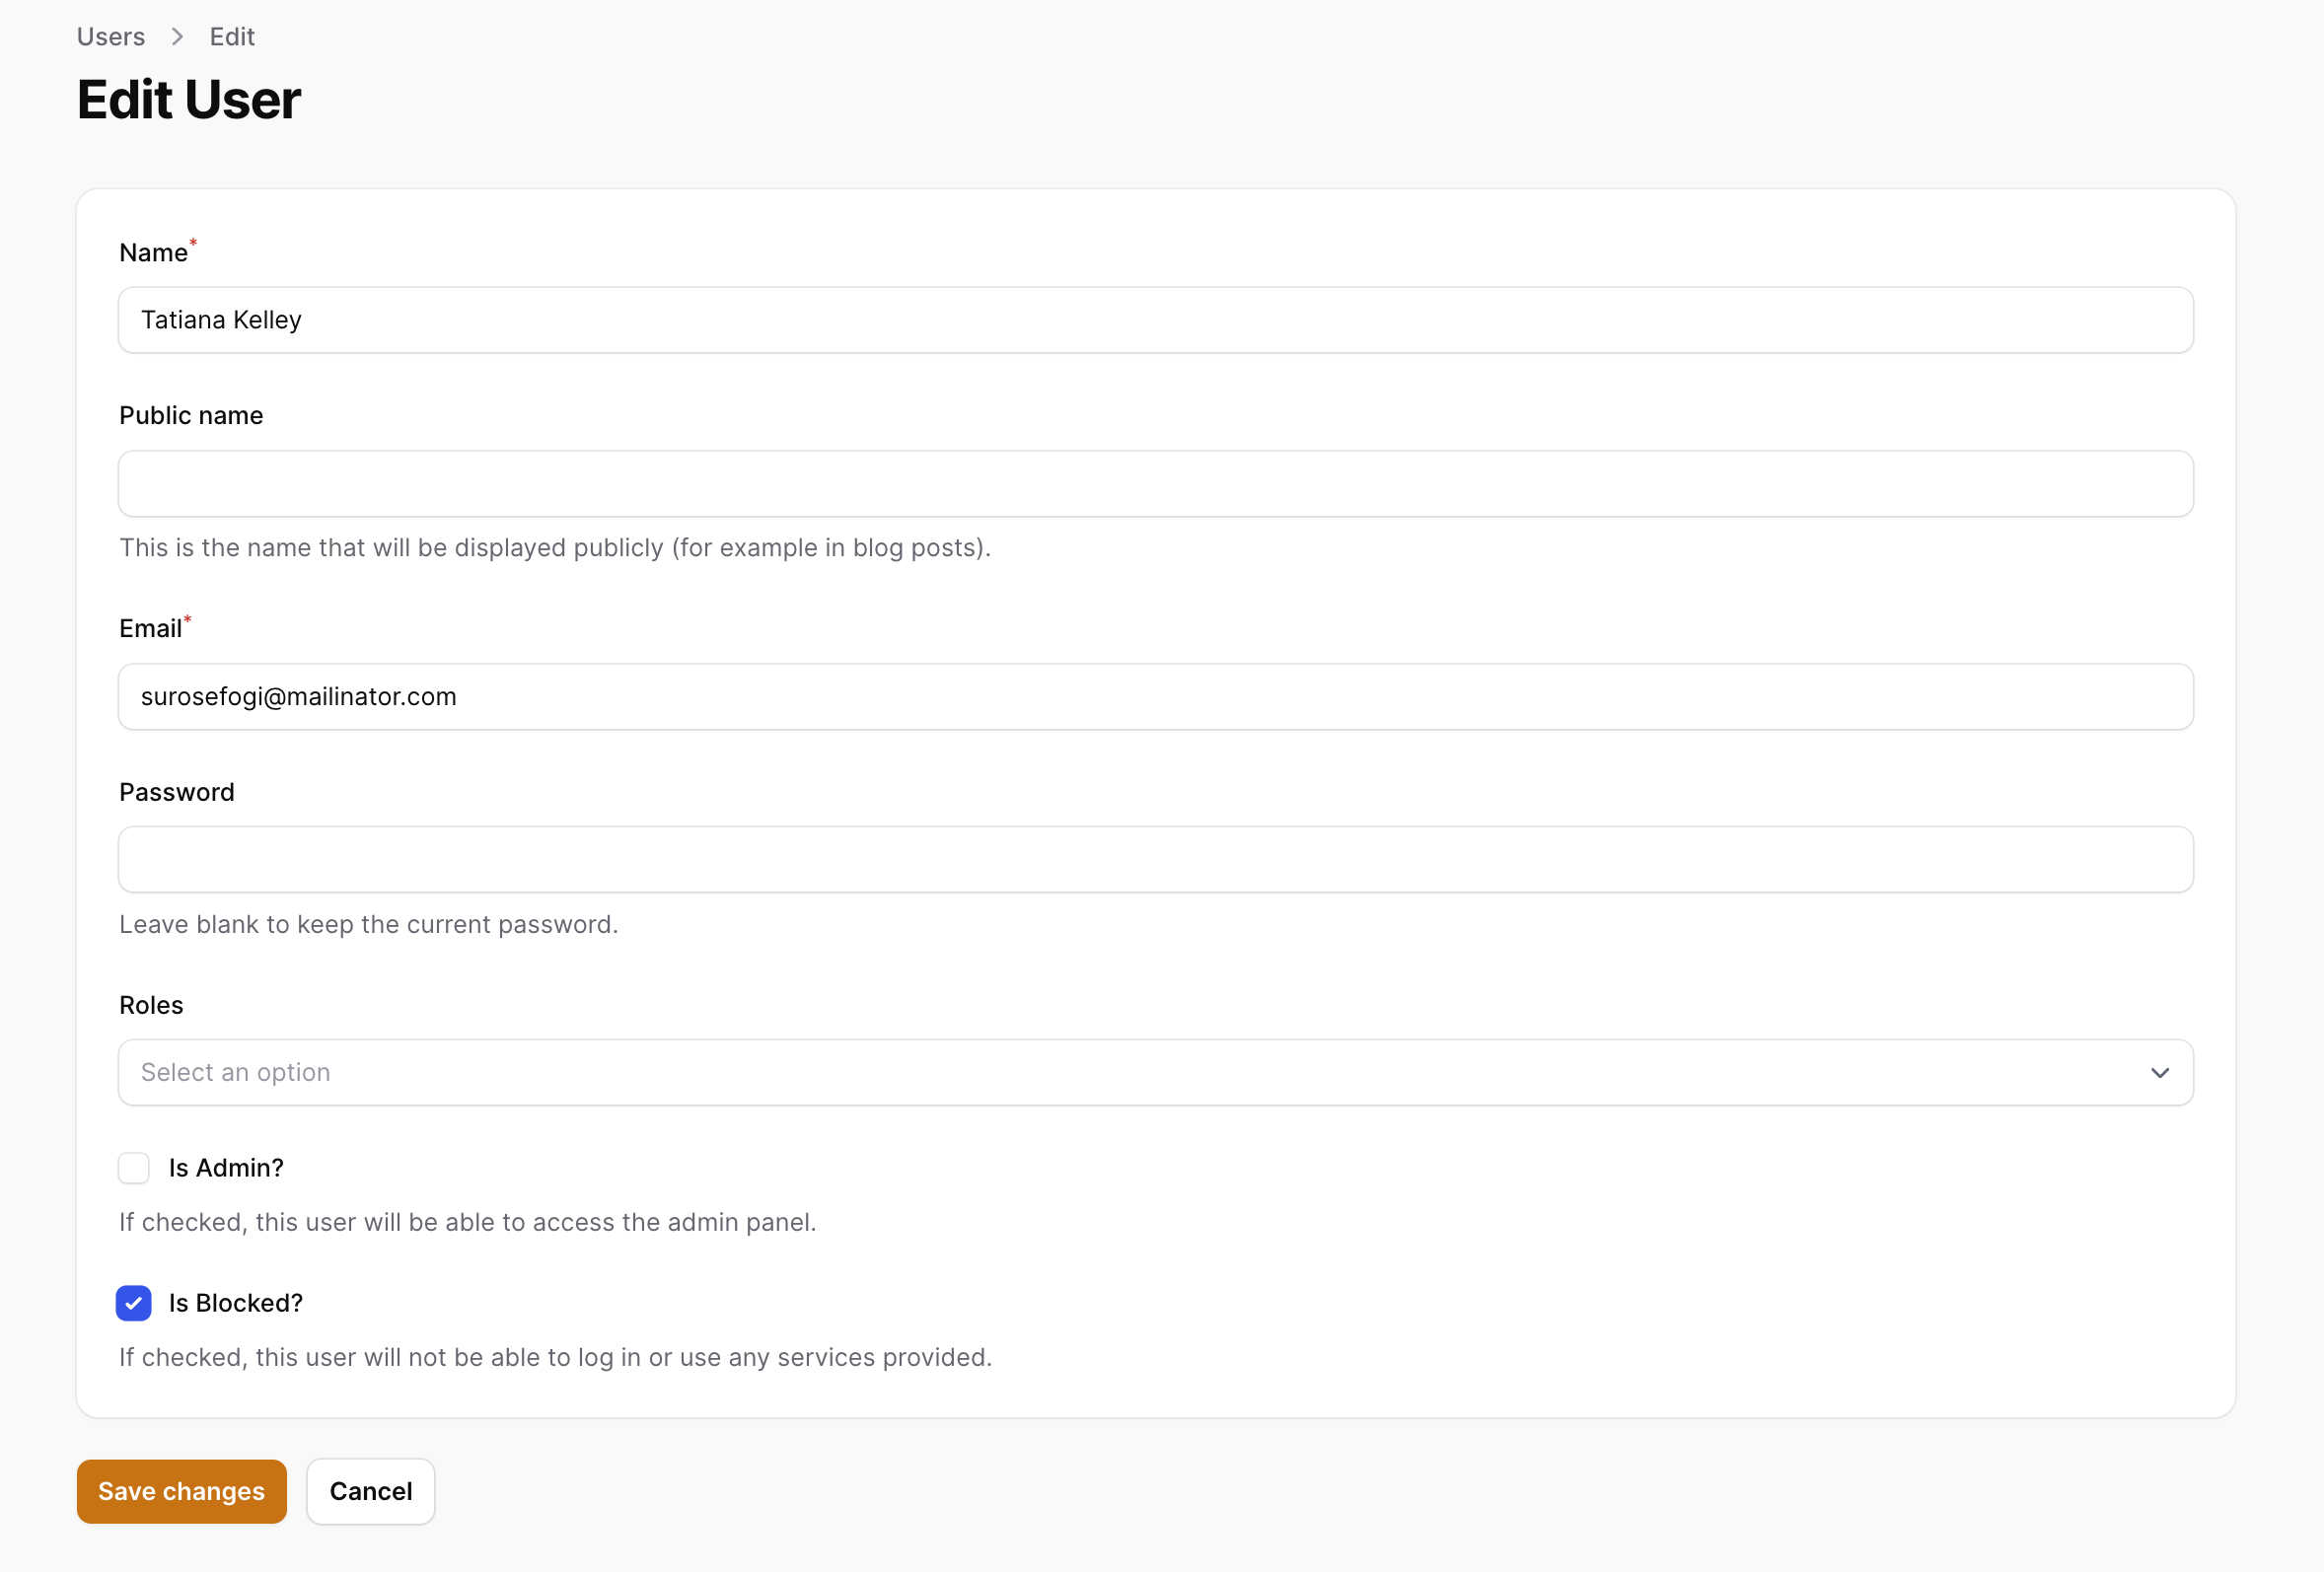
You can block users from the Admin Panel. Blocked users will not be able to login to your application.