⚙️ Settings
SaaSykit is super customizable and comes with a lot of settings that allow you to fine-tune your SaaS application to your needs.
To access the settings, go to the Admin Panel and click on "Settings" then click on "General Settings". You will be redirected to the settings page.
Application Settings

On the application settings tab, you can configure the following settings:
- Site Name: The name of your site.
- Description: A short description of your site. This will be used as the meta description for your site (for pages that have no description).
- Support Email: The email address that your users can use to contact you.
- Date Format: The date format to use in your application. You can use any of the PHP date formats.
- Date Time Format: The date time format to use in your application. You can use any of the PHP date formats.
- Multiple Subscriptions Enabled: Whether to enable multiple subscriptions or not. If this is enabled, then your users can subscribe to multiple plans at the same time. If this is disabled, then your users can only subscribe to one plan at a time.
Payment Settings

On the payment settings tab, you can configure the following settings:
- Default Currency: The default currency to use in your application. This will be used to display the prices of your plans and products to your users.
- Payment Proration Enabled: Whether to enable proration or not. If this is enabled, then when a customer upgrades or downgrades their subscription, the amount they have already paid will be prorated and credited towards their new plan. If this is disabled, then your customer will be charged the full amount of the new plan when it's time to pay the next invoice (the next billing period). Check proration for more information.
Email Settings
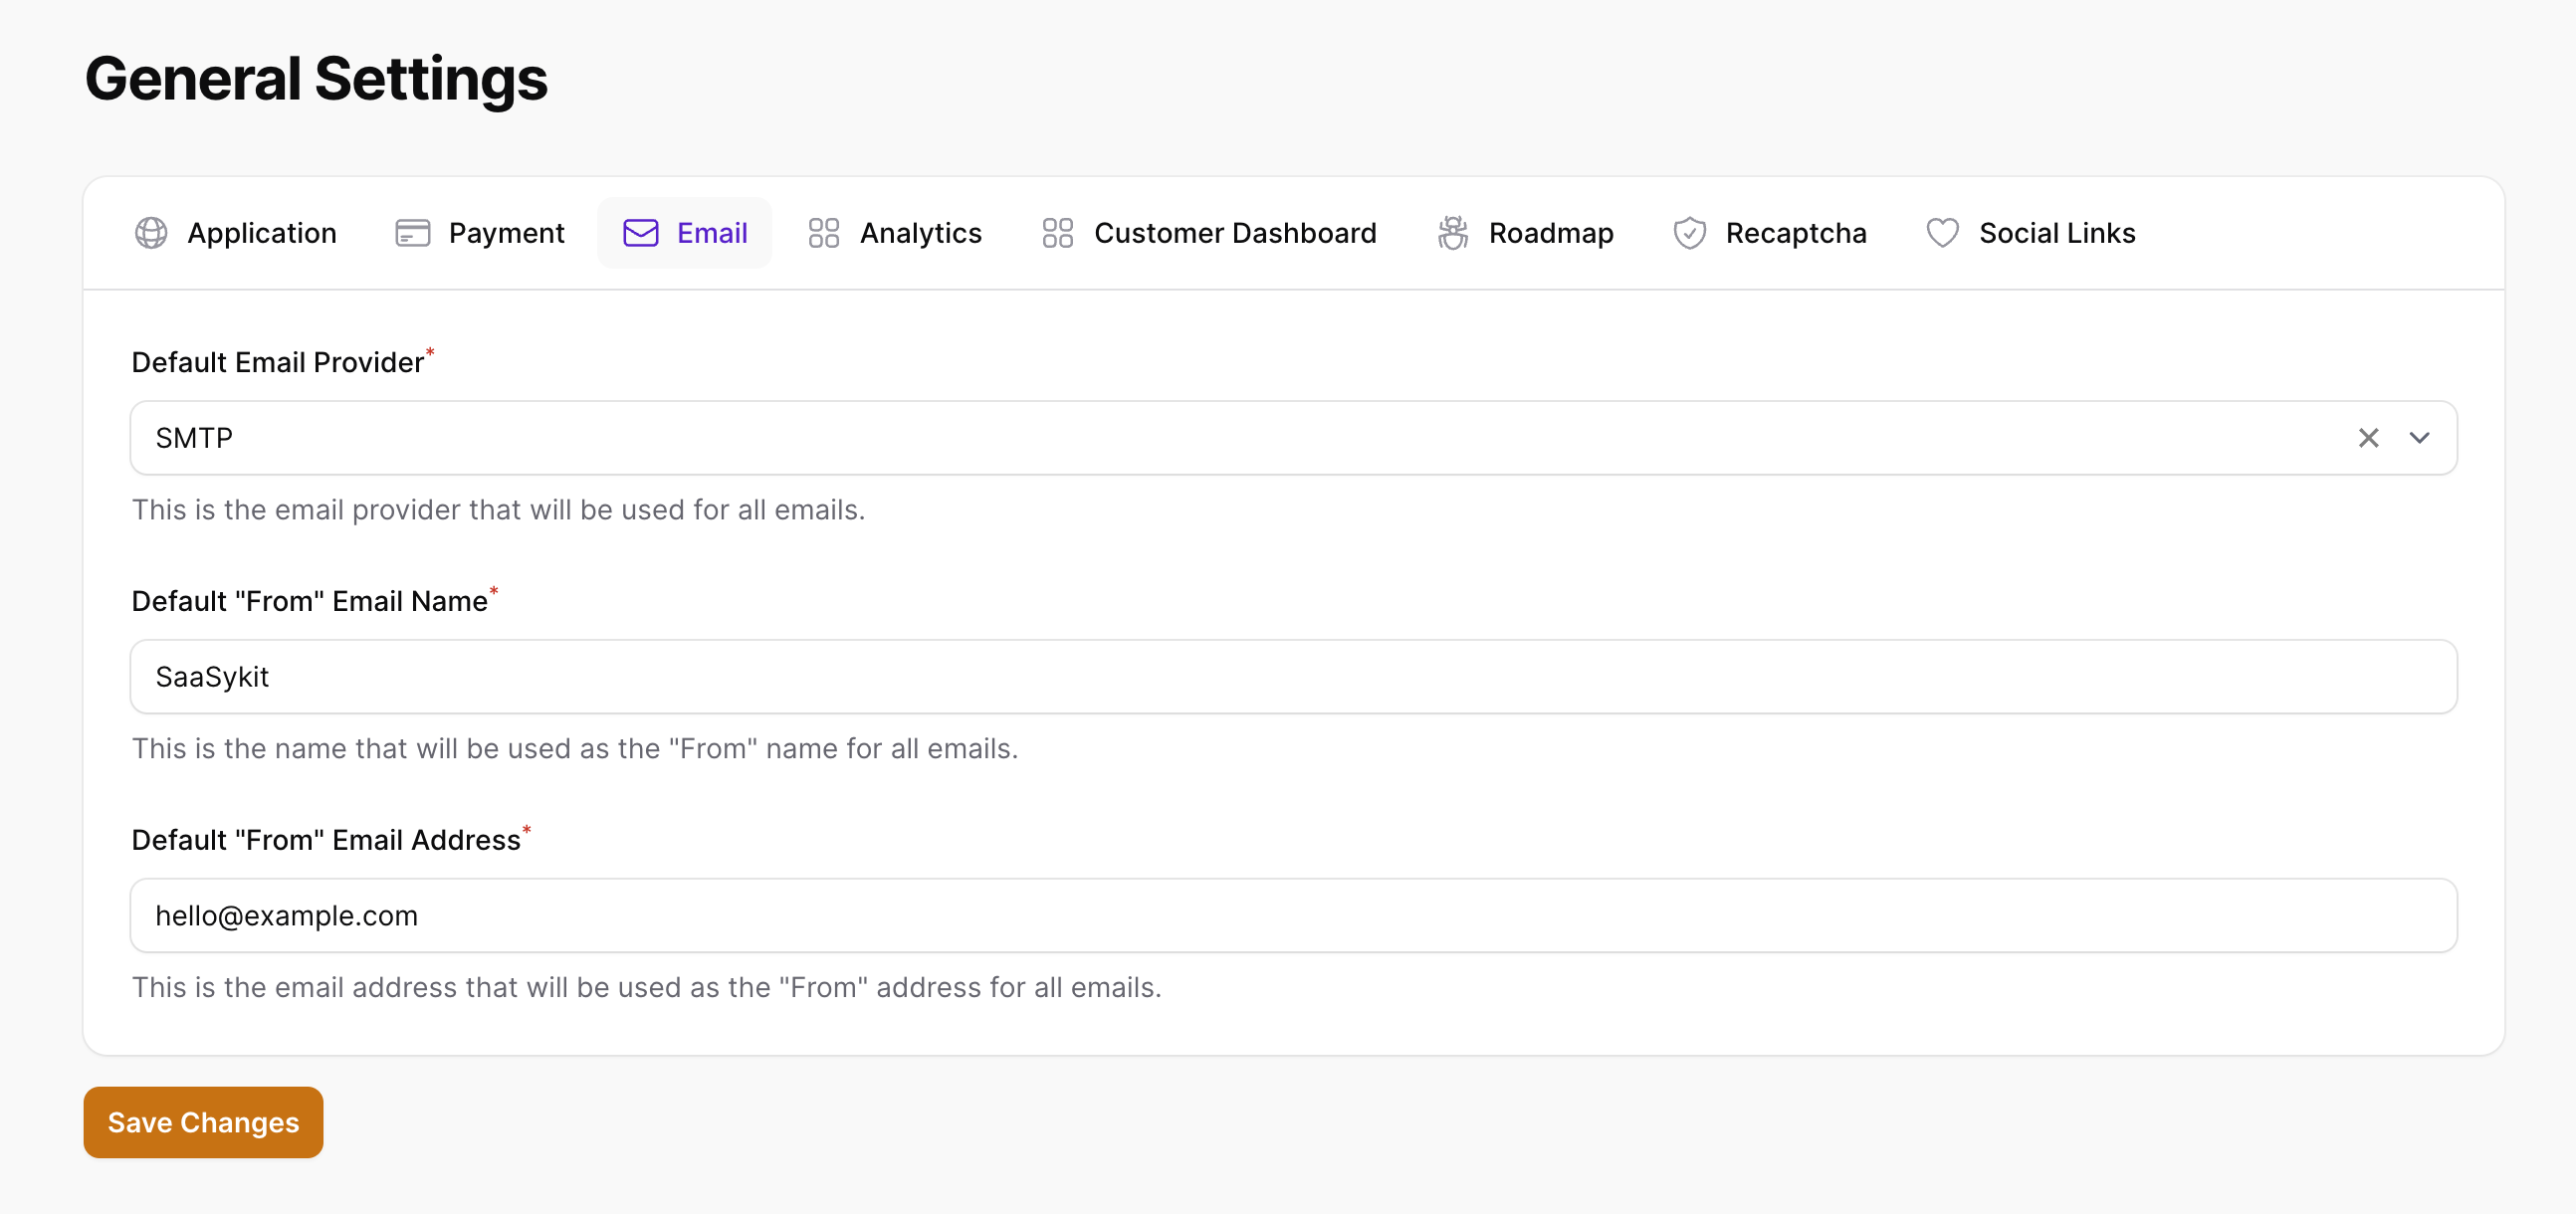
On the email settings tab, you can configure the following settings:
- Default Email Provider: The default email provider to use in your application. This will be used to send emails to your users. Check email management for more information.
- Default "From" Email Name: The default "from" email name to use in your application. This will be used as the "from" name when sending emails to your users.
- Default "From" Email Address: The default "from" email address to use in your application. This will be used as the "from" email address when sending emails to your users.
Analytics & Cookies Settings
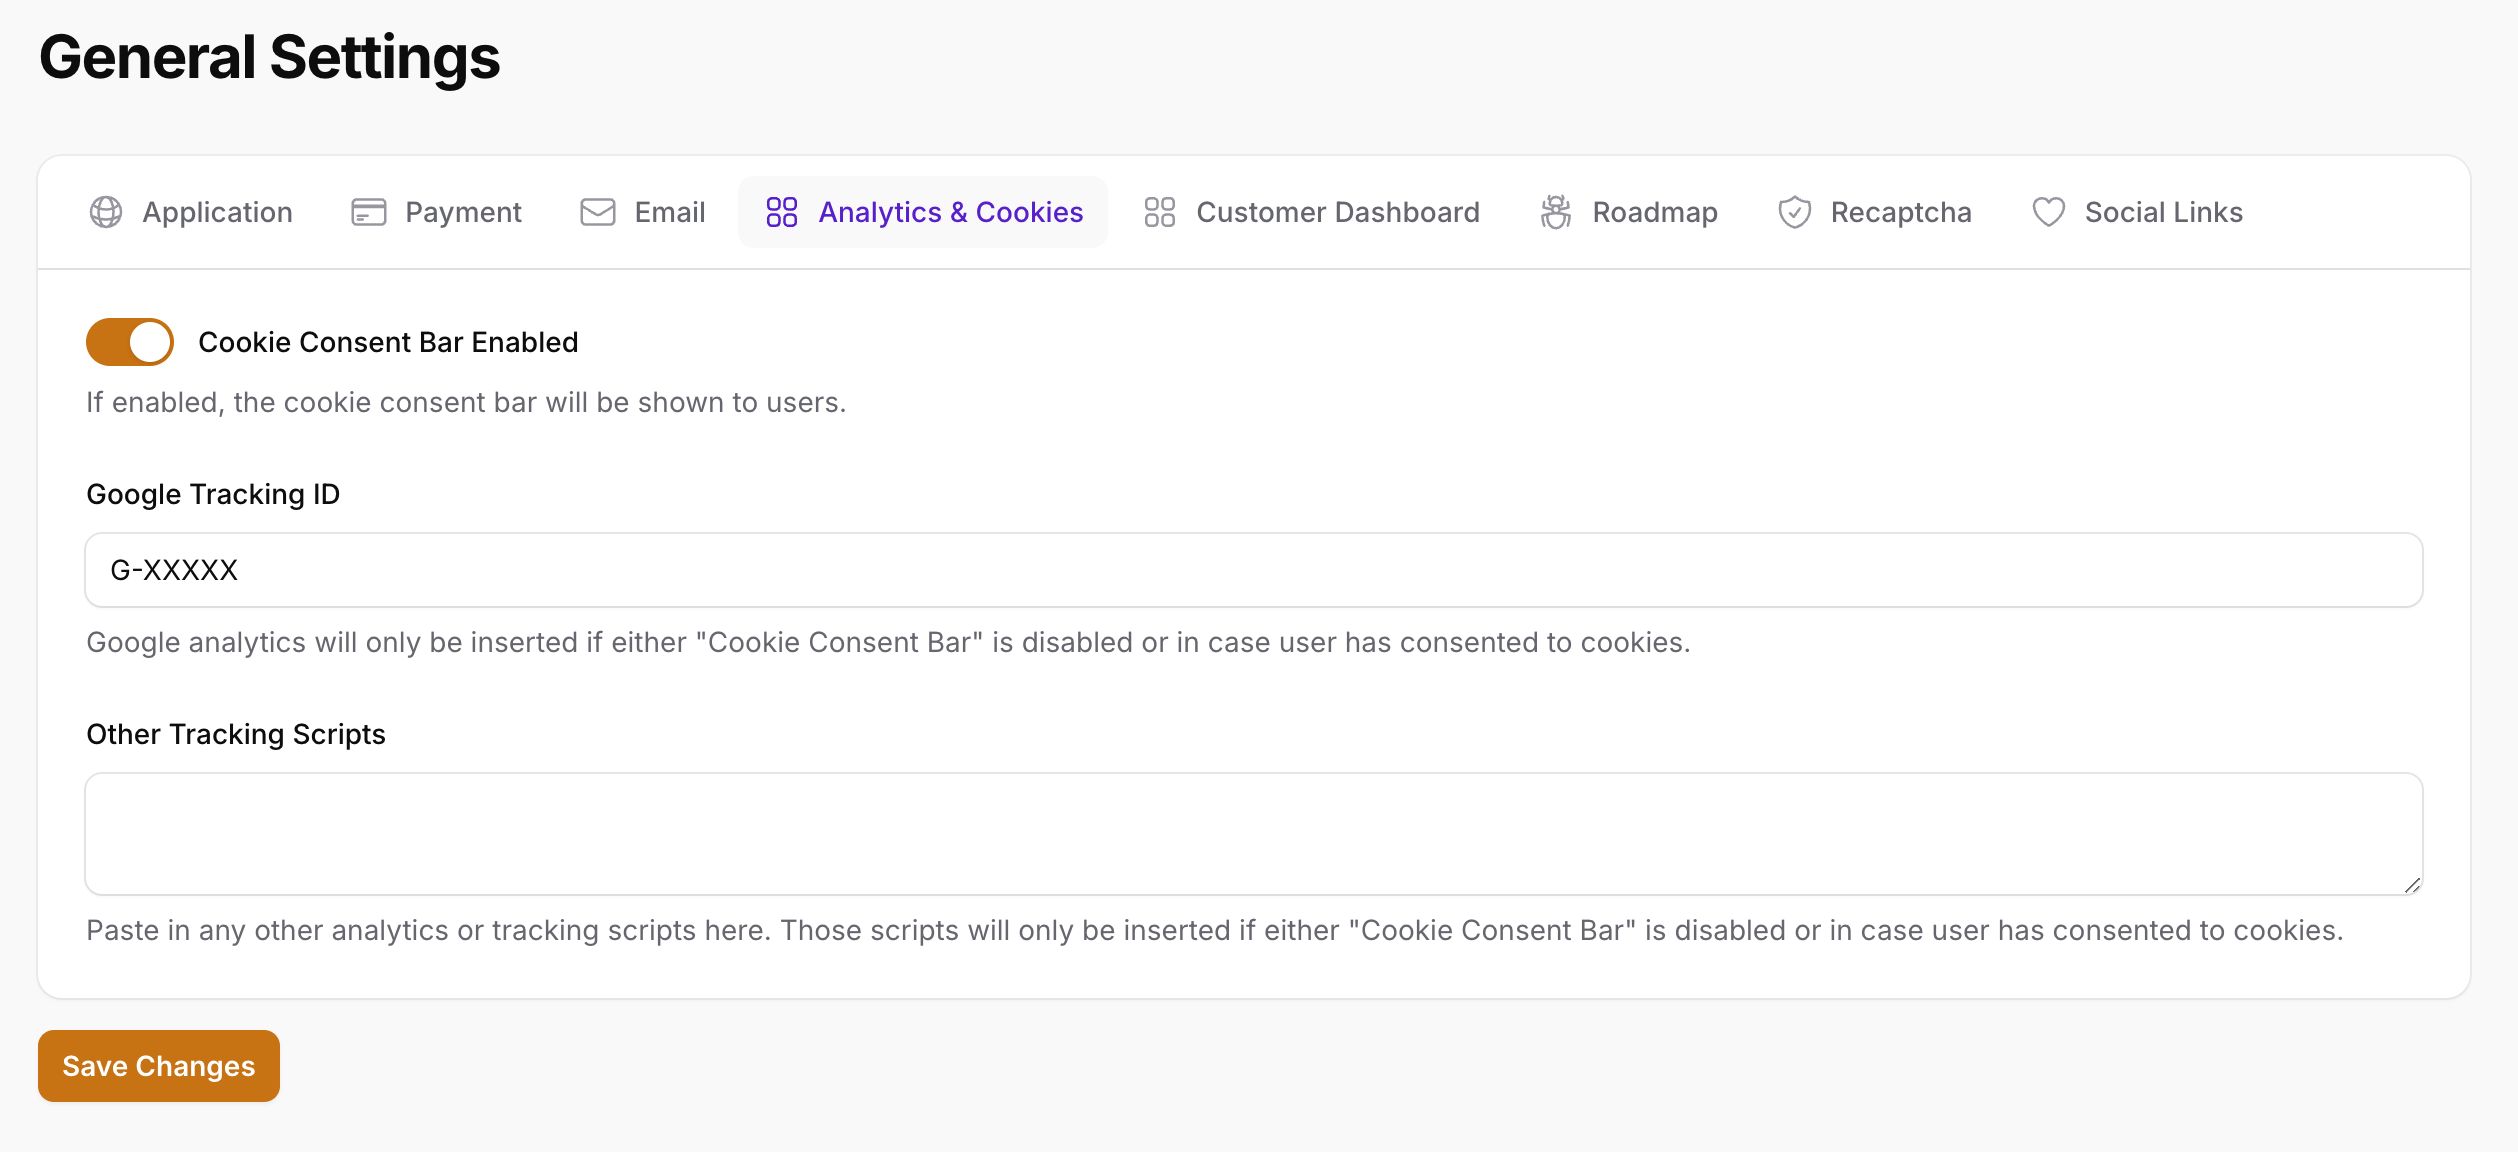
On the analytics & cookies settings tab, you can configure the following settings:
- Cookie Consent Bar Enabled: Whether to show the cookie consent bar or not. If this is enabled, then a cookie consent bar will be shown to your users when they visit your site for the first time. This is required by law in some countries (e.g. the EU).
- Google Analytics Tracking ID: The Google Analytics tracking ID to use in your application. This will be used to track your users and show you stats about them in your Google Analytics dashboard.
- Other Tracking Scripts: Here you can enter any third party tracking/analytics javascript or HTML snippet to include in your application, suck as Facebook Pixel, Hotjar, etc.
If Cookie Consent Bar is enabled, Google Analytics and any other tracking scripts you set in "Other Tracking Scripts" will only be loaded after the user has consented the cookies.
Customer Dashboard Settings
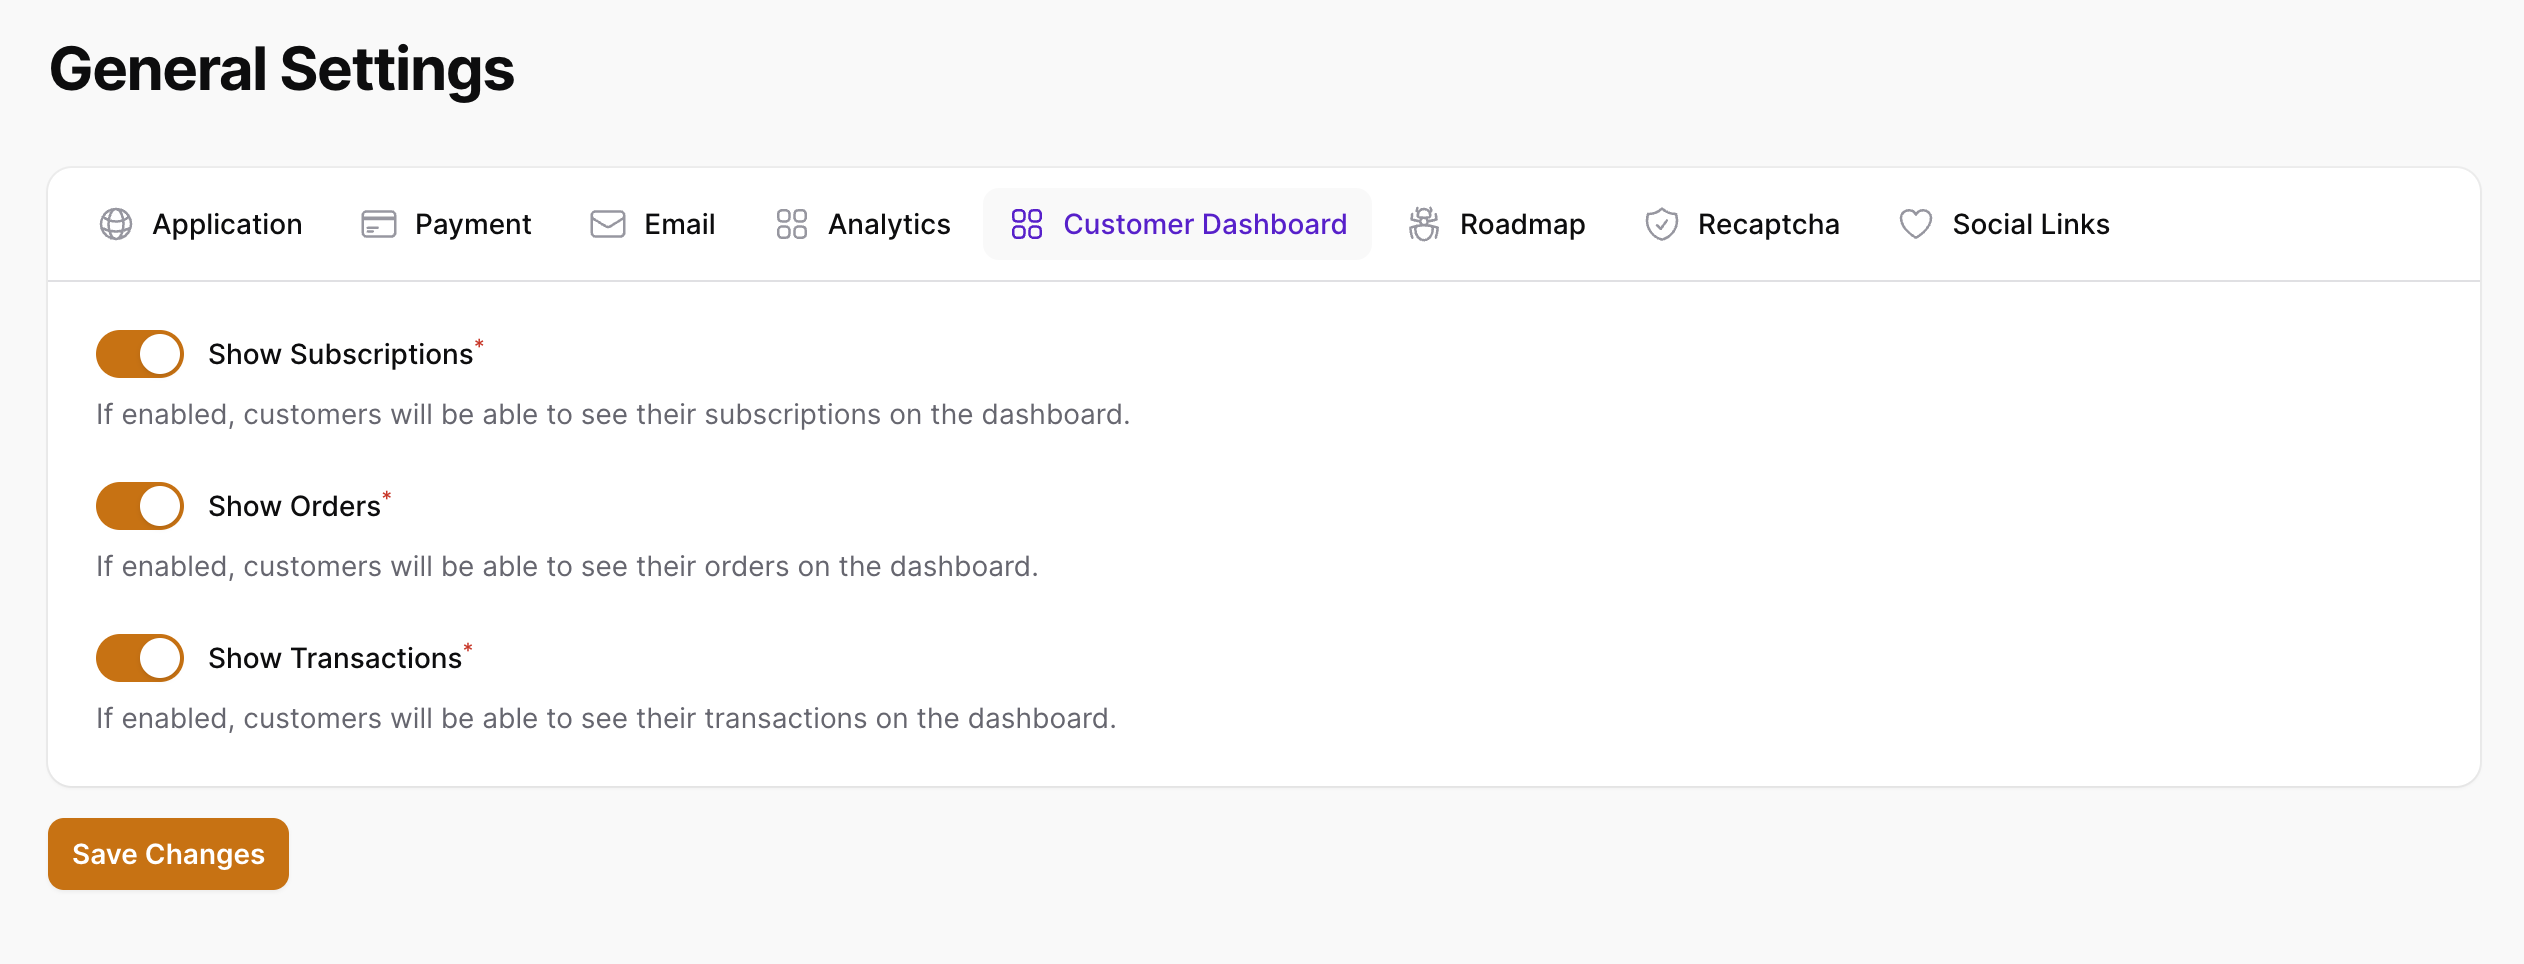
On the customer dashboard settings tab, you can configure the following settings:
- Show Subscriptions: Whether to show the subscriptions section in the user dashboard or not.
- Show Orders: Whether to show the orders section in the user dashboard or not.
- Show Transactions: Whether to show the payments section in the user dashboard or not.
Roadmap Settings
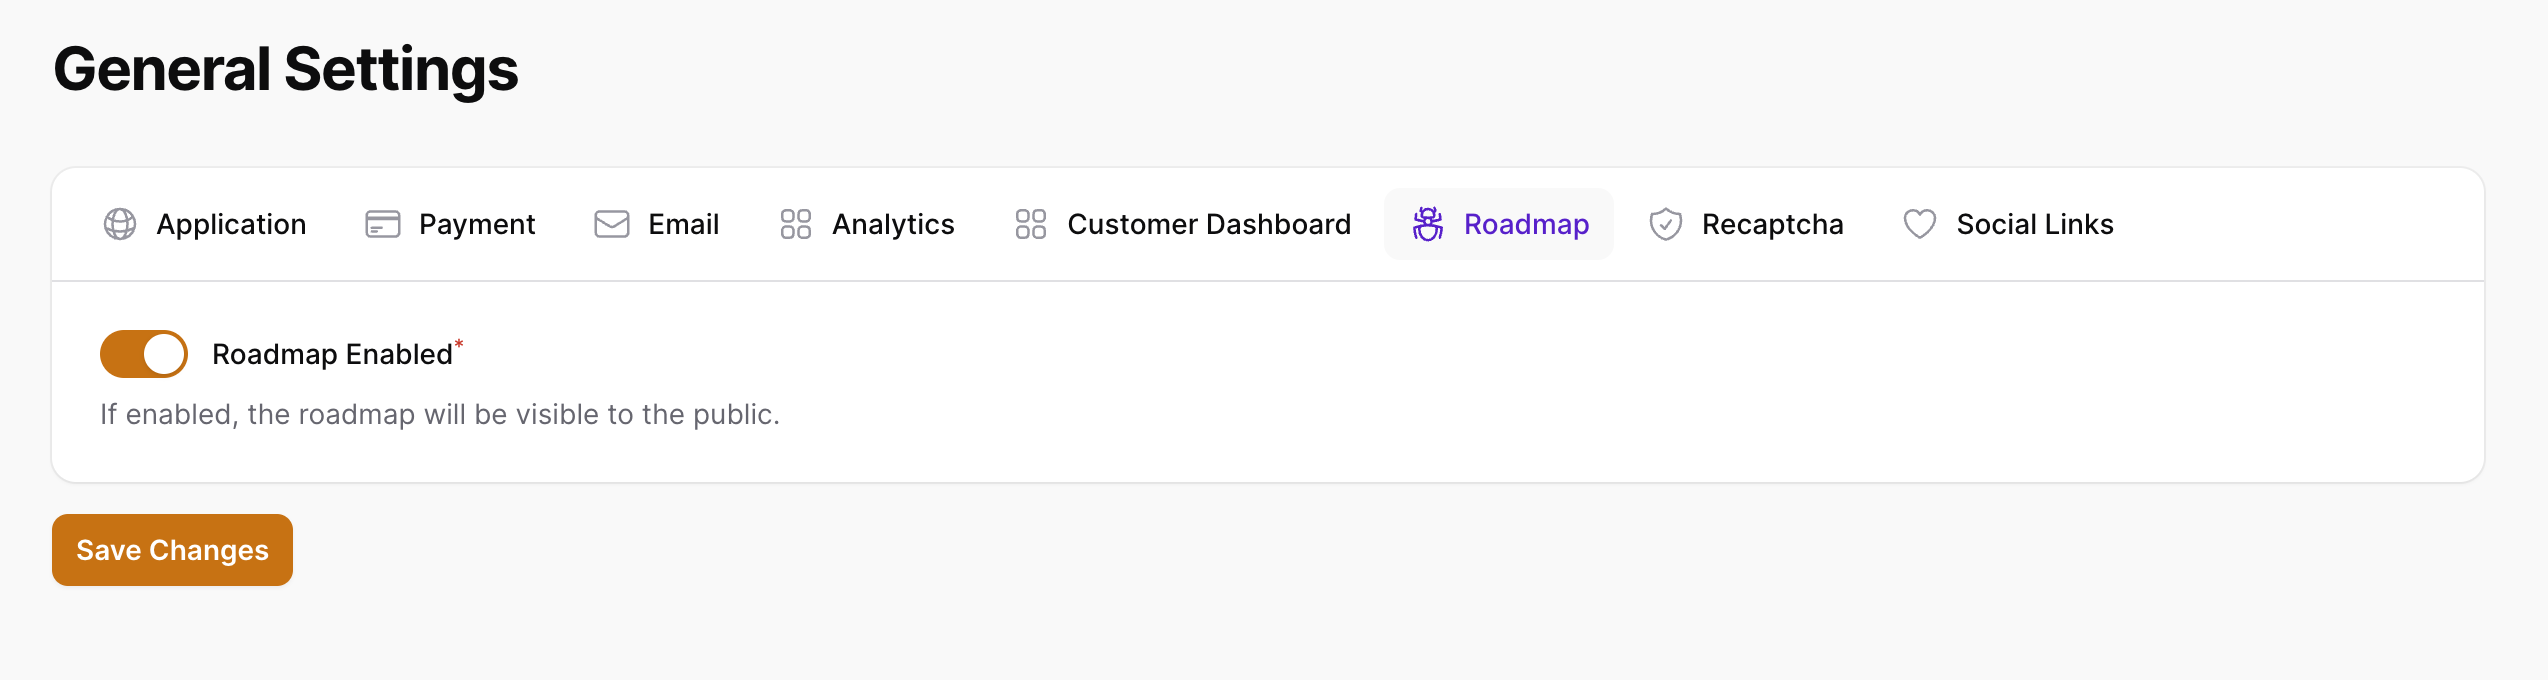
SaaSykit comes with a built-in roadmap feature that allows you to create a roadmap for your SaaS application and show it to your users.
On the roadmap settings tab, you can configure the following settings:
- Roadmap Enabled: Whether to enable the roadmap feature or not.
reCAPTCHA Settings
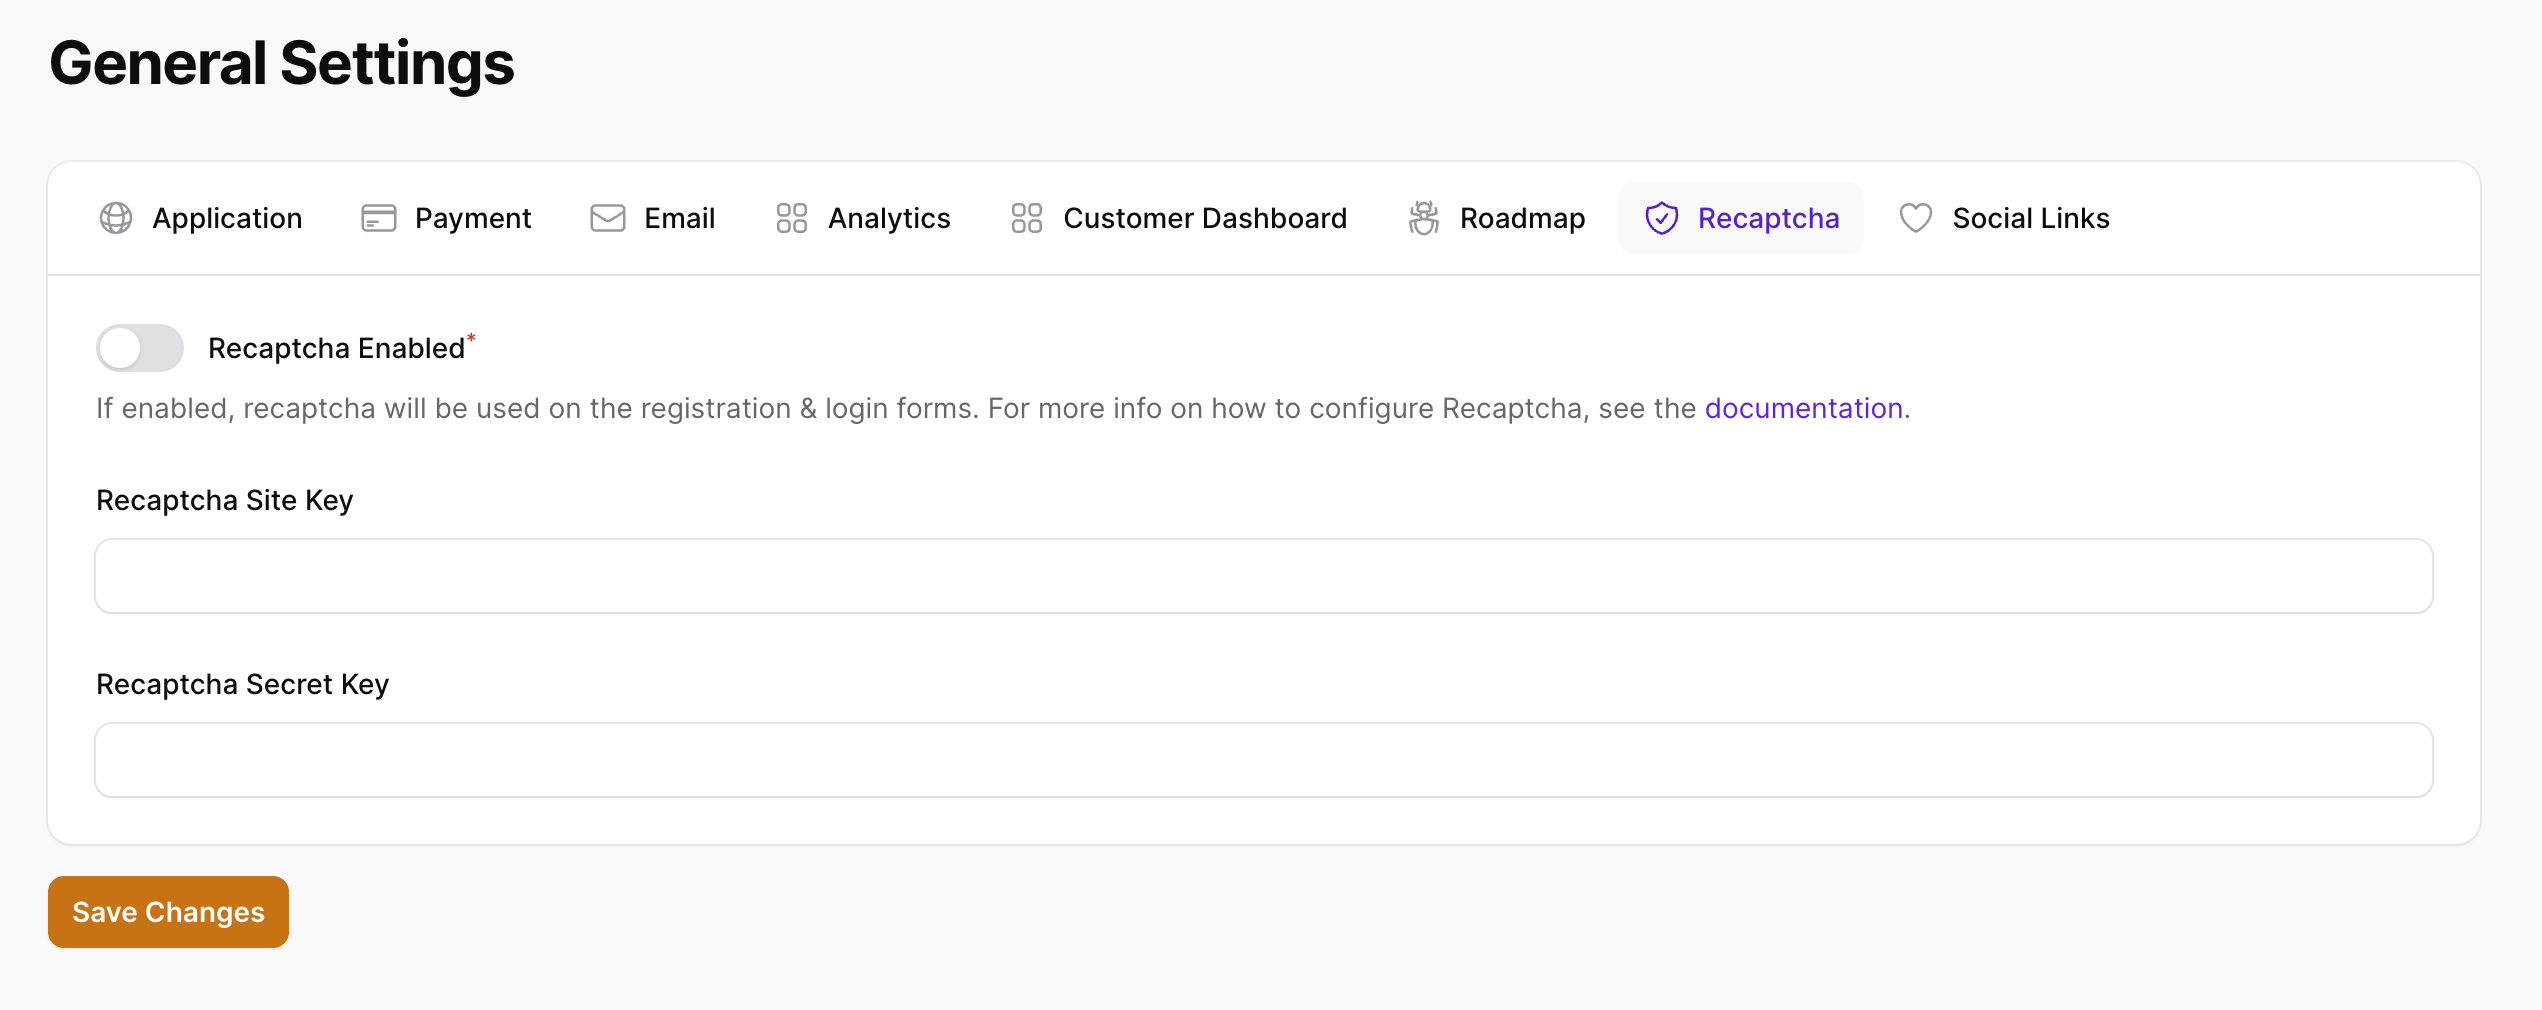
You can enable reCAPTCHA on your site to protect your forms from spam and abuse.
On the reCAPTCHA settings tab, you can configure the following settings:
- reCAPTCHA Enabled: Whether to enable reCAPTCHA or not.
- reCAPTCHA Site Key: The reCAPTCHA site key to use in your application.
- reCAPTCHA Secret Key: The reCAPTCHA secret key to use in your application.
Social Media Links
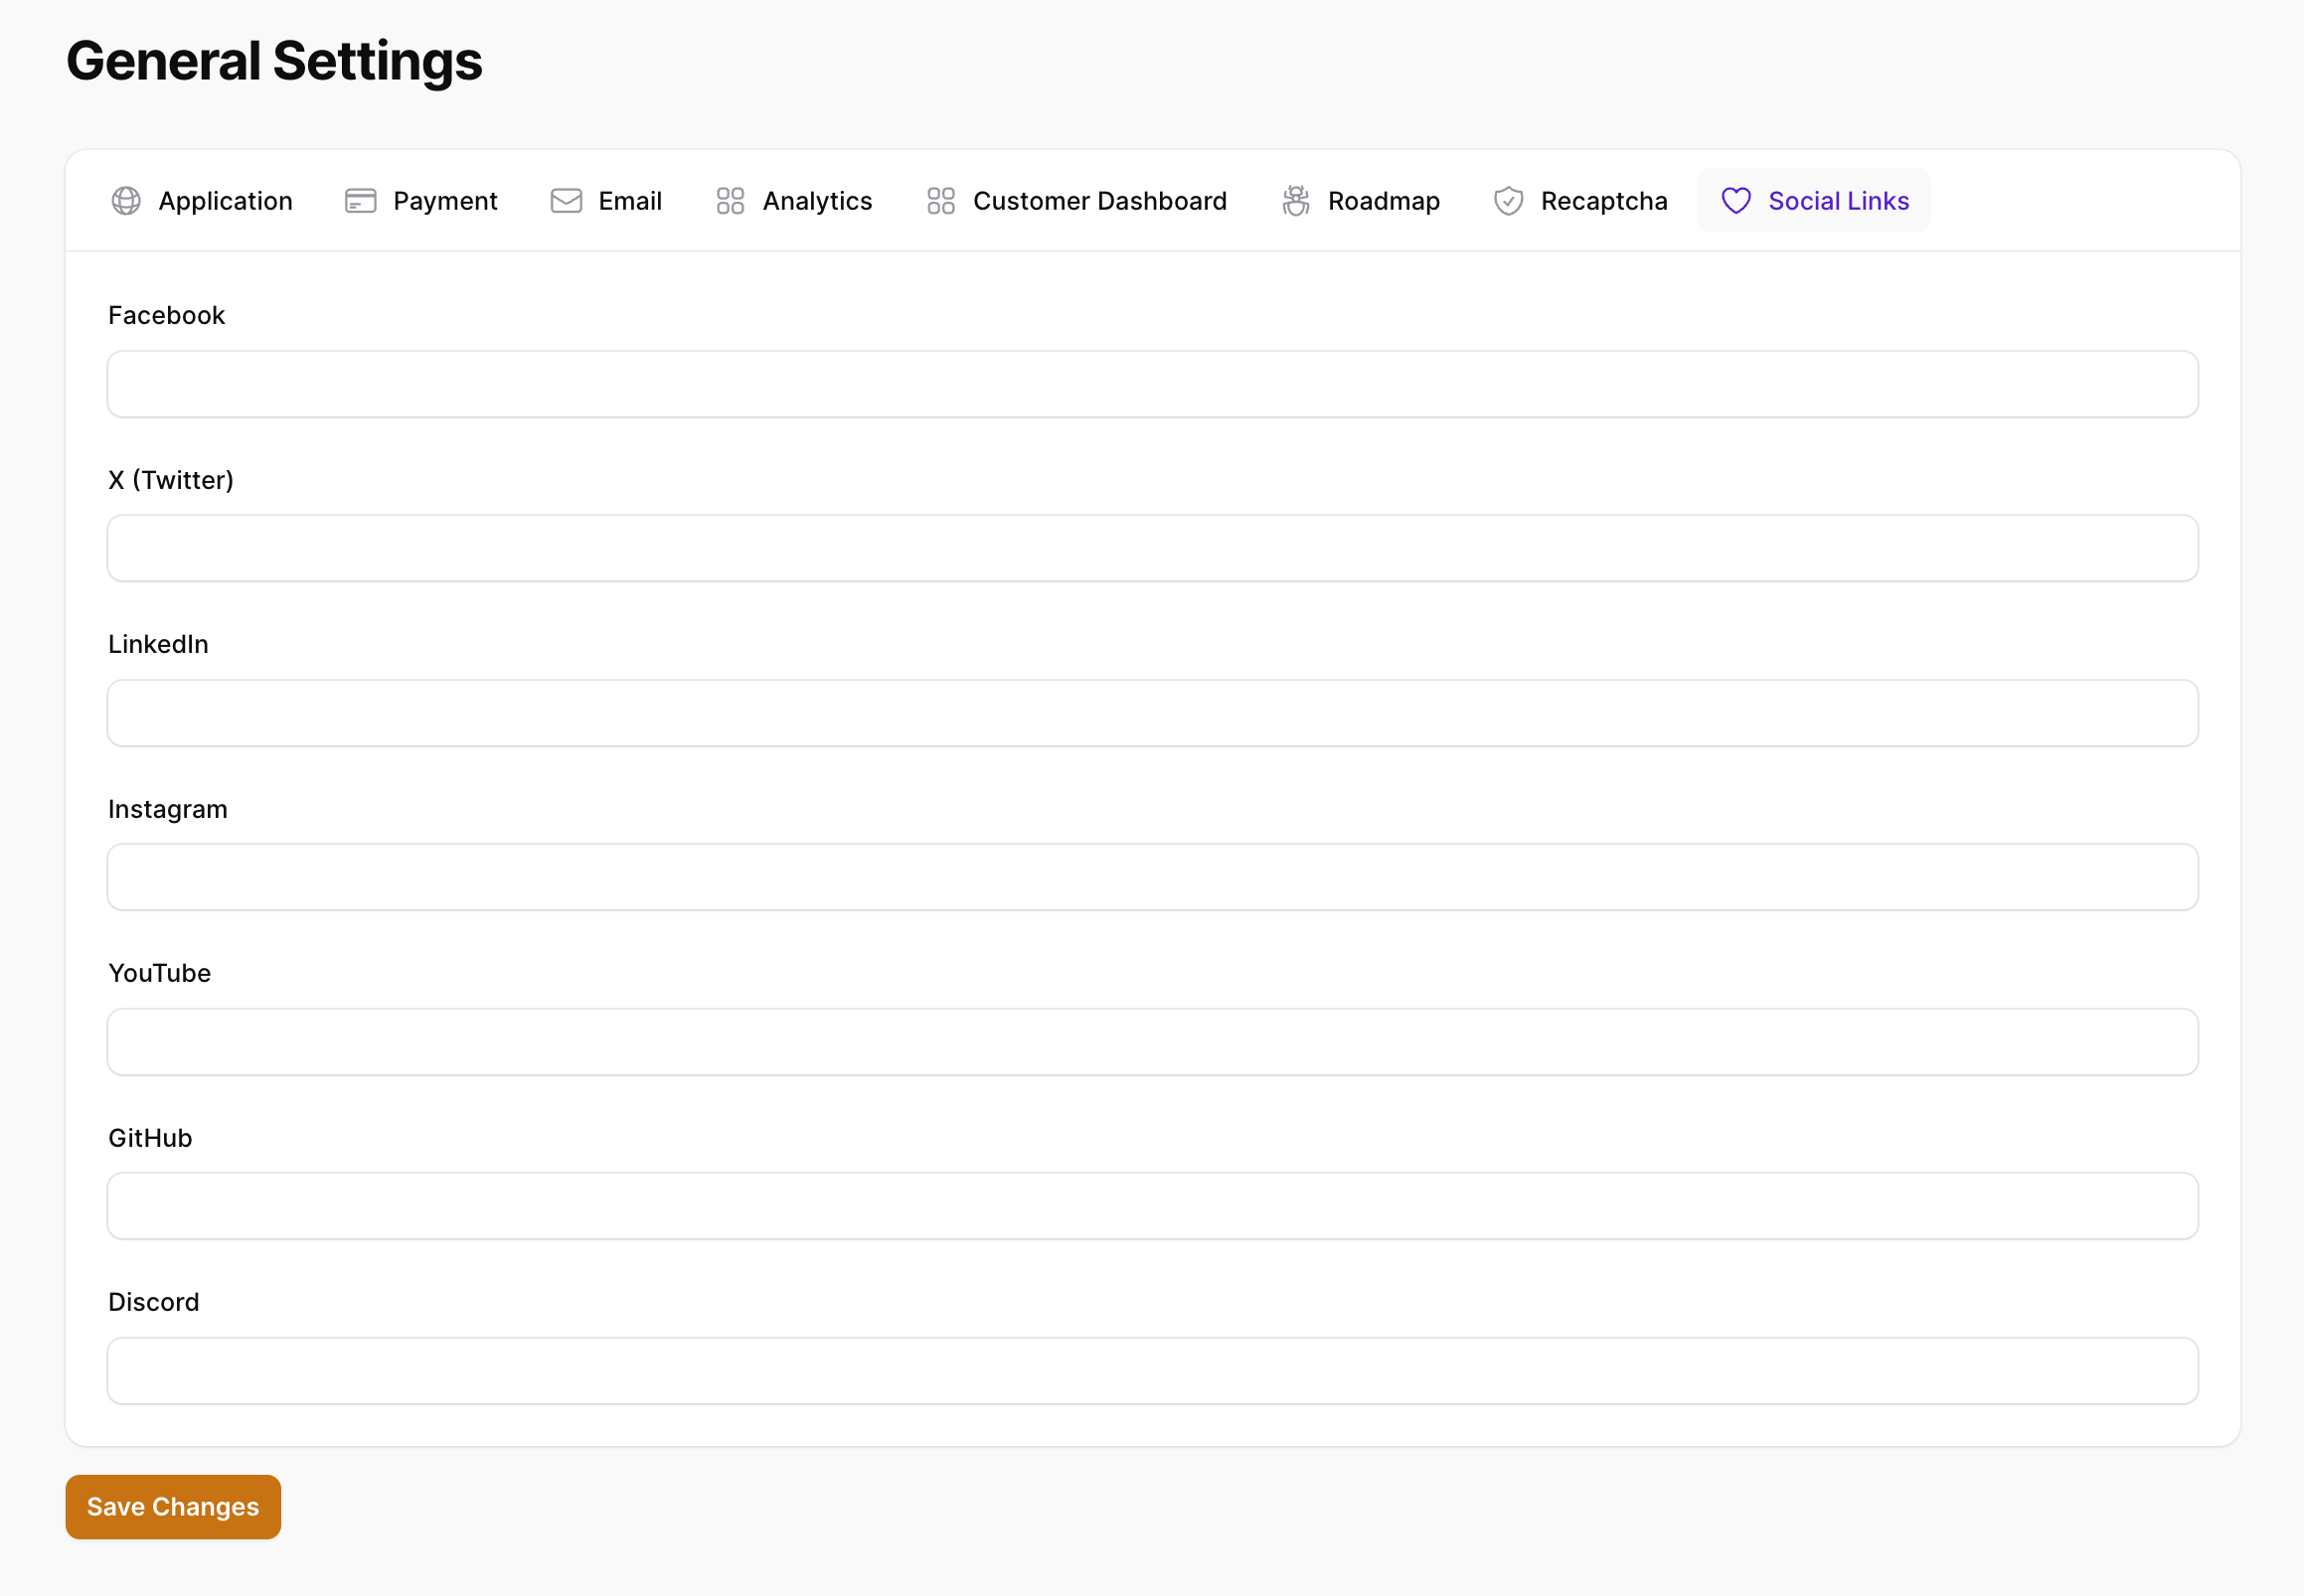
On the social media links tab, you can configure the following settings:
- Facebook: The Facebook page of your site.
- X (Twitter): The X (Twitter) page of your site.
- LinkedIn: The LinkedIn page of your site.
- Instagram: The Instagram page of your site.
- YouTube: The YouTube page of your site.
- GitHub: The GitHub page of your site.
- Discord: The Discord page of your site.