Offline (Manual) Payments
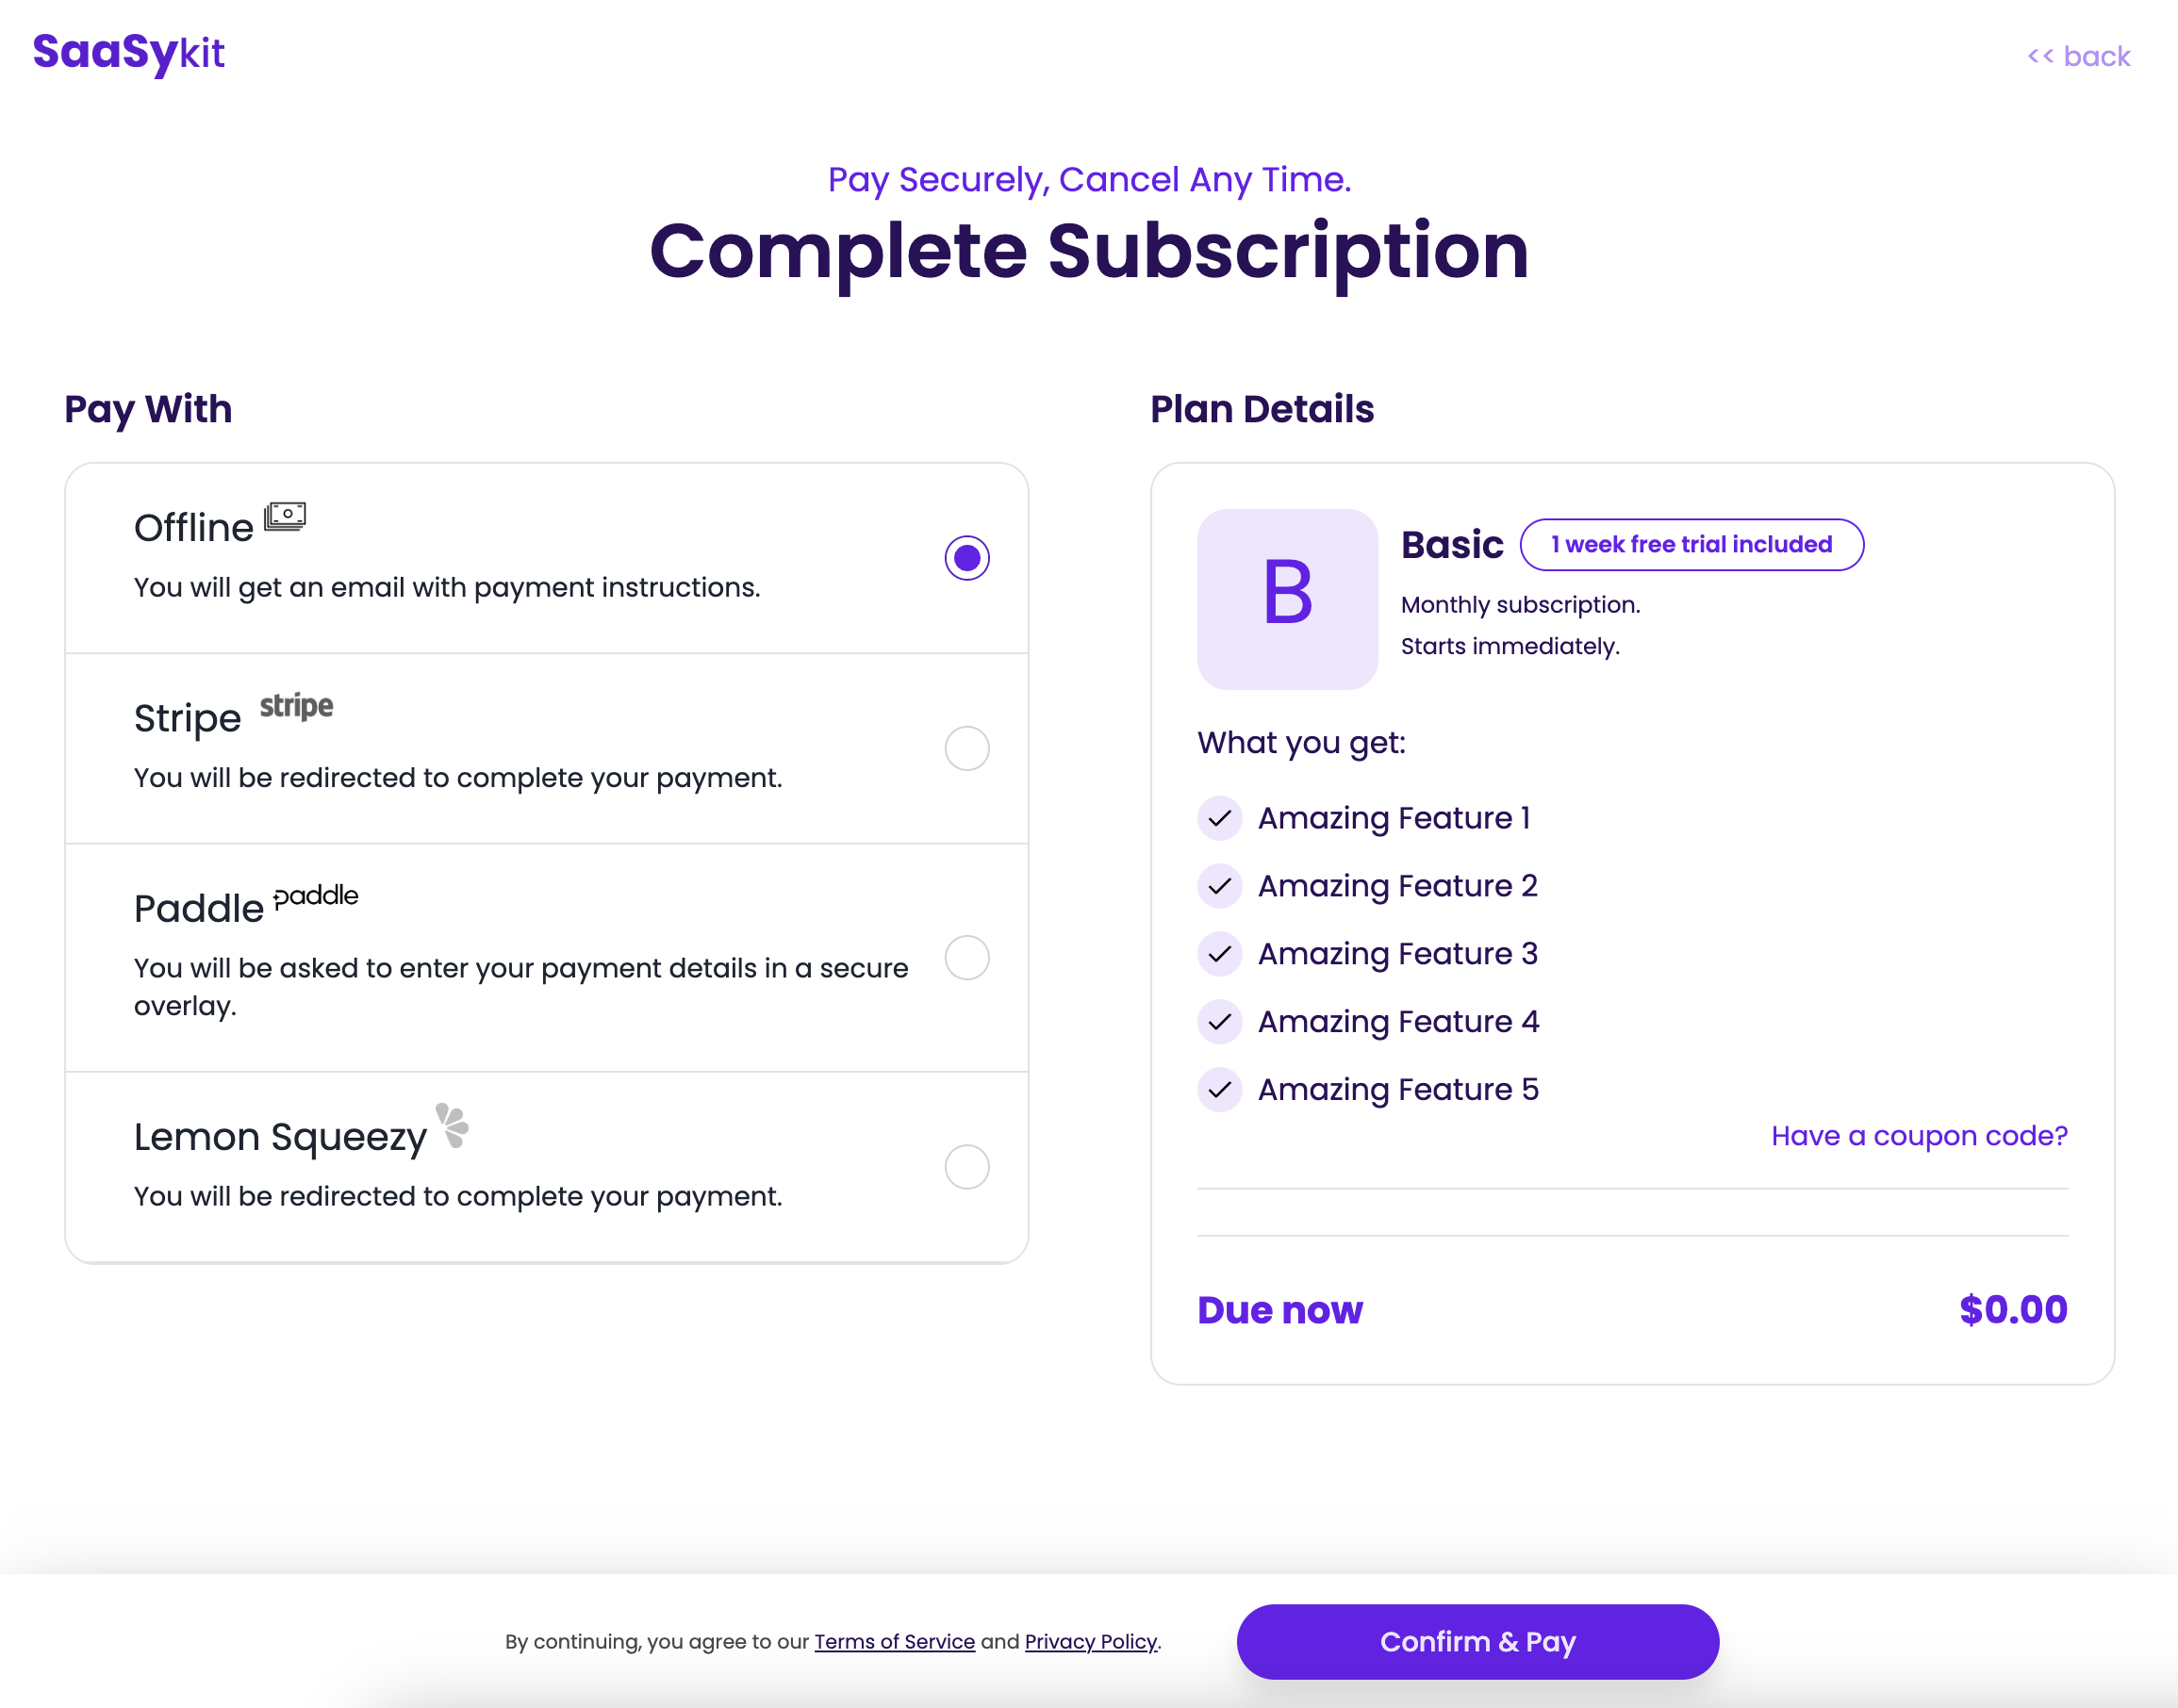
SaaSykit comes with support for offline (manual) payments out of the box. This allows you to accept payments from your customers without relying on a payment provider.
Whether bank transfer, cash, or any other manual payment method, you can easily configure it in your application.
Once the payment is made, you can mark the customer's subscription as active or the order as completed in the Admin Panel.
Configuration
To enable offline payments, go to the Admin Panel and under "Settings" click on "Payment Providers". You will be redirected to the payment providers settings page.
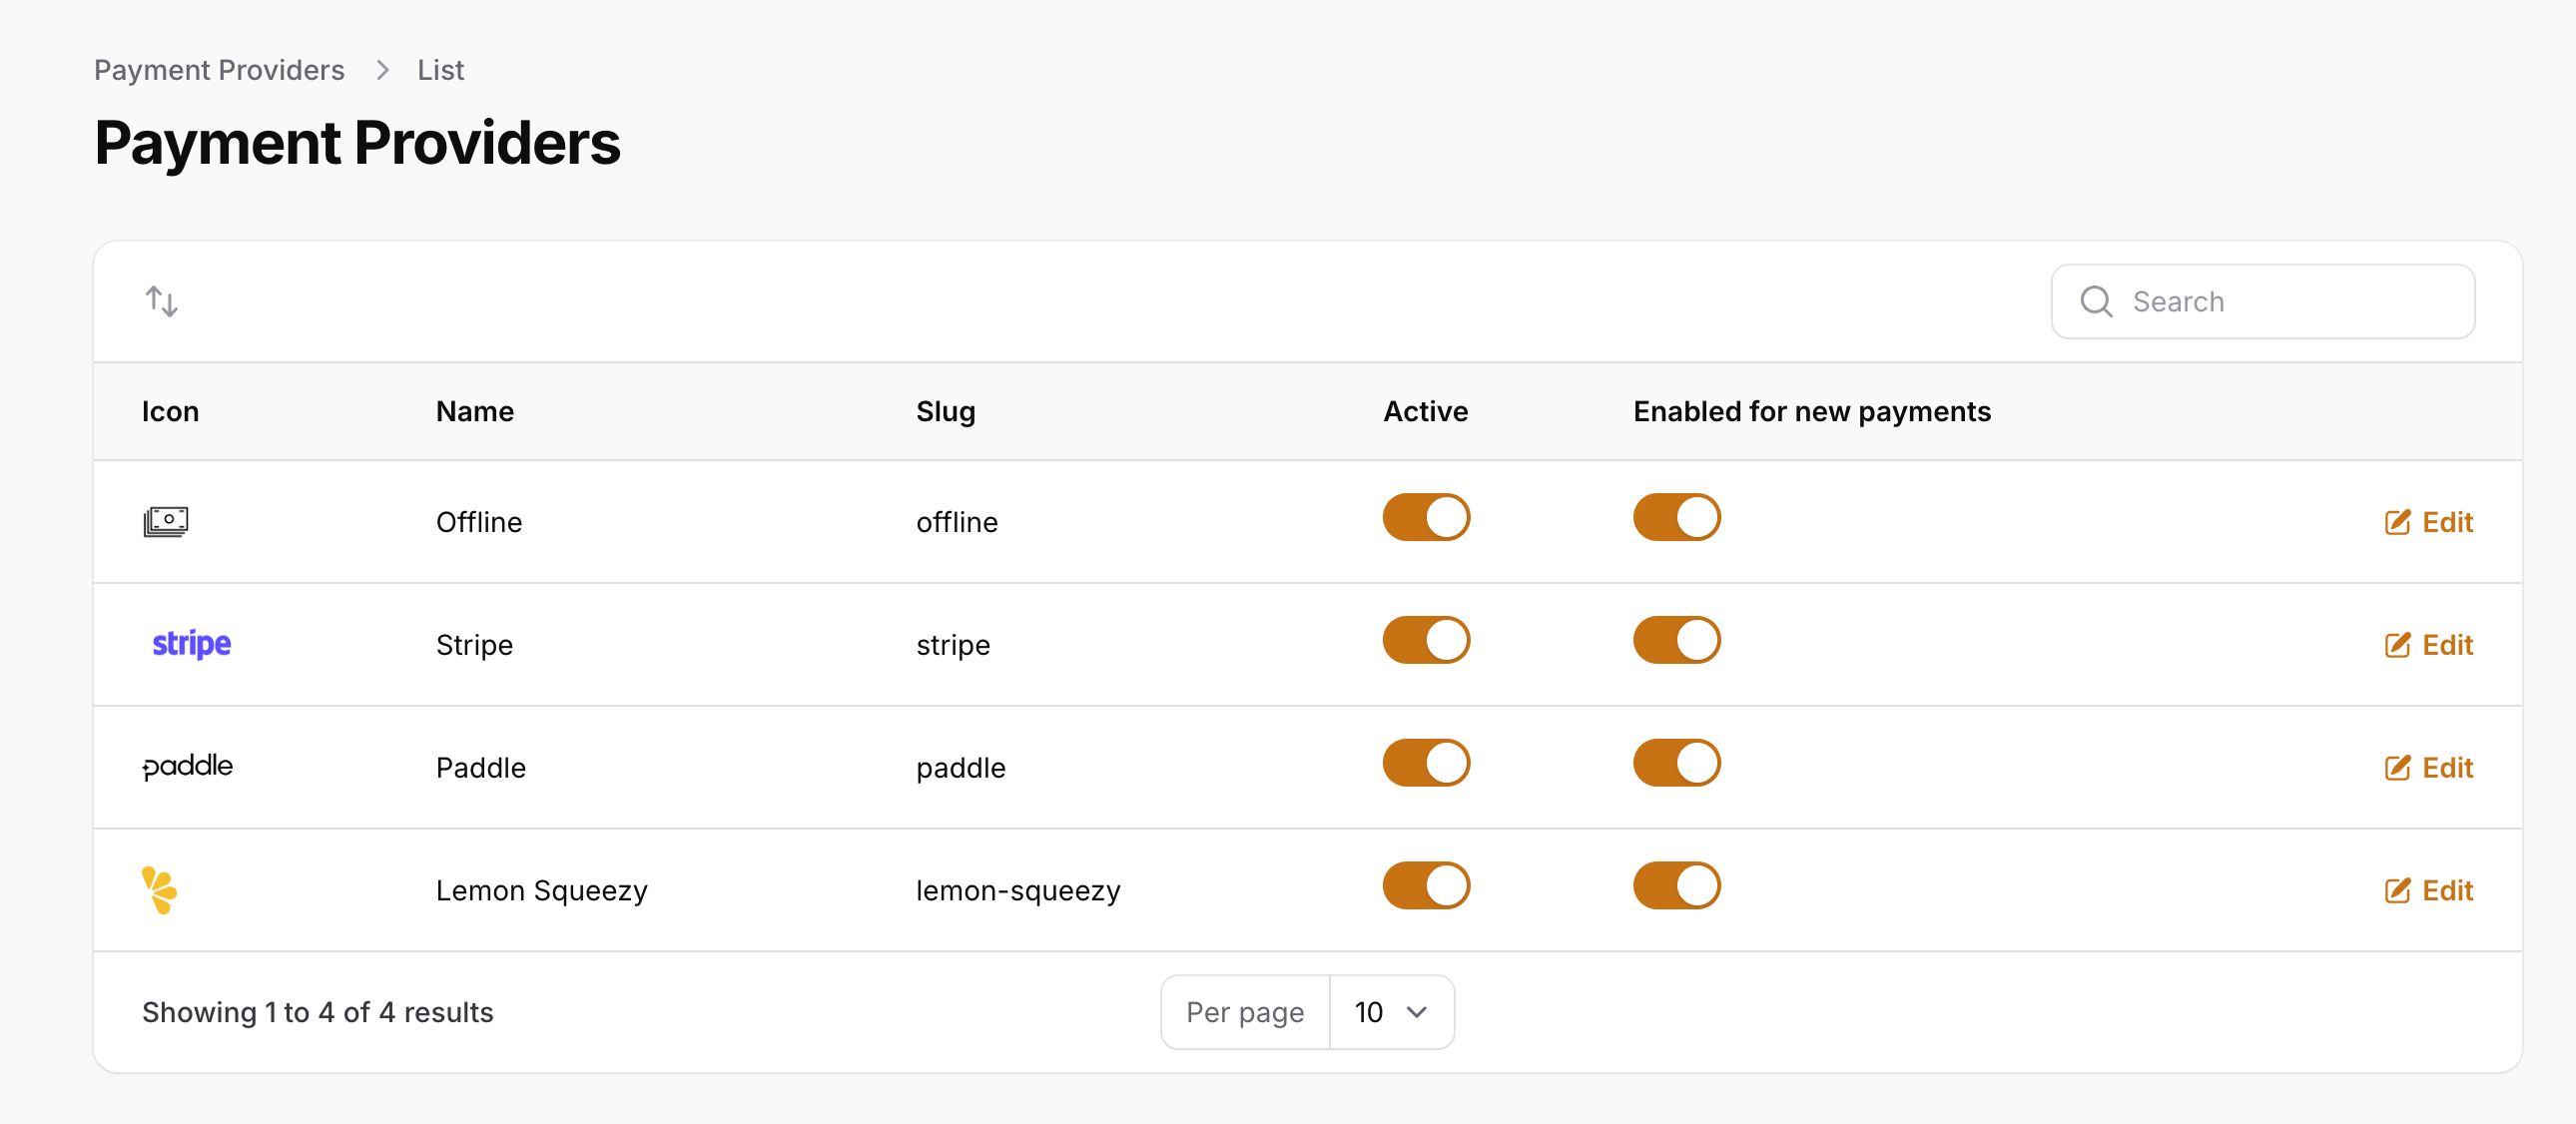
Click on "Offline" and using the toggle "is active" you can enable/disable the payment provider. (Don't forget to click "Save" after you make any changes).
You can also change the name of the payment provider to something more suitable for your use case, such as "Bank Transfer", "Cash", etc.
Letting Customers Know How to Pay
Once a customer buys a subscription or a one-time purchase product using the offline payment method, an event will be triggered (SubscribedOffline or OrderedOffline), so you can use this event to send an email to the customer with instructions on how to pay.
Activating Subscriptions
Once a customer makes a payment using the offline payment method, you can mark their subscription as active in the Admin Panel.
To do that, go to the Admin Panel and under "Revenue" >> "Subscriptions" find the subscription or order you want to activate, then click on it to view its details.
Then click on the "Update Subscription" button.
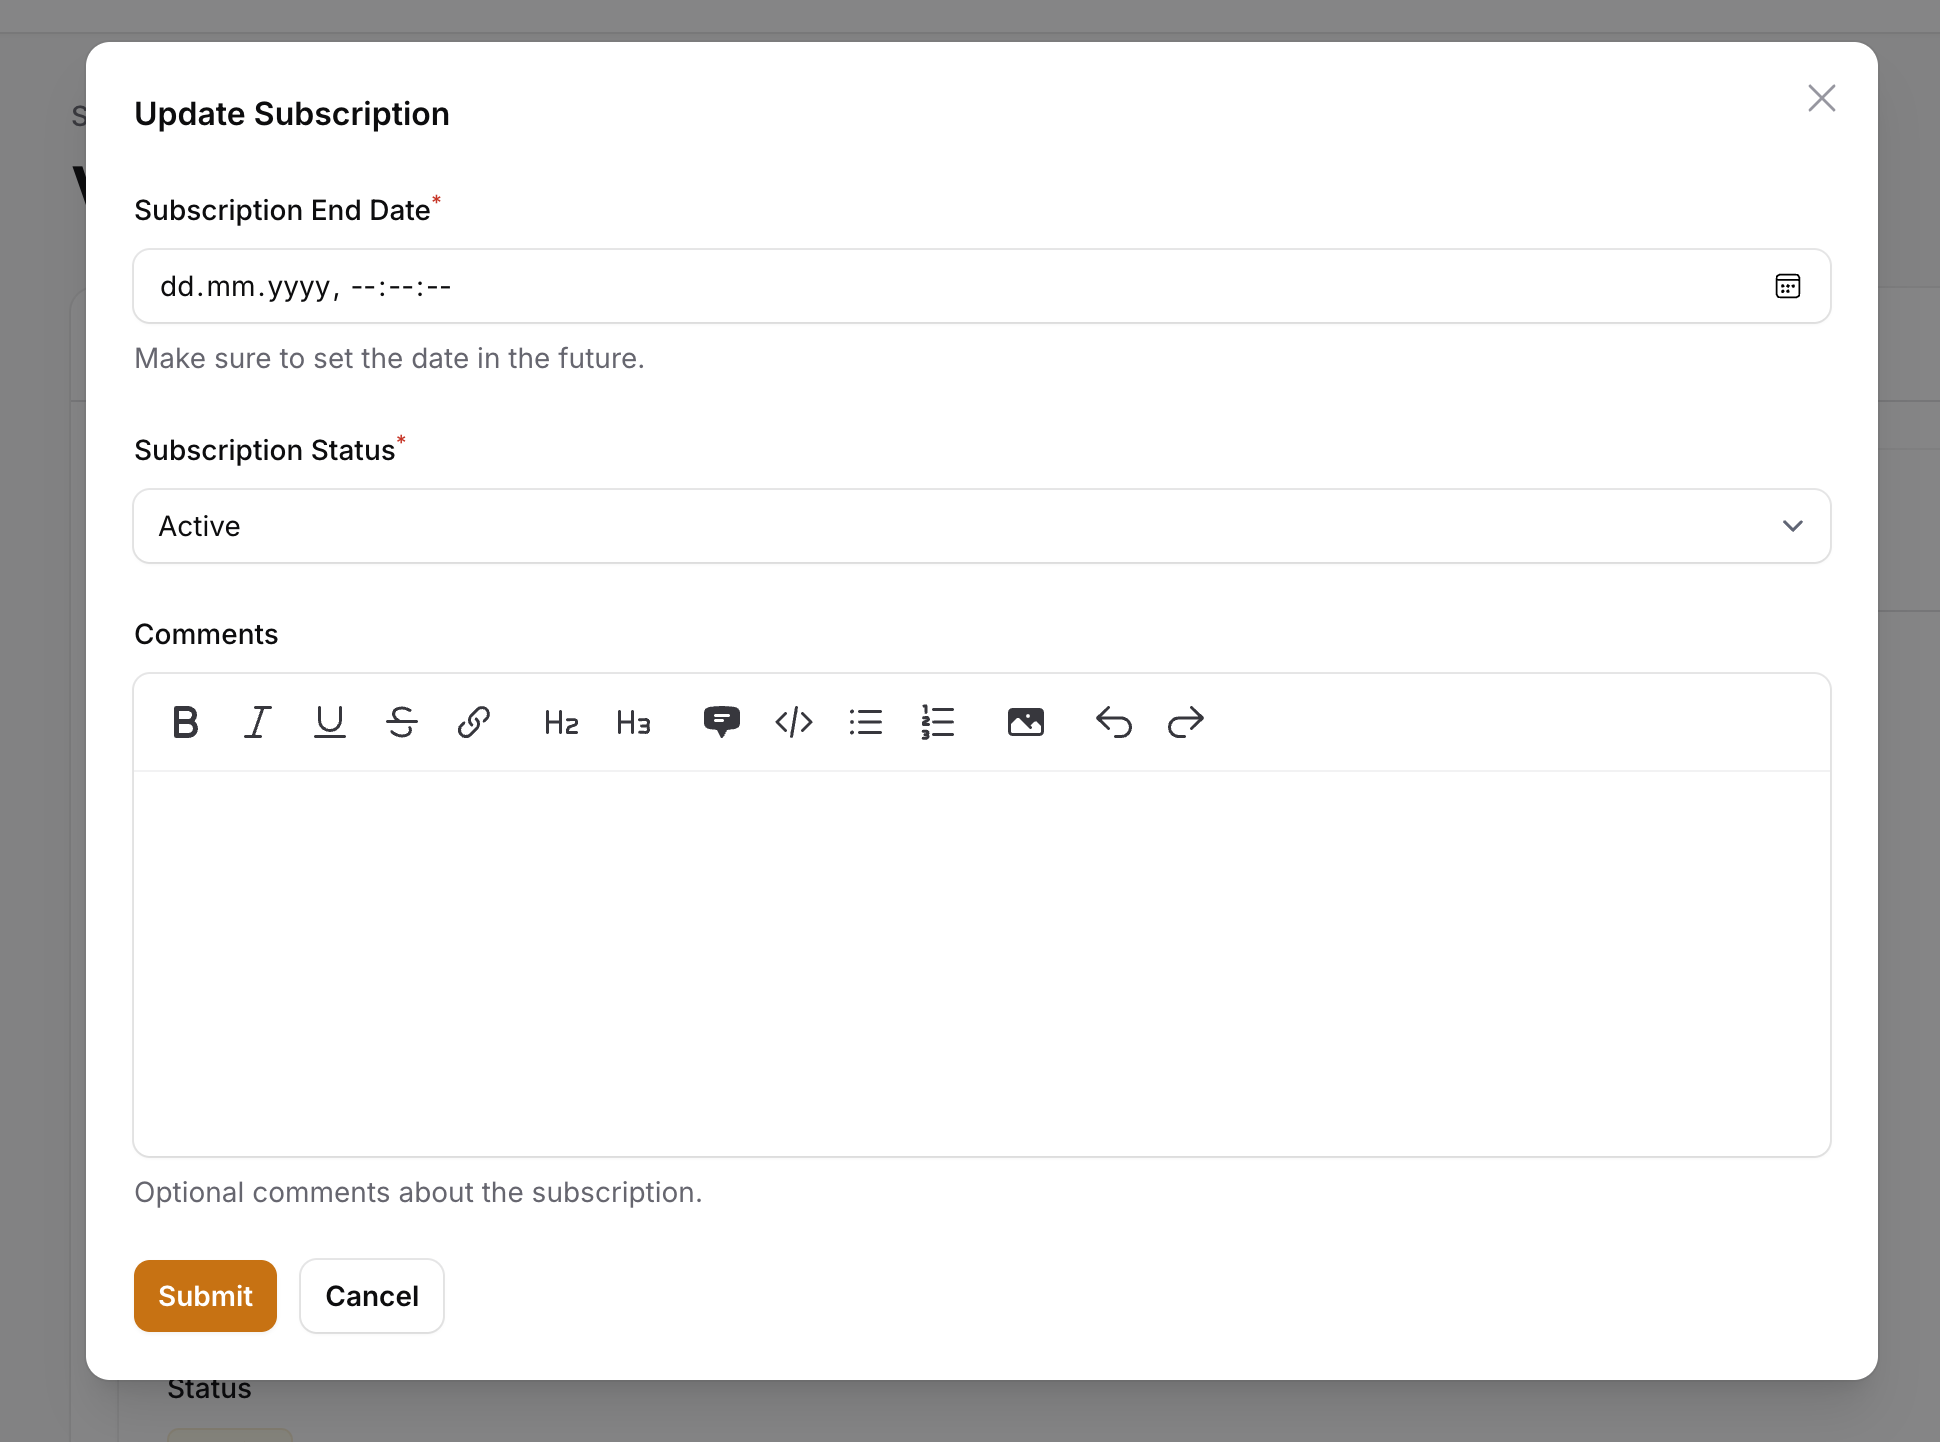
Here you can change the status of the subscription to "Active", set the end date, and add a note if needed. Once you are done, click on the "Submit" button to save the changes.
Activating Orders
You can also activate orders in the same way. Go to the Admin Panel and under "Revenue" >> "Orders" find the order you want to activate, then click on it to view its details.
Then click on the "Update Order" button.
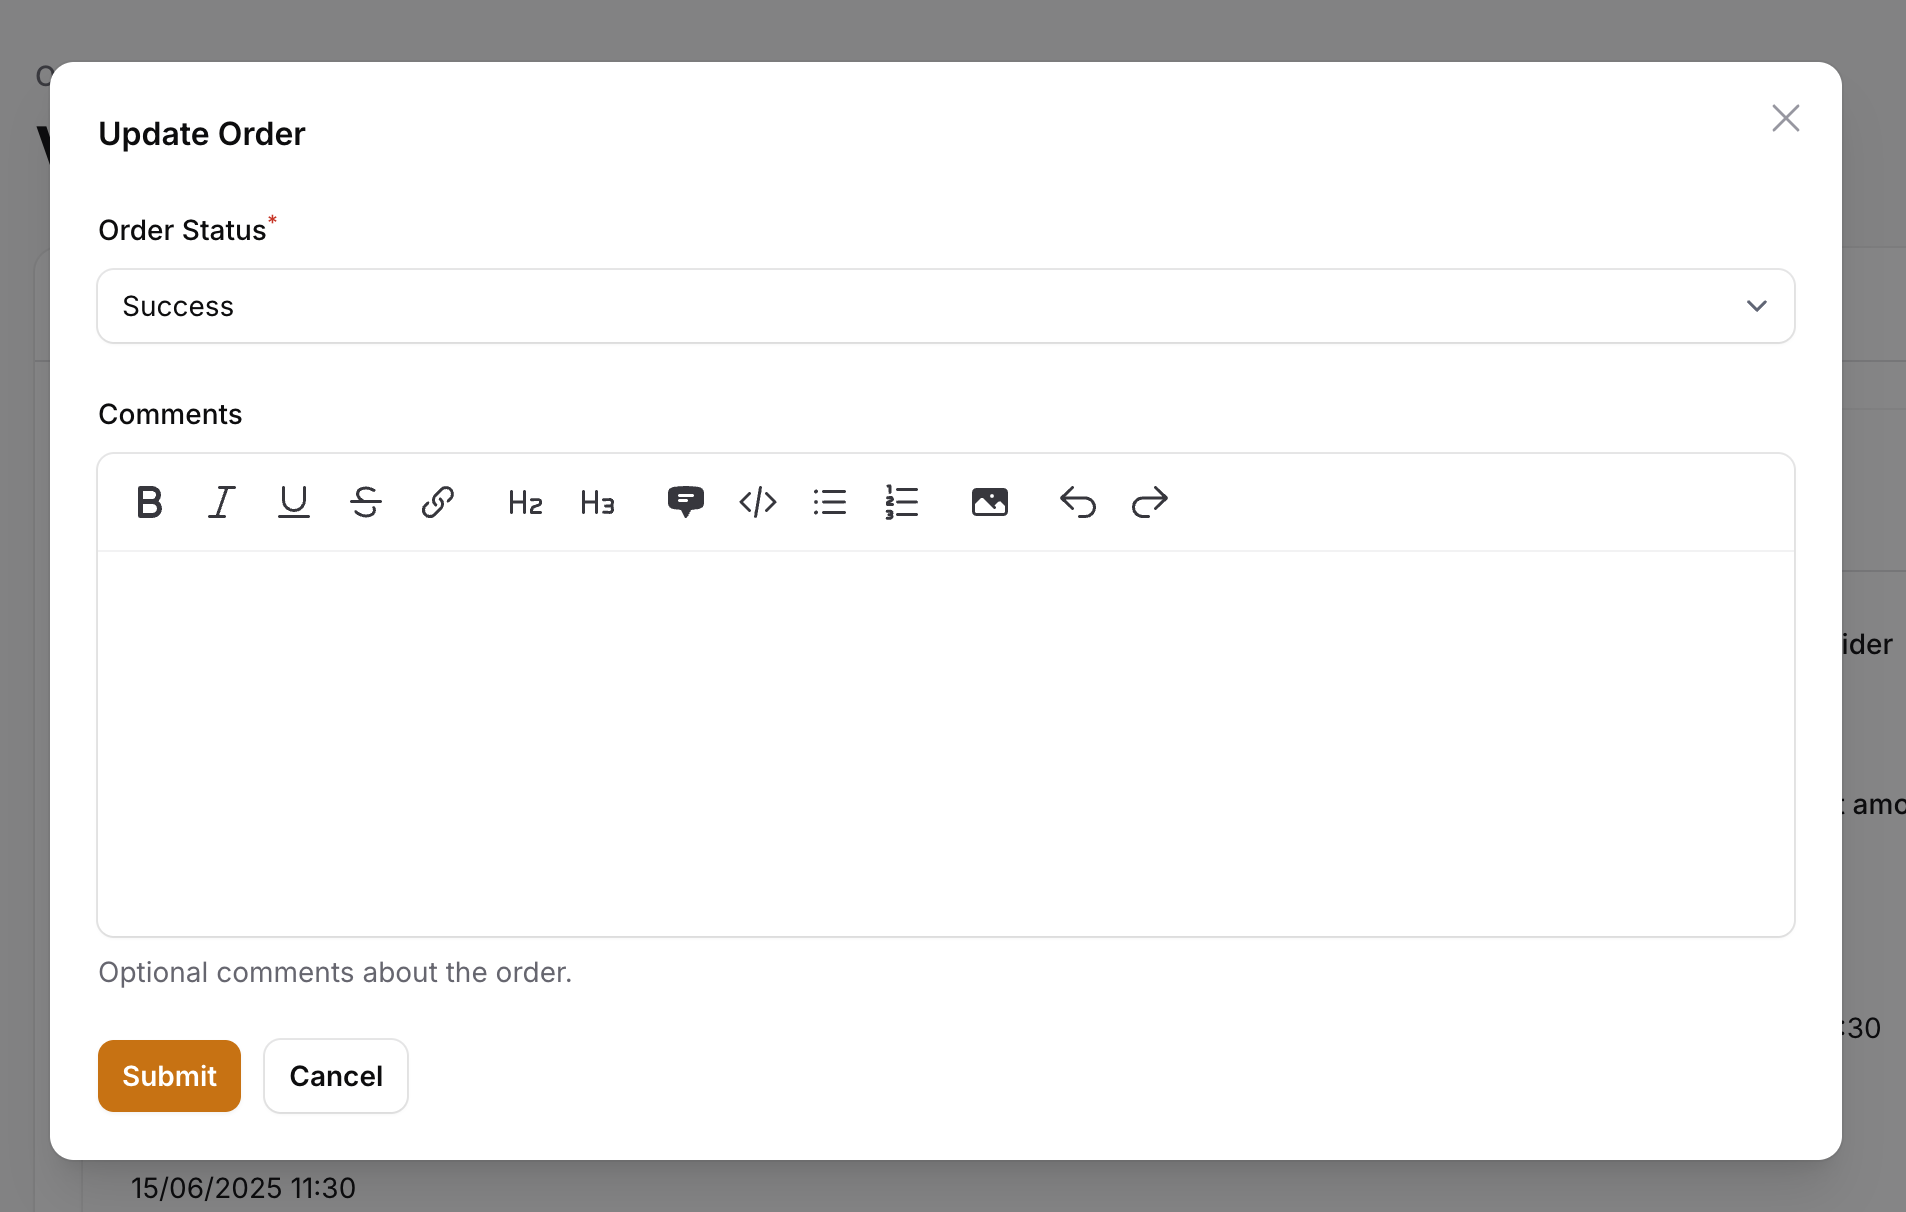
Here you can change the status of the order to "Success", and add a note if needed. Once you are done, click on the "Submit" button to save the changes.
Offline payments can be used for one-time orders or subscriptions with a flat-rate pricing model. They are not supported for seat-based or usage-based subscriptions by default, but you can enable that in the code if needed (in the OfflineProvider)
// App\Services\PaymentProviders\Offline\OfflineProvider

    public function getSupportedPlanTypes(): array
    {
        return [
            PlanType::FLAT_RATE->value,
            // PlanType::SEAT_BASED->value,
            // PlanType::USAGE_BASED->value,
        ];
    }