Production & Deployment (Laravel Forge)
You have built your app, tested it locally, and now you are ready to deploy it to a production server. This guide will walk you through the process of provisioning and deploying your app to a production server using Laravel Forge.
SaaSykit also supports deploying your app using Deployer, a deployment tool that allows you to deploy your app with zero downtime, rollbacks, and many more features, for more info on how to use Deployer, check the Deployer docs.
Prepare your server
You'd need to create a Laravel Forge account to prepare your server. So make sure to do that before proceeding.
-
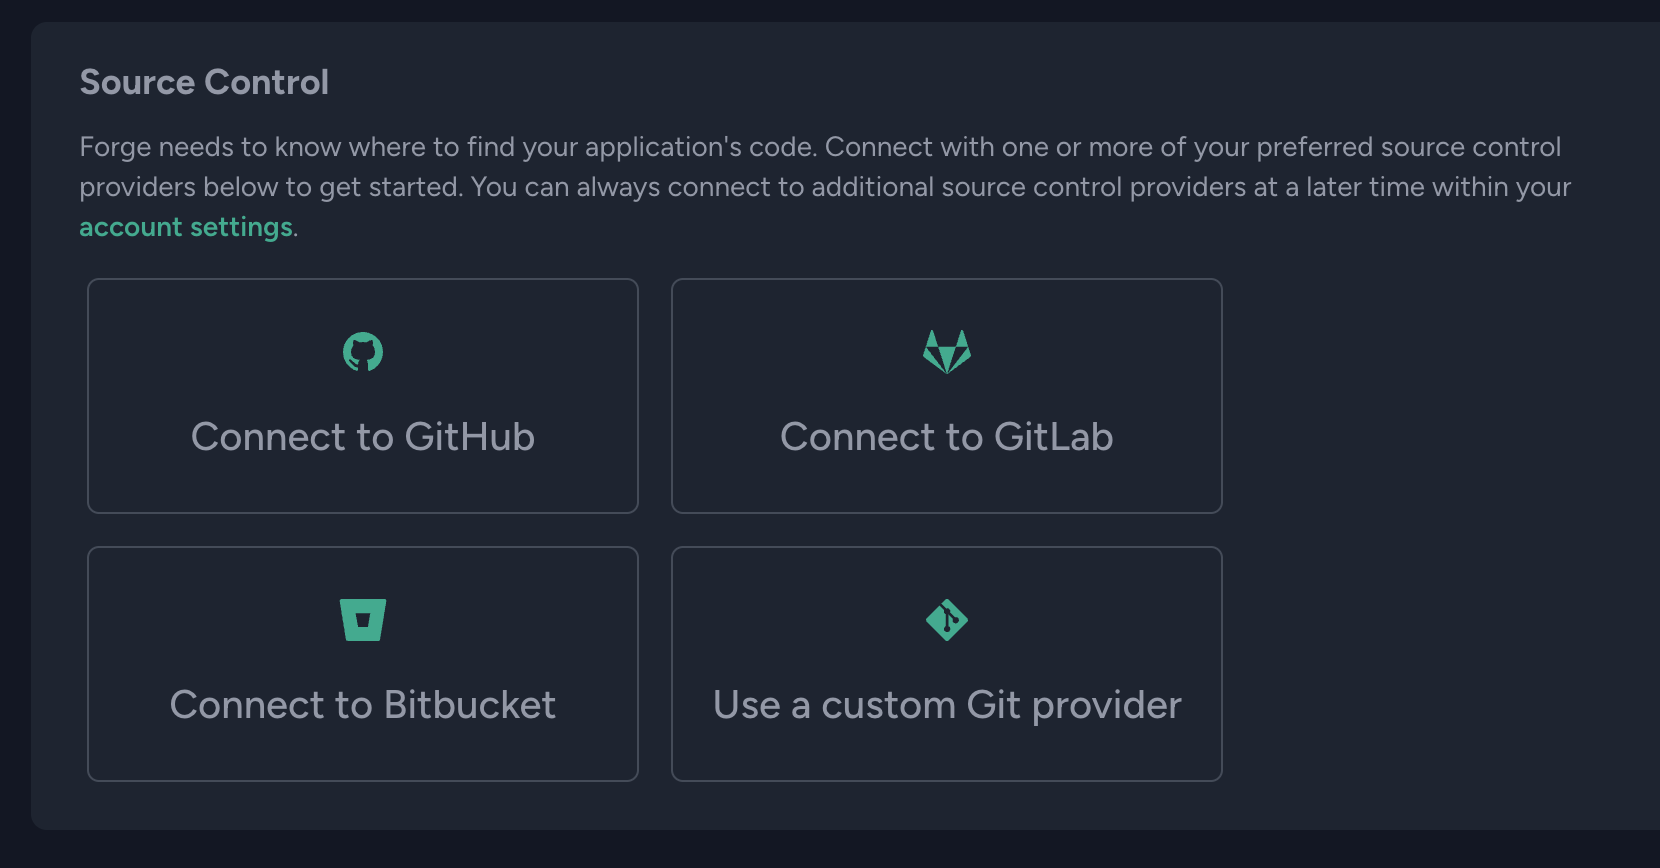
Once you login to Laravel Forge, connect your source control provider (e.g. GitHub, GitLab, Bitbucket) to Laravel Forge.
-
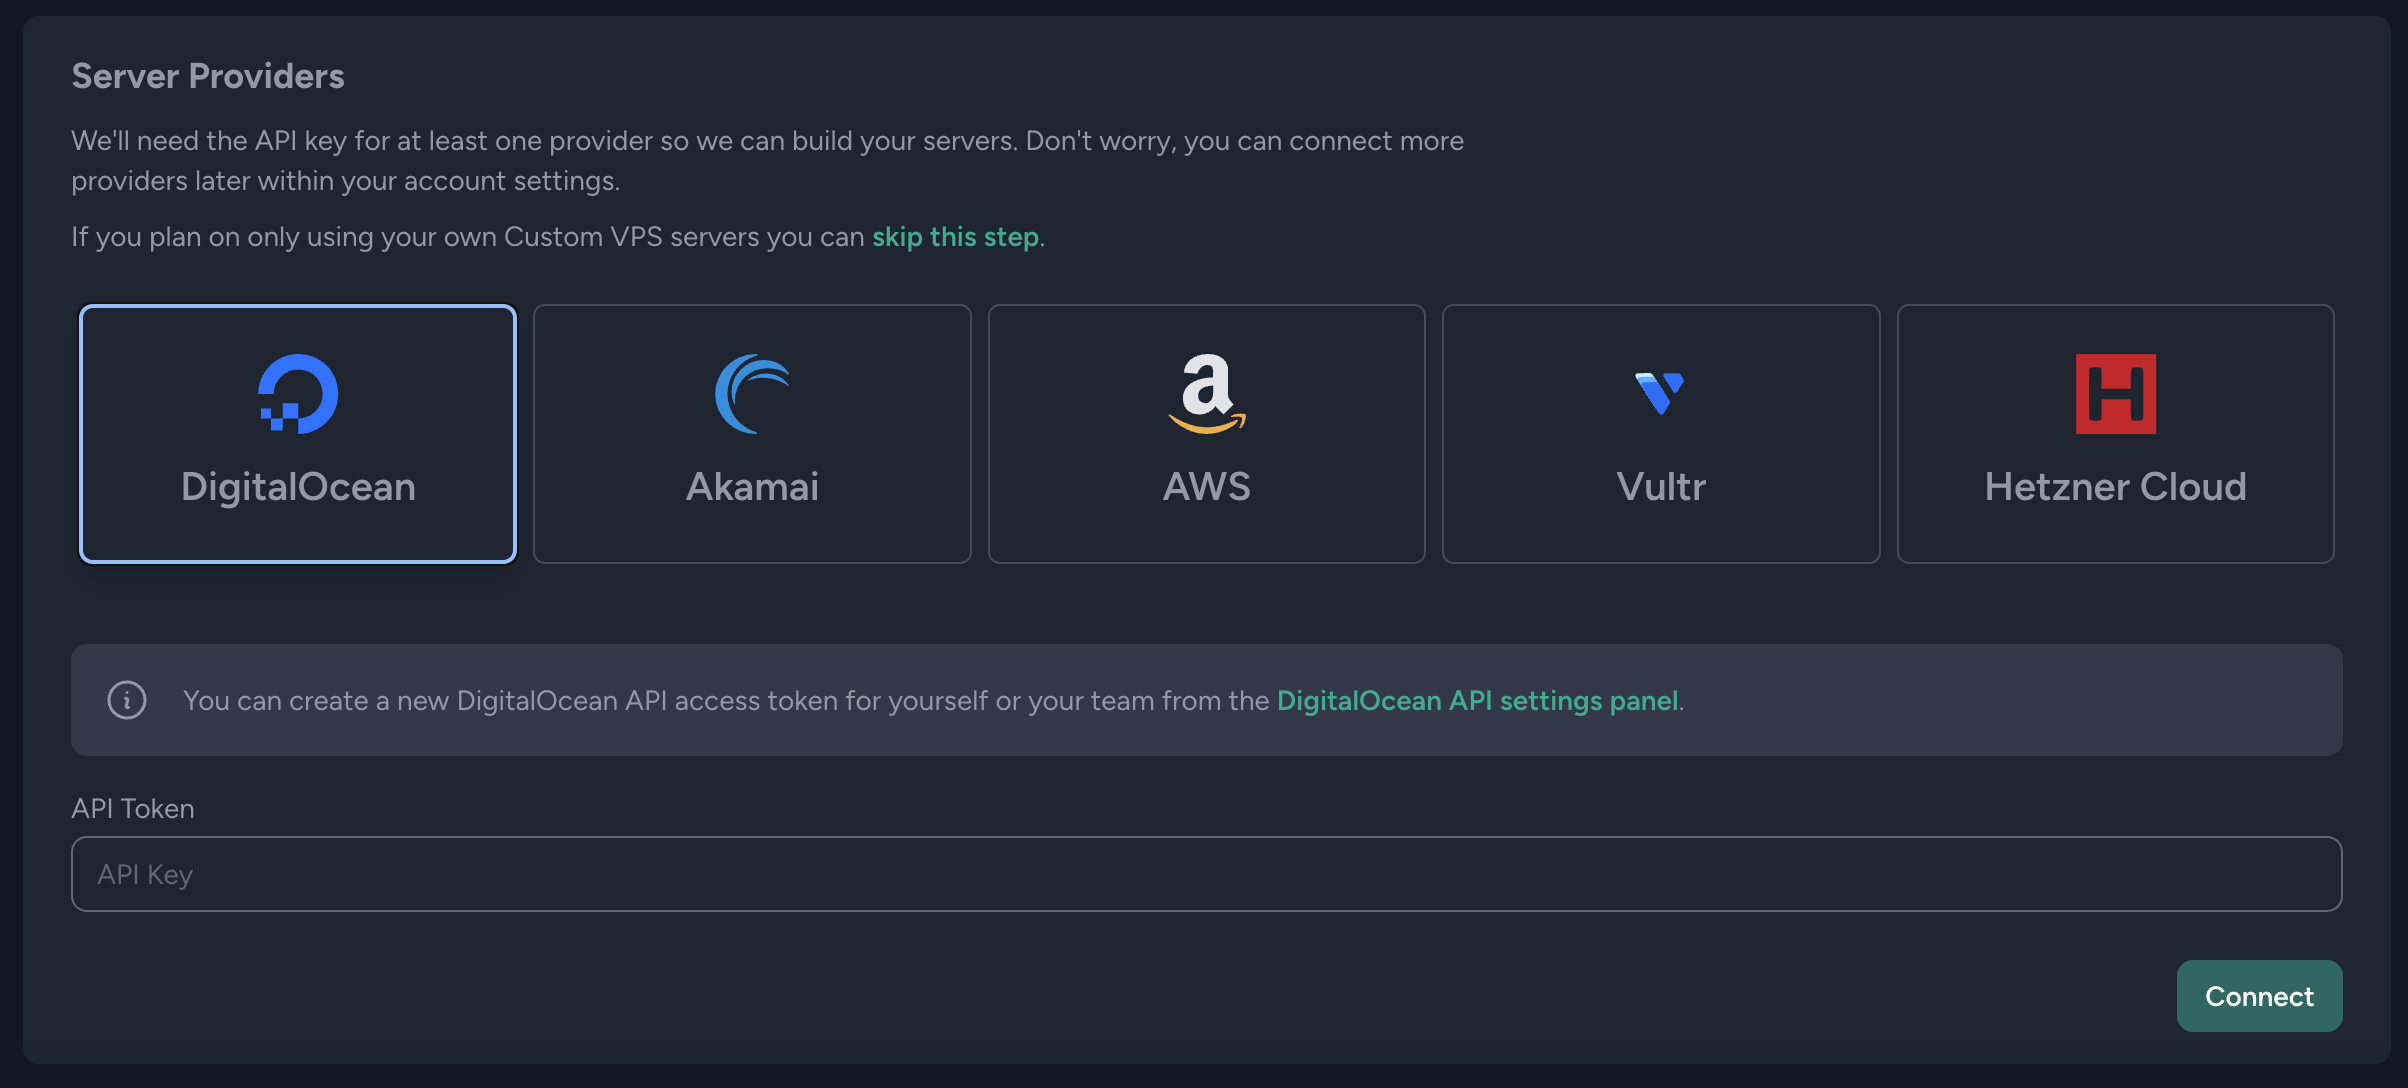
Select the cloud provider where you want to deploy your app (e.g. DigitalOcean, Akamai, AWS, Vultr or Hetzner).
Depending on your cloud provider, you will need to create an API key/secret and enter them in Laravel Forge. This will basically allow Laravel Forge to create and manage servers on your behalf.
-
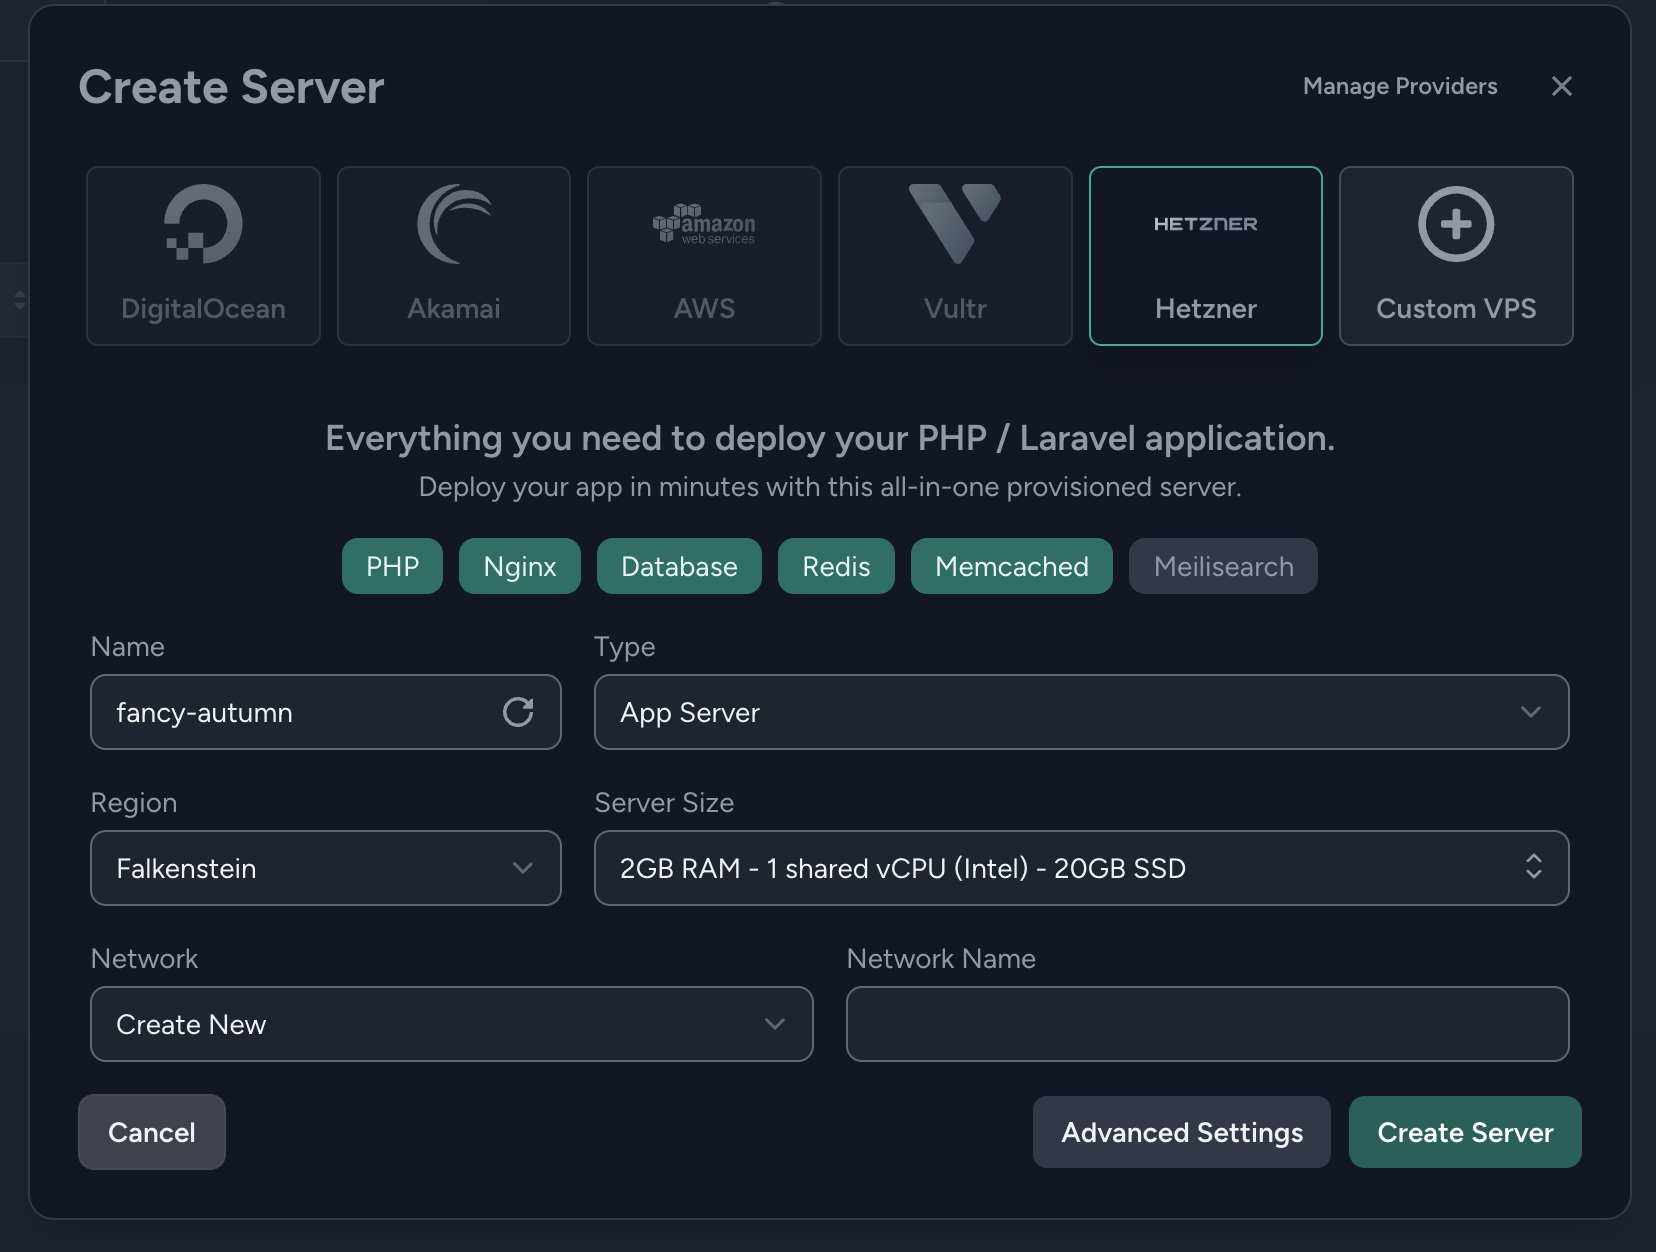
Create a new server on Laravel Forge. Depending on the cloud provider, you can choose the server size, region, etc.
Make sure to select the server type. If you are starting out, choose "App Server" as the server type, as it will come with PHP, MySQL, Redis, Memcached, and Nginx pre-installed.
In the future you can add a separate server for the database, cache, etc., as your app grows.
-
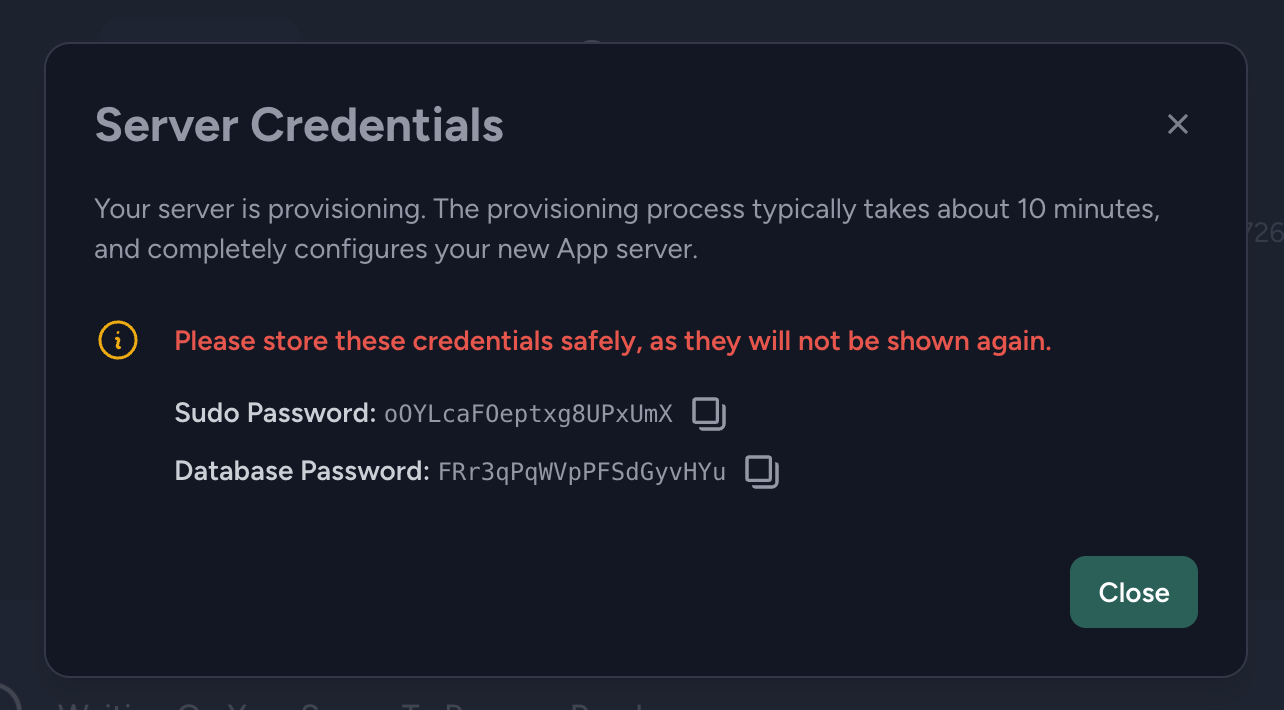
Copy the server credentials (Sudo Password & Database Password) to a safe place, as you might need them later.
-
Wait until the server is provisioned. ☕️
-
Once the server is provisioned, it will have a "default" site created for you, but you would need to create a new site for your app, which will be used to map your domain name to the app on the server.
Enter the domain name of your app in the "Root Domain" field, and click "Add Site".
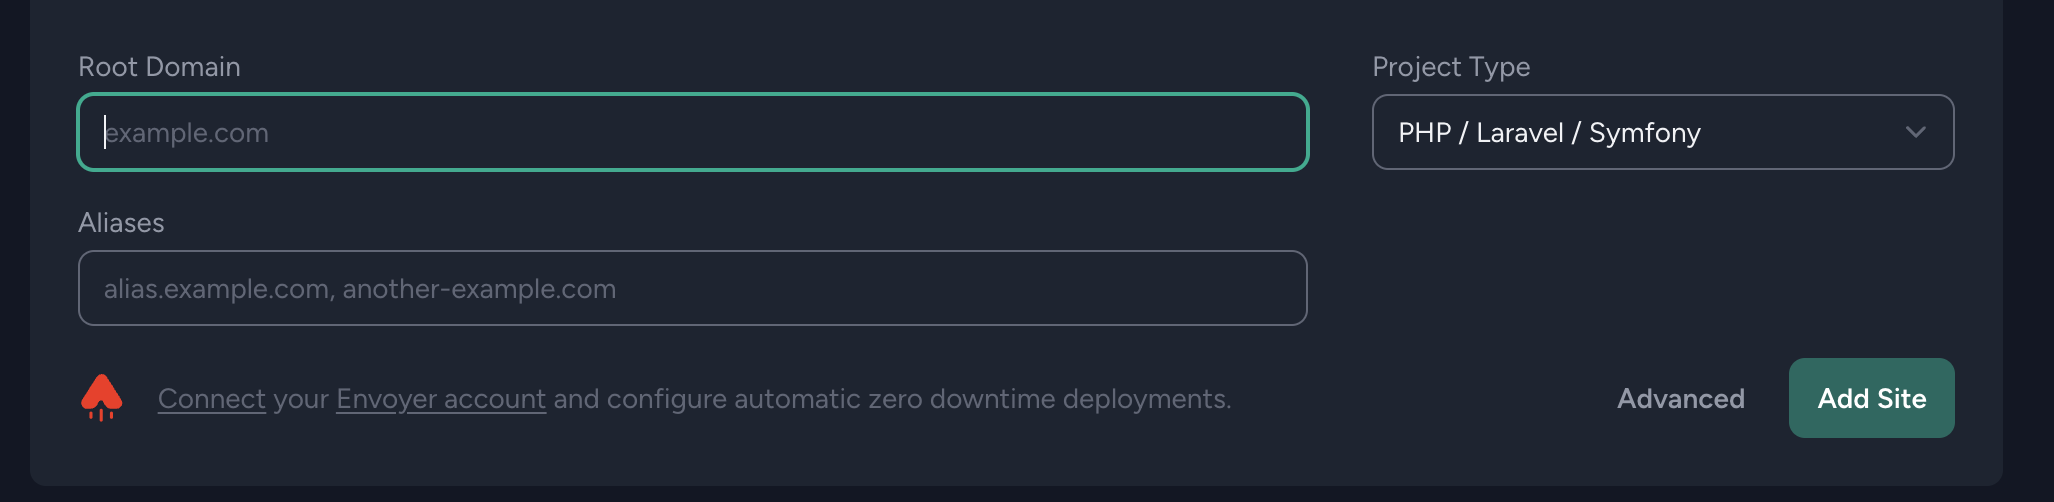
Make sure that you have pointed your domain (on your domain registrar) to the server's IP address before adding the site.
-
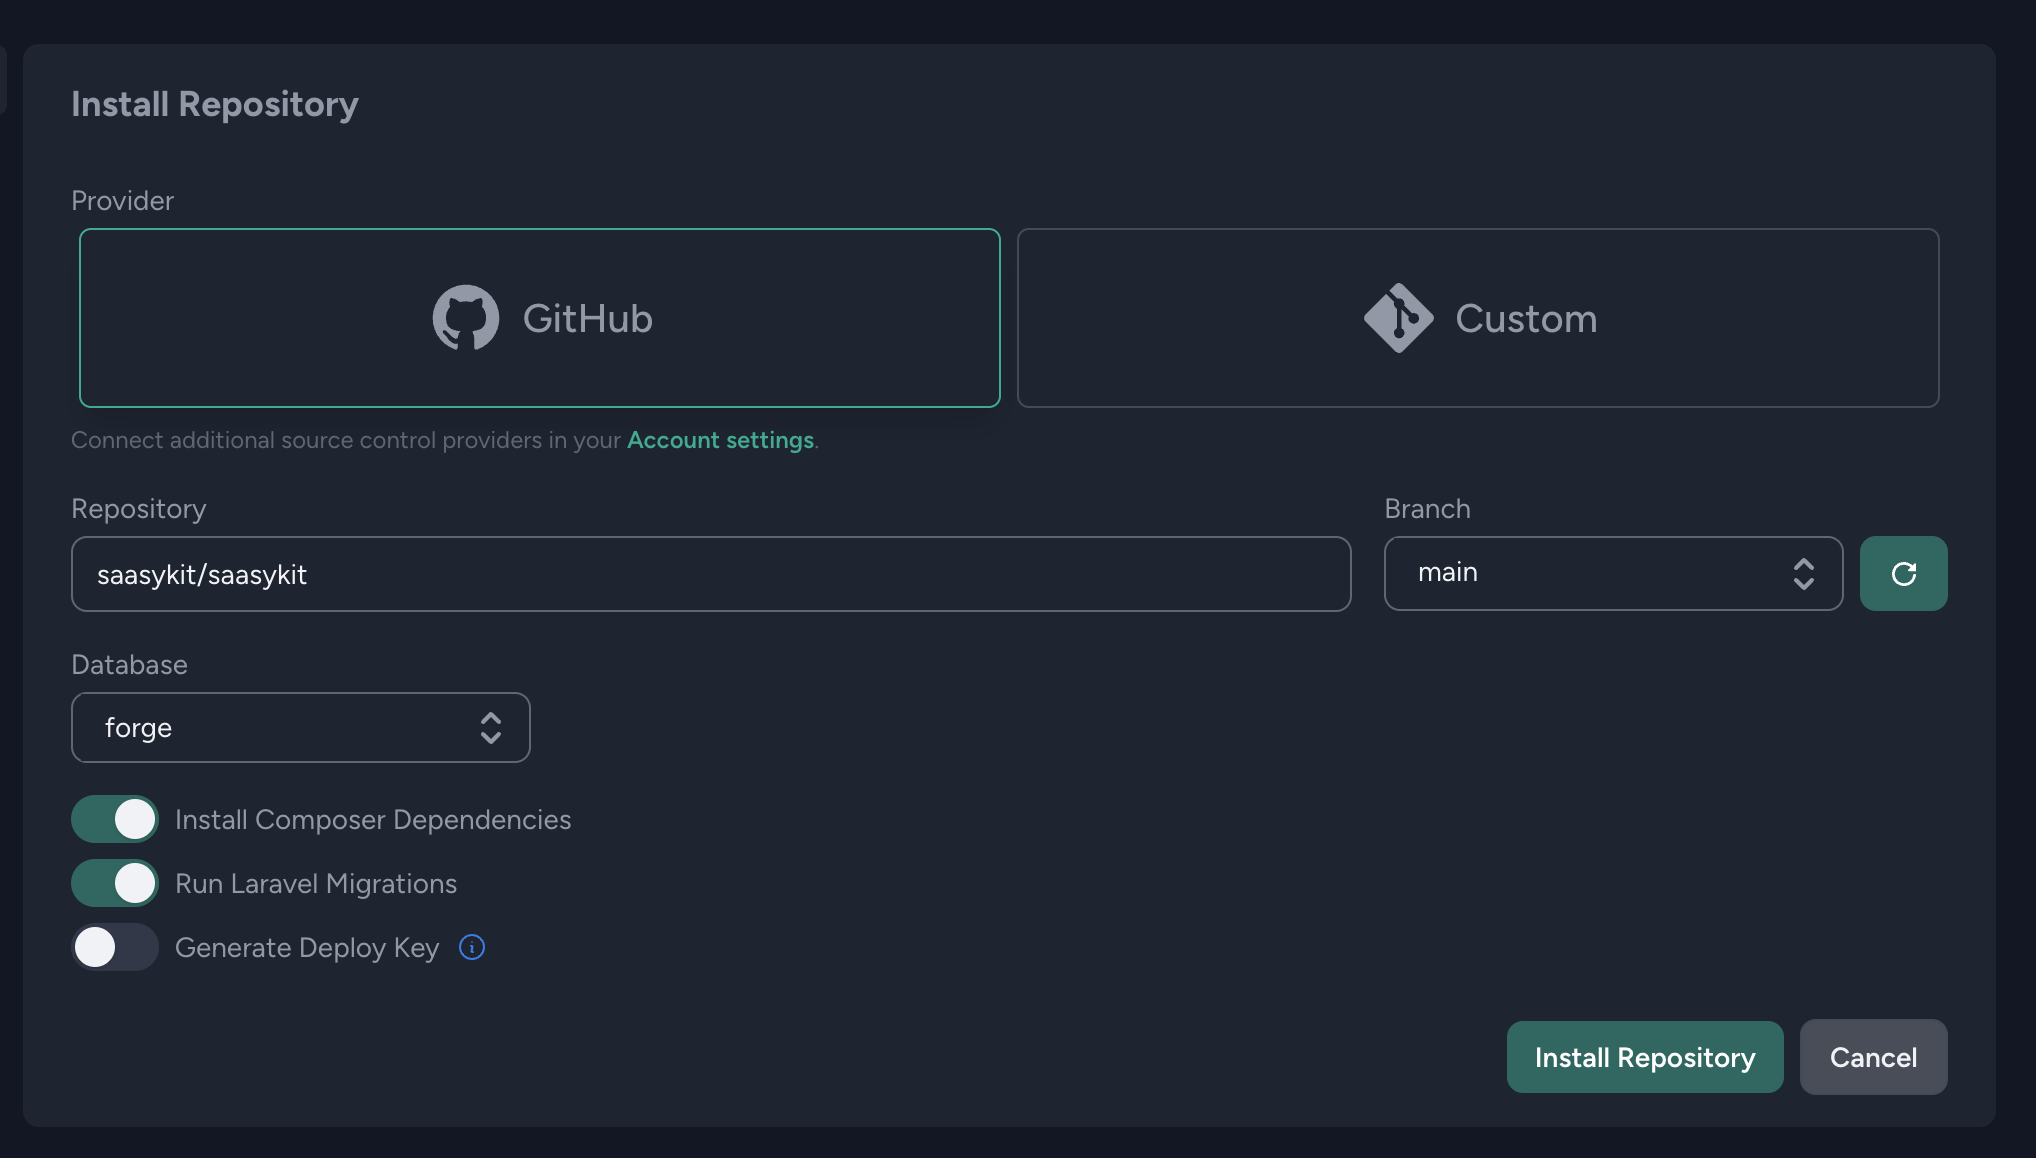
Once the site is added, click on "Install Application", then on the "Install repository" view, select the repository that you want to deploy (if you forked SaaSykit, then it'll be
your-username/saasykit), choose branch to deploy (typicallymain) and click "Install Repository".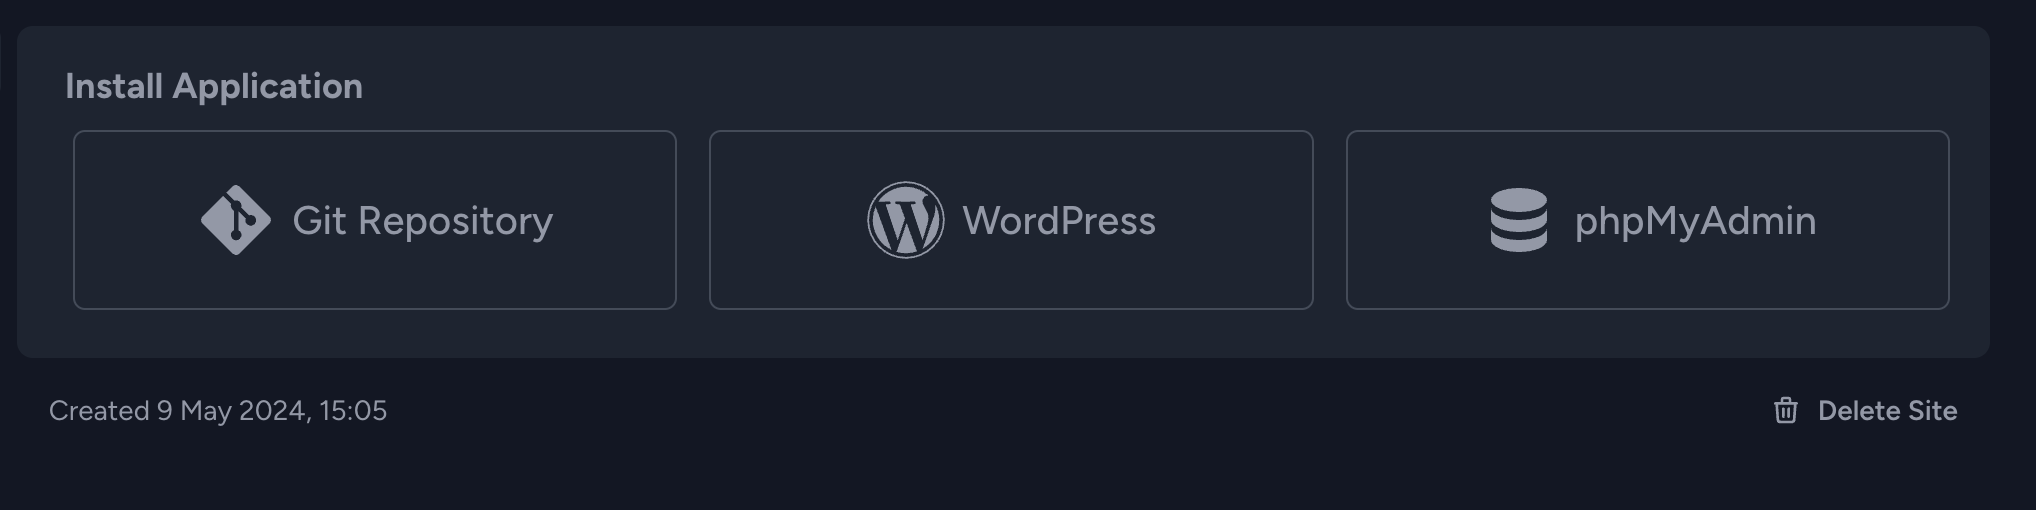
8.From the left menu, click "Deployments", then paste in the following deployment script:
cd /home/forge/default
git pull origin $FORGE_SITE_BRANCH

$FORGE_COMPOSER install --no-dev --no-interaction --prefer-dist --optimize-autoloader

( flock -w 10 9 || exit 1
    echo 'Restarting FPM...'; sudo -S service $FORGE_PHP_FPM reload ) 9>/tmp/fpmlock

if [ -f artisan ]; then
    $FORGE_PHP artisan migrate --force
    $FORGE_PHP artisan db:seed --force
    $FORGE_PHP artisan app:generate-sitemap

    $FORGE_PHP artisan horizon:terminate
fi

npm ci && npm run build
Then click "Update".
-
Click on "Deploy Now" to deploy your app.
-
Once the deployment is done, you can visit your app's domain to see your app running. And that's it! You have successfully deployed your app to a production server using Laravel Forge. 🎉
If you faced any issue during the deployment, you can check the logs by clicking on "Logs" in the left menu to see what went wrong.