Creem
SaaSykit comes with support for Creem out of the box. This allows you to start accepting payments from your customers right away.
First, you will need to create a Creem account. Once you have created your account, you will need to get your credentials from Creem.
Getting Creem Credentials
-
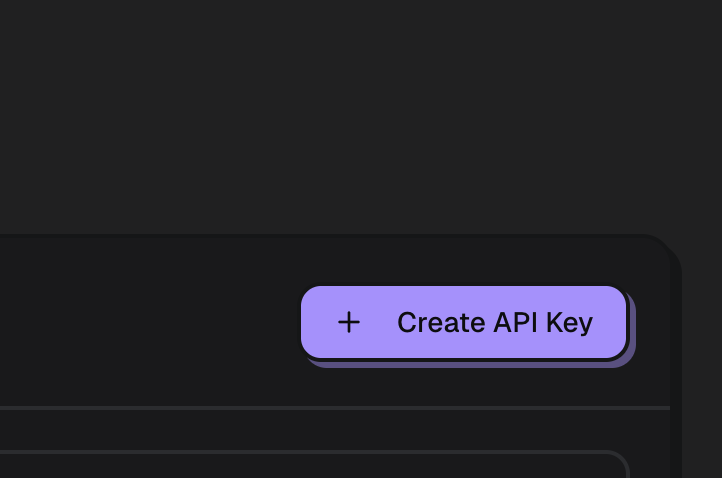
Open your Creem dashboard, then under "Developers", click on "API & Webhooks", then click on "Create API Key".
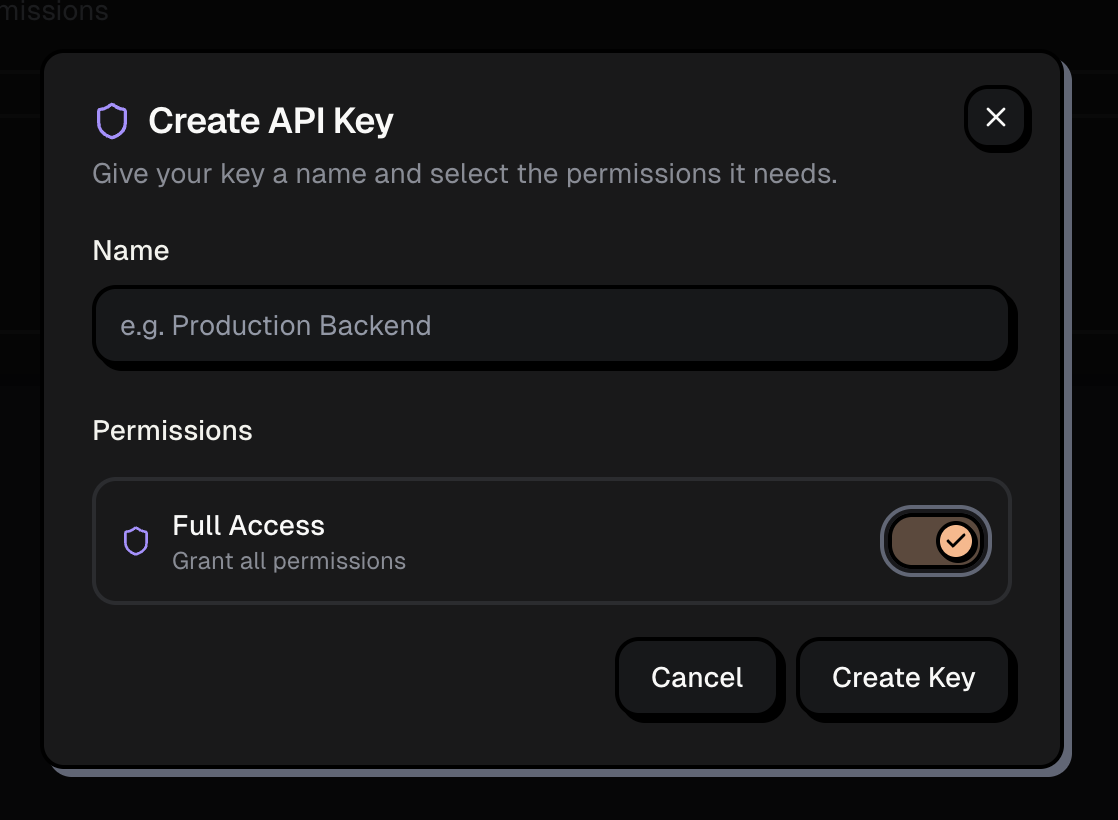
Give your API key a name and click on "Full Access" for the permissions, then click on "Create Key". Copy the generated API key, you will need it to connect your Creem account to your application.
-
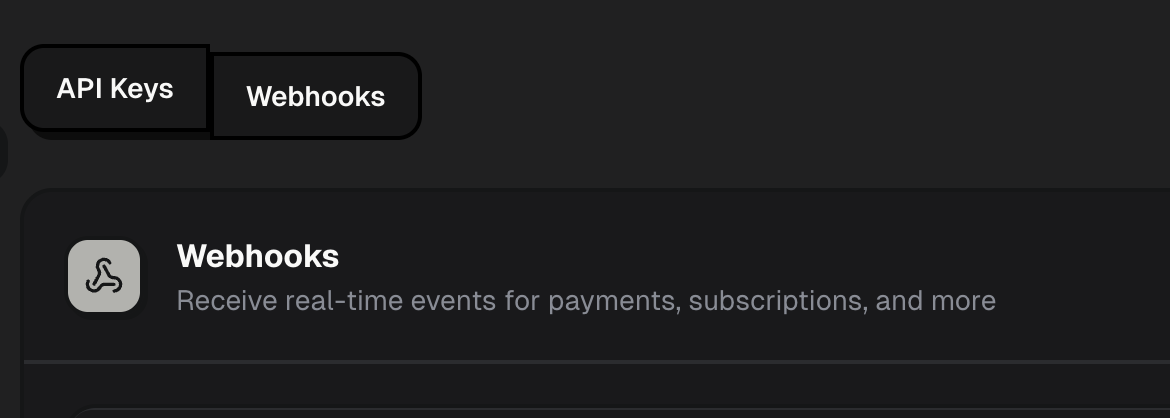
Click on "Webhooks" tab, then click on "Add Webhook".
Give it a name, and then in the "URL" field, enter the following URL:
https://yourwebsite.com/api/payments-providers/creem/webhookReplace "https://yourwebsite.com" with your actual domain name.
For development environment, you might want to use ngrok to forward webhooks to your local server. You can check the Payment Webhooks documentation for more details on how to do that.
Select All "Event Types" and click on "Save Webhook".
Now open the webhook you just created and copy the "Signing Secret", you will need it to connect your Creem account to your application.

-
In the Admin Panel and under "Settings" click on "Payment Providers". You will be redirected to the payment providers settings page.
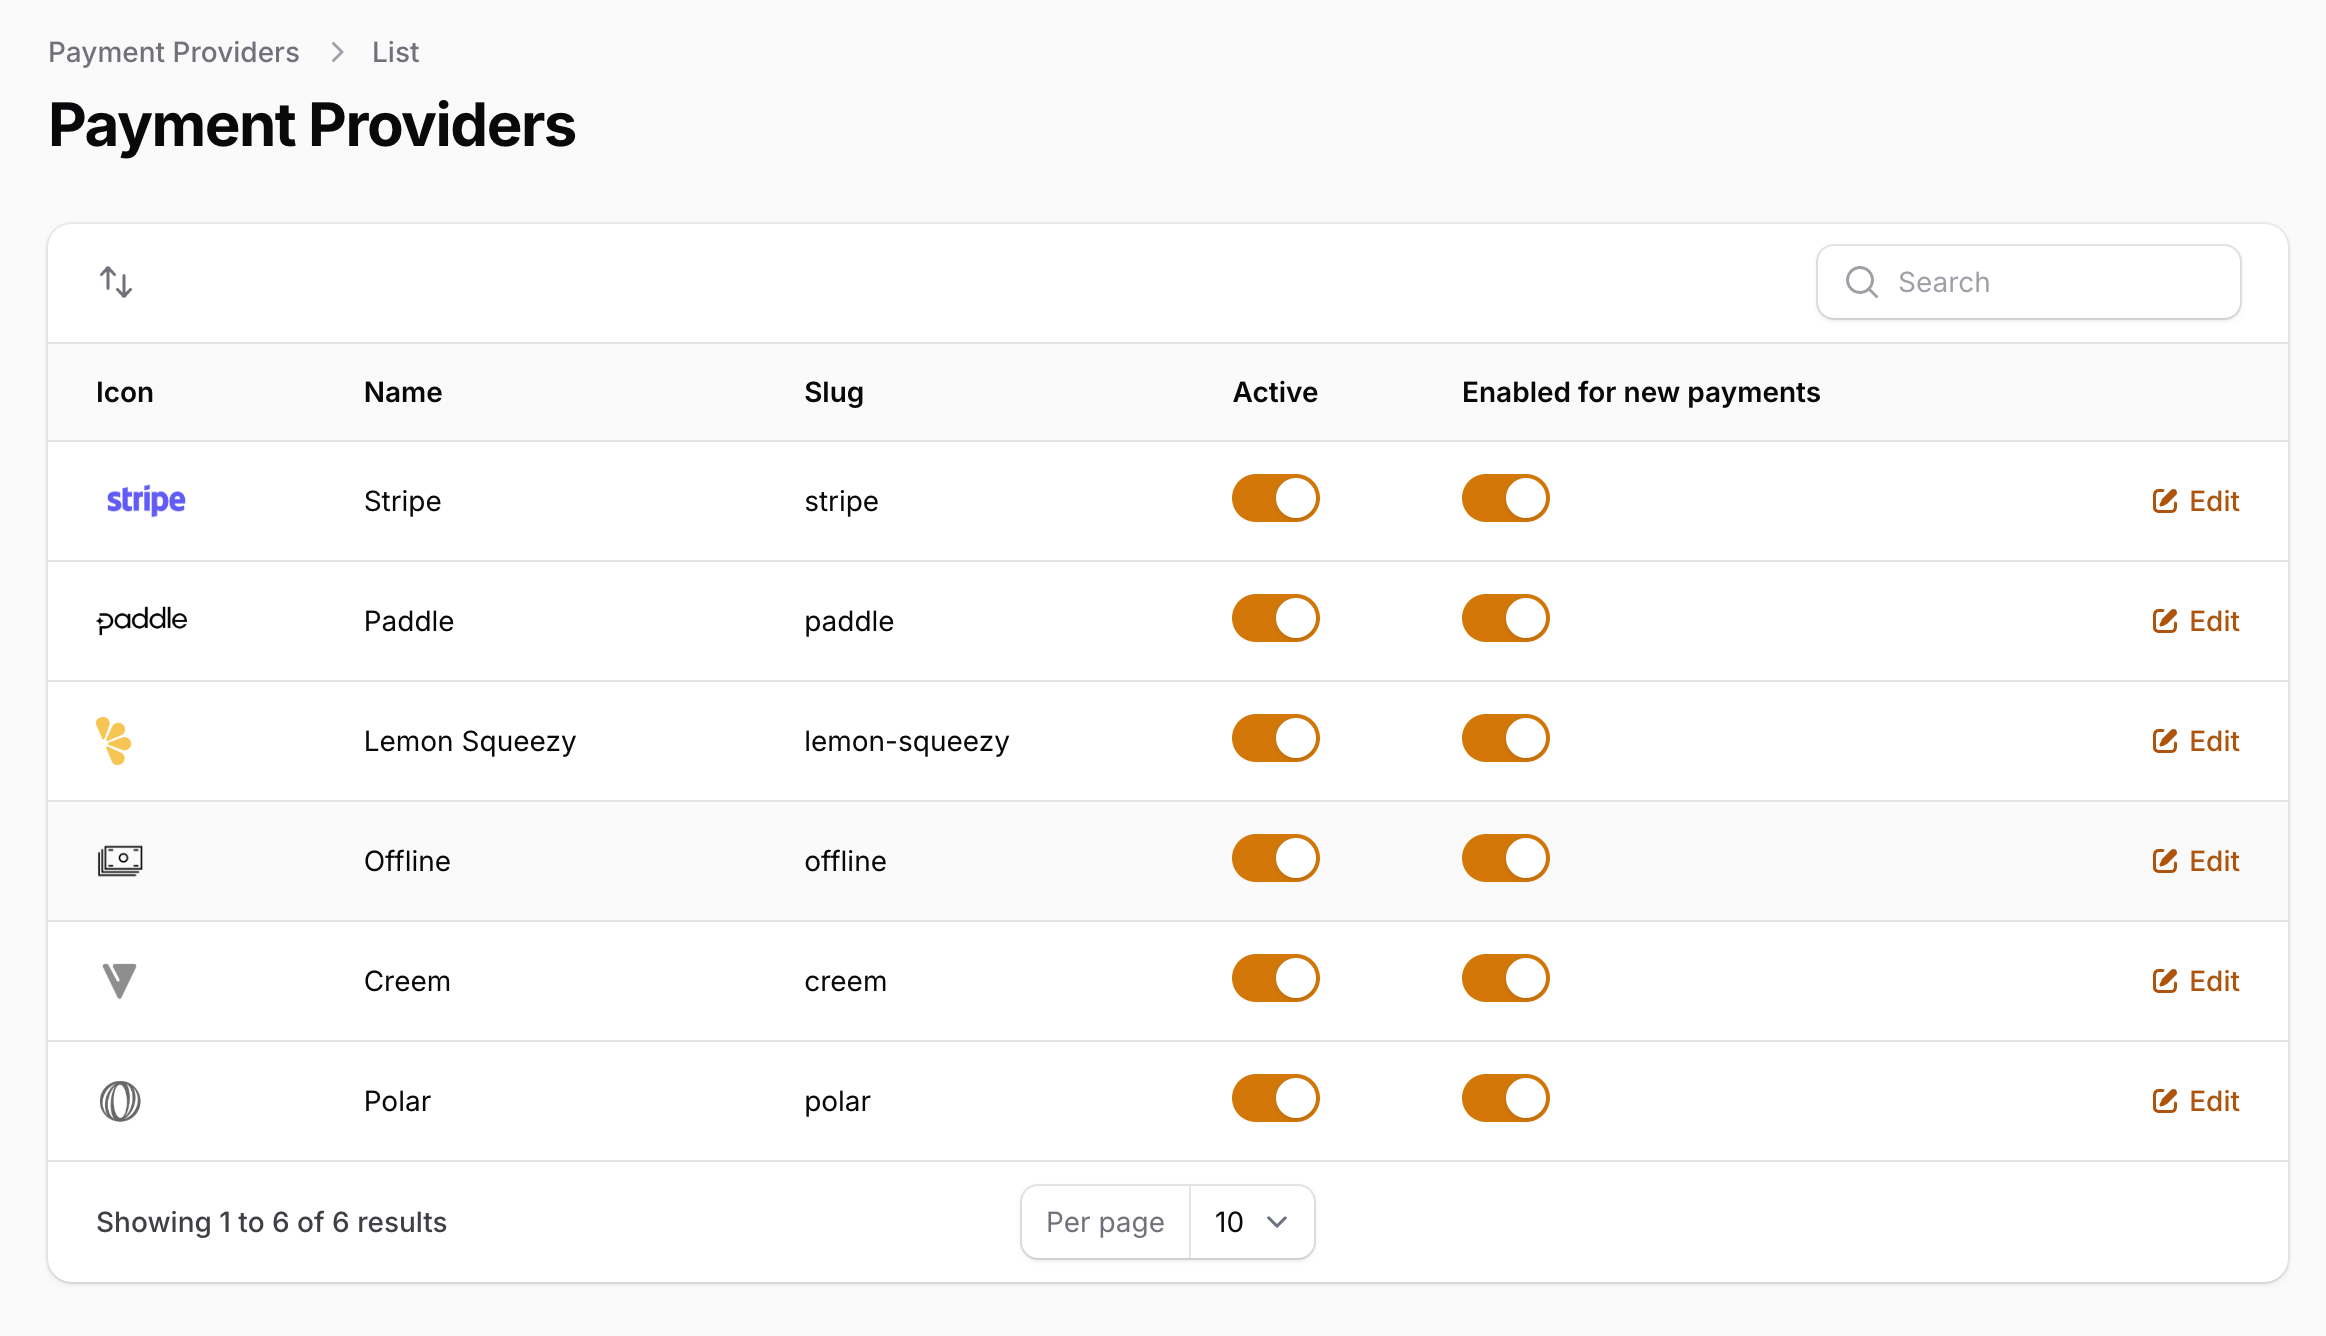
Click on "Creem" and using the toggle "is active" you can enable/disable the payment provider. (Don't forget to click "Save" after you make any changes).
Once you enable Creem, you will need to configure the credentials for it. To do that, click on the payment provider you want to configure, then click on "Edit credentials". You will be redirected to the payment provider credentials page.
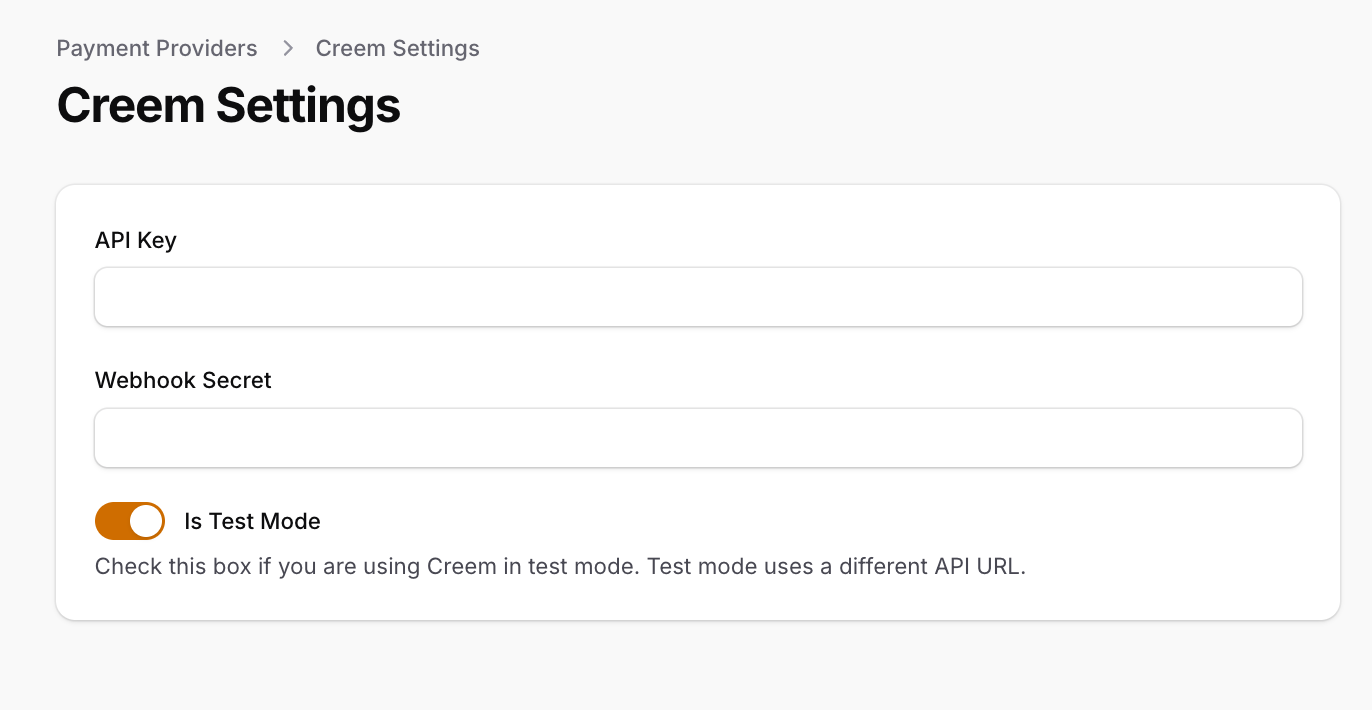
You will need to copy some values from your Creem account to your application to be able to connect it.
- Copy the API key you generated in step 1 and paste it in the "API Key" field.
- Copy the webhook signing secret you copied in step 2 and paste it in the "Webhook Secret" field.
- If you're on development environment, toggle "Is Test Mode" to enable test mode, otherwise, leave it disabled for production environment.
- Click on "Save" to save your changes and you're good to go.
Configuring Creem Plans & Products
Creem offers a limited products API. That means SaaSykit can't use it to automatically create products for you behind the scenes just like it's the case with Stripe & Paddle. This means that you will need to manually create the plans and products in Creem and link them to your application.
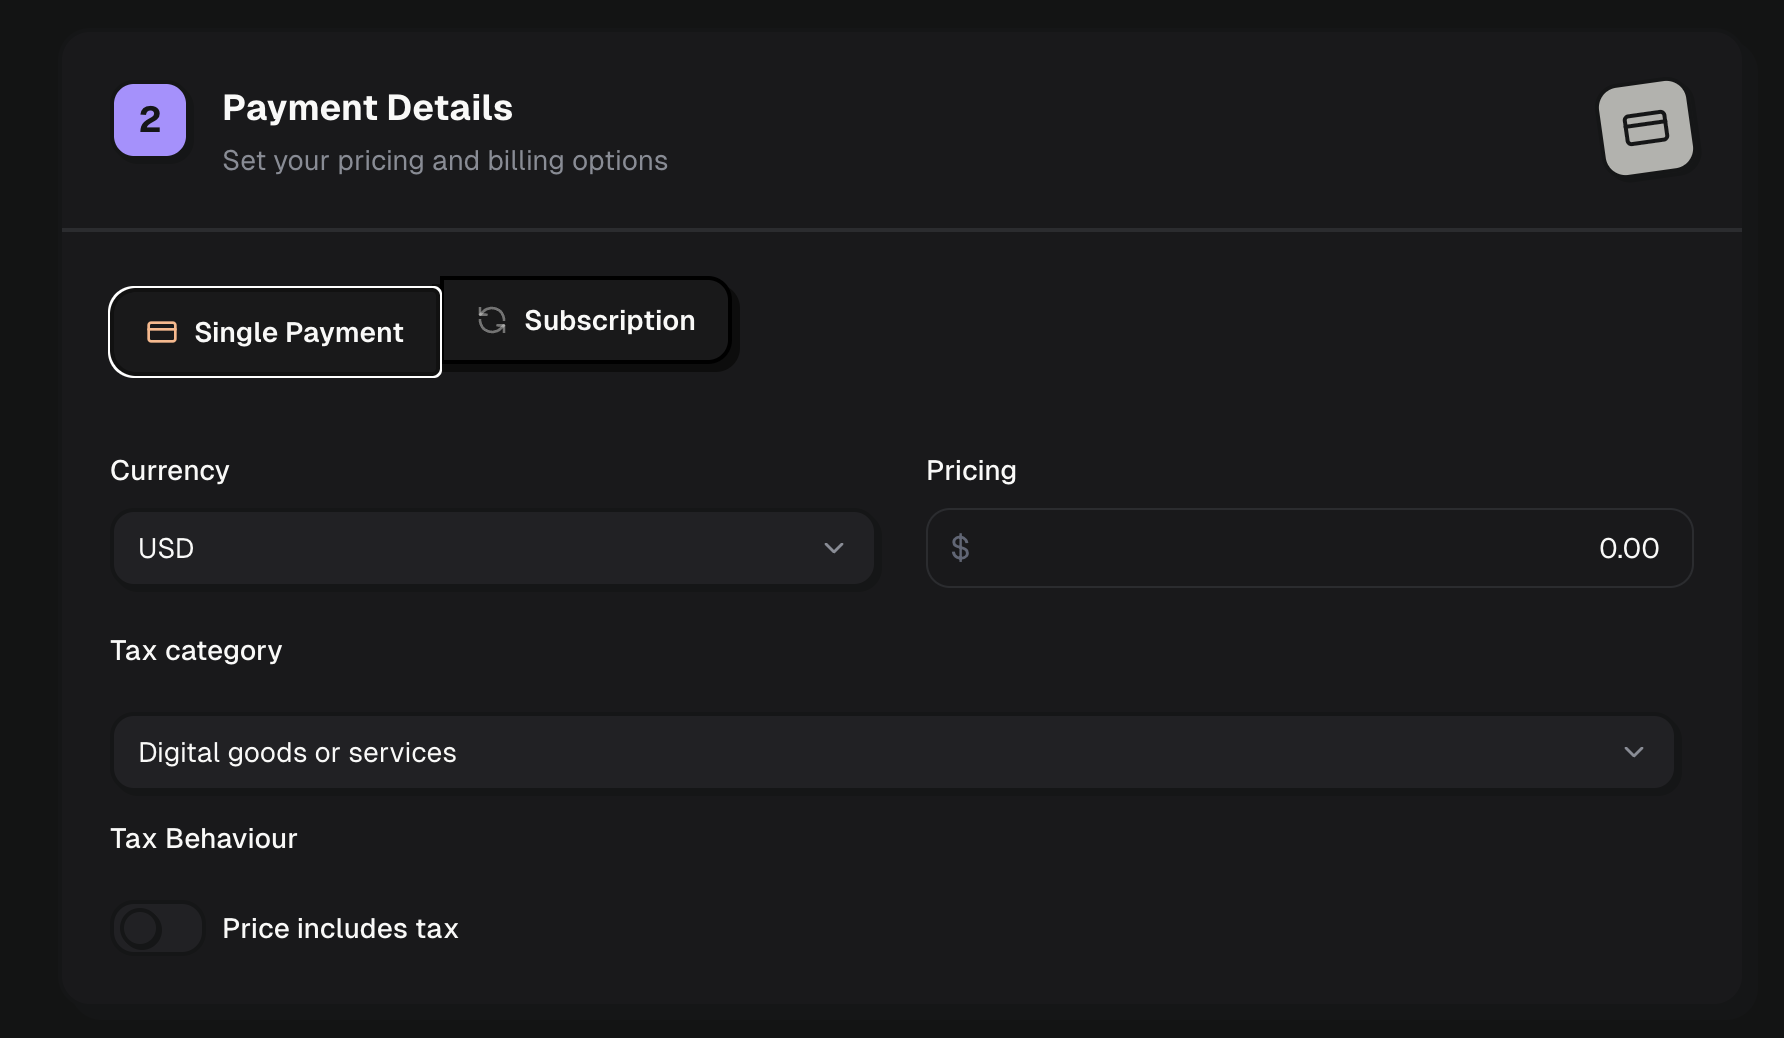
First, create your subscription plans & products or your one-time products in the admin panel and setup their prices.
Once you are done with that, it's time to create your plans and products in Creem.
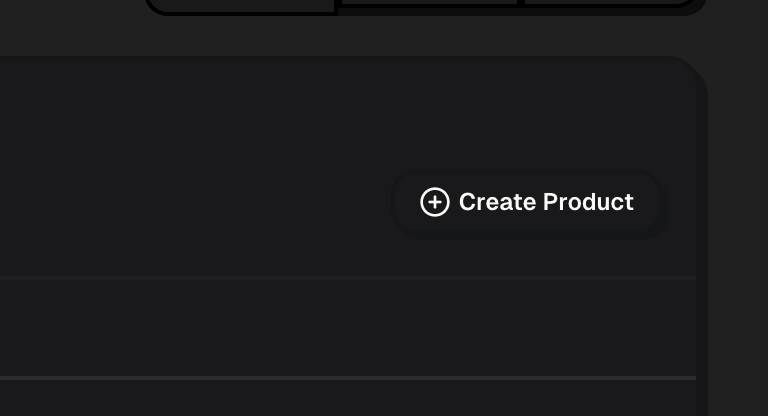
To do that, login to your Creem account and on the left menu, under "Commerce" click on "Products". Click on the "Create Product" button on the right to create a new product.
Flat-rate Subscription plans
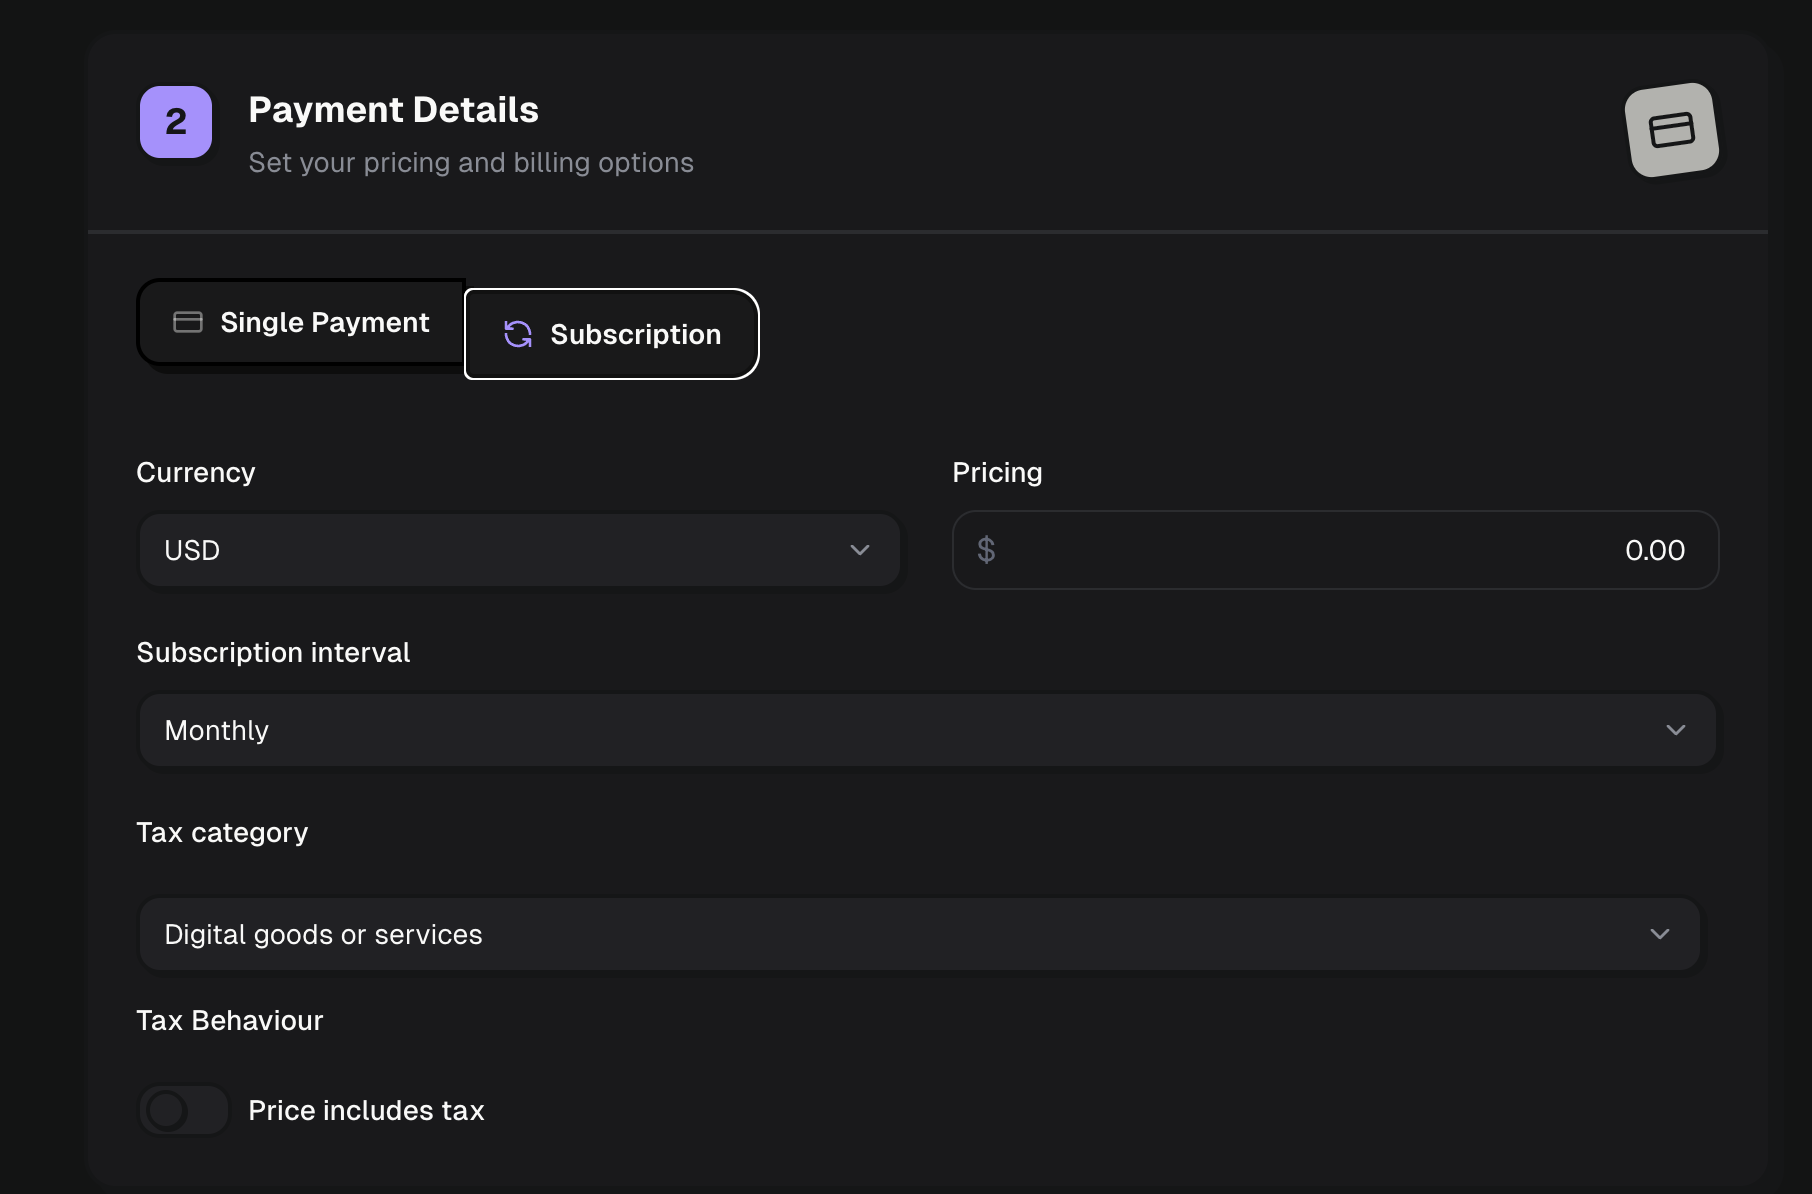
For flat-rate plans, just make sure that you choose "Subscription" for the pricing model and enter the price for the plan.
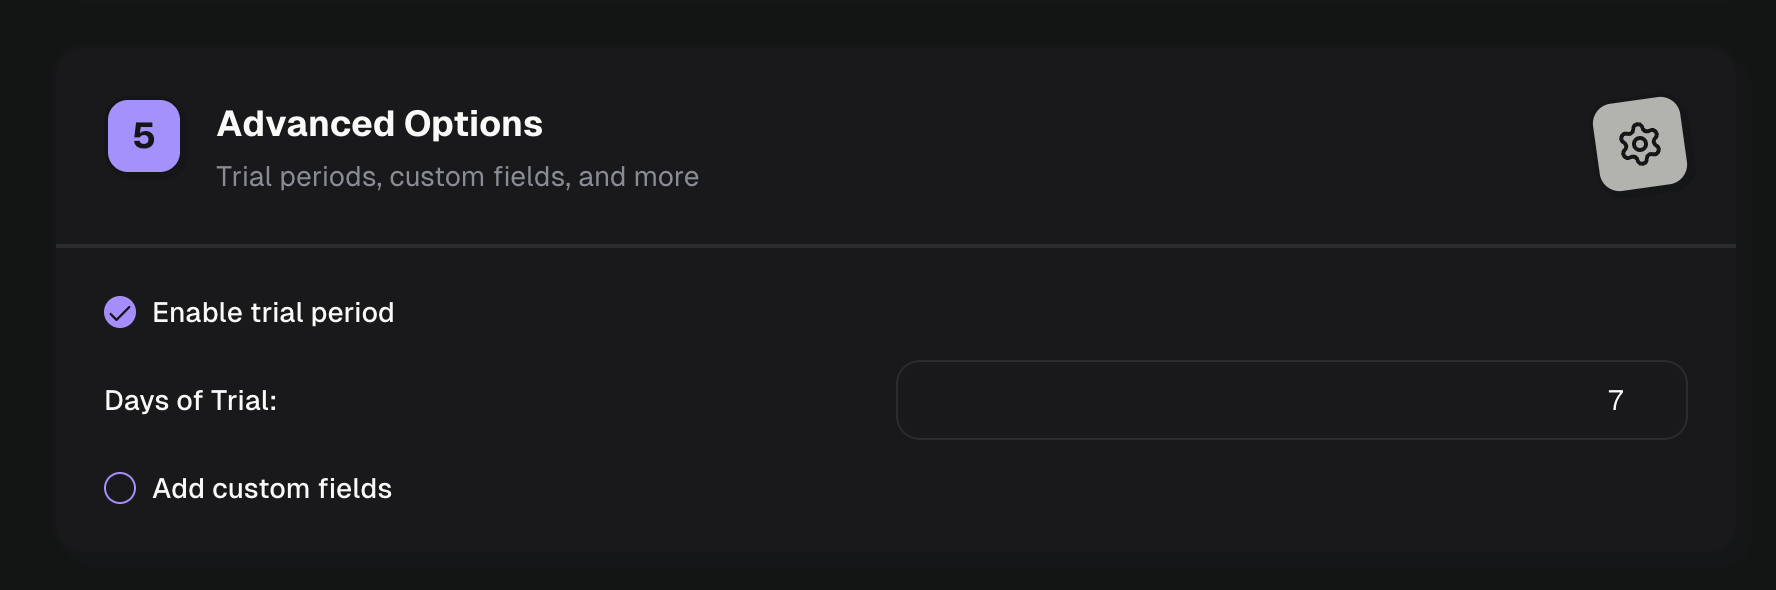
You can also add a trial period for the subscription by entering the number of trial days under "Advanced Options" >> "Enable trial period" in the "Days of Trial:" field.
Seat-based plans (SaaSykit Tenancy)
For seat-based plans, just make sure that you choose "Subscription" for the pricing model and enter the price for the plan. This will be the price per seat.
Usage-based plans
Creem doesn't support usage-based pricing model at the moment.
Setup fees
Creem doesn't support setup fees at the moment.
One-time purchase products
Just like subscriptions, if you are creating a one-time purchase product, you will only need to create one product and set its pricing model to "Single payment".
After you're done, we will need the "Product ID" of the product you have created.
To get the "Product ID":
On the product you created, click on the "Action menu" on the right of the product and click on "Copy Product ID".

This "Product ID" that you copied will have to be set in the admin panel in the product you have created.
Linking Creem Plans & Products to SaaSykit
For Subscription products, on SaaSykit admin panel, under "Product Management", click on "Plans". Click on the plan you want to link to Creem's product, scroll down and click on the "Payment Provider Data" tab.

Click on the "New Payment Provider Data" button.
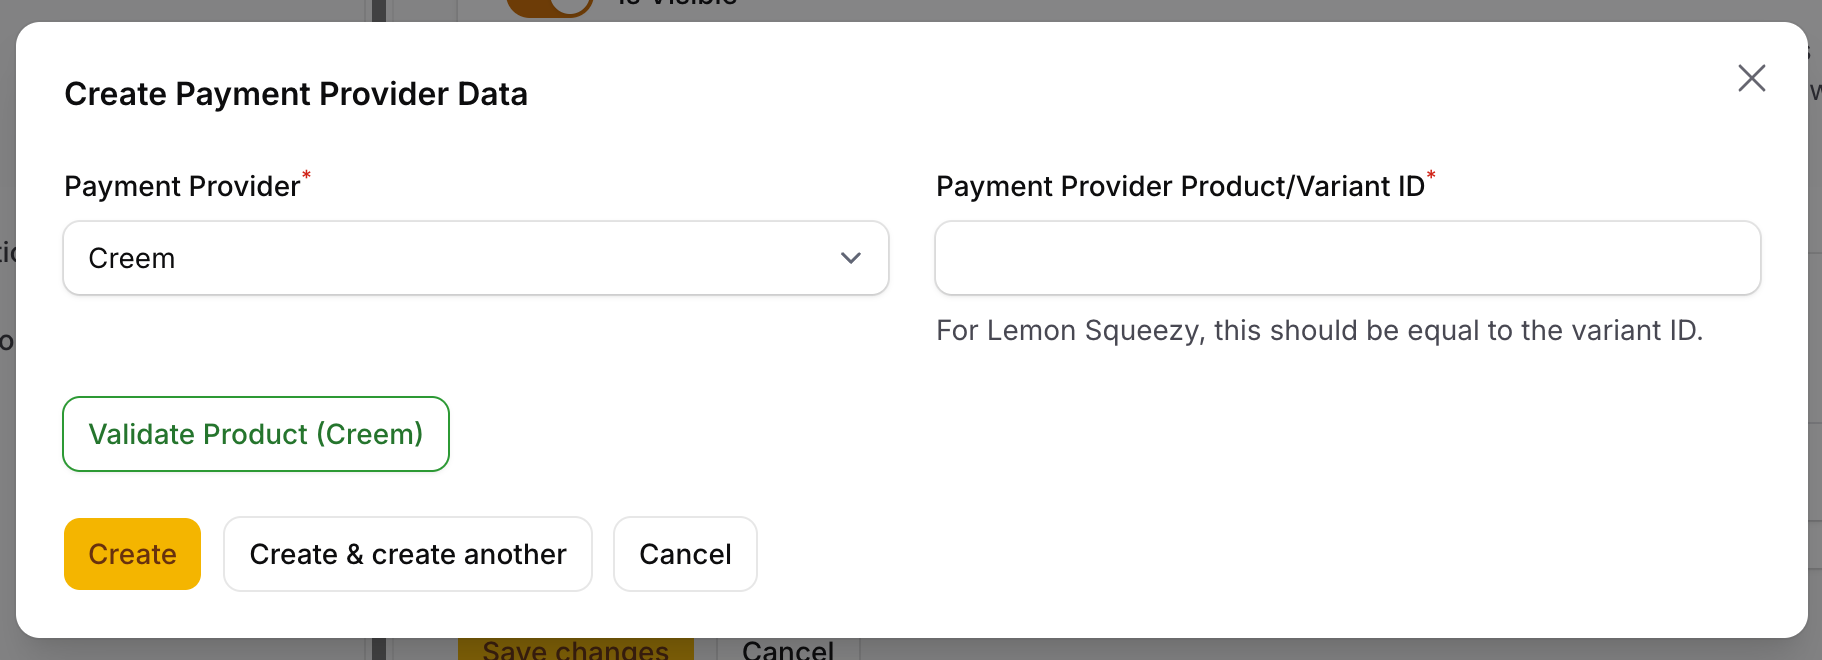
Set the "Payment Provider" to "Creem" and the "Payment Provider Product/Variant ID" to the "Product ID" you copied from Creem.
There is a button "Validate Product (Creem)" which you can click on to validate the product you have created in Creem with the product you have created in SaaSykit. This will give you a warning if any of the details that you have entered are not matching with the details in Creem.
Now click "Create" and you are done.
Linking Creem One-time Purchase Products to SaaSykit
For One-time purchase products, on SaaSykit admin panel, under "Product Management", click on "One-time Purchase Products".
Click on the product you want to link to Creem's variant, scroll down and click on the "Payment Provider Data" tab.
Click on the "New Payment Provider Data" button.
Set the "Payment Provider" to "Creem" and the "Payment Provider Product/Variant ID" to the "Product ID" you copied from Creem.
There is a button "Validate Product (Creem)" which you can click on to validate the product you have created in Creem with the product you have created in SaaSykit. This will give you a warning if any of the details that you have entered are not matching with the details in Creem.
Now click "Create" and you are done.