Polar
SaaSykit comes with support for Polar out of the box. This allows you to start accepting payments from your customers right away.
First, you will need to create a Polar account. Once you have created your account, you will need to get your credentials from Polar.
Getting Polar Credentials
-
Open your Polar dashboard, then under "Settings", scroll to "Developers", then click on "Create Token" button.
Give your Token a name, and pick a suitable expiration date (or just select "No expiration" if you prefer) and click on "Select Add" for the scopes, then click on "Create Key", then click "Creat Token". Copy the generated token, you will need it to connect your Polar account to your application.

-
Under "Settings" Click on "Webhooks", then click on "Add Endpoint".
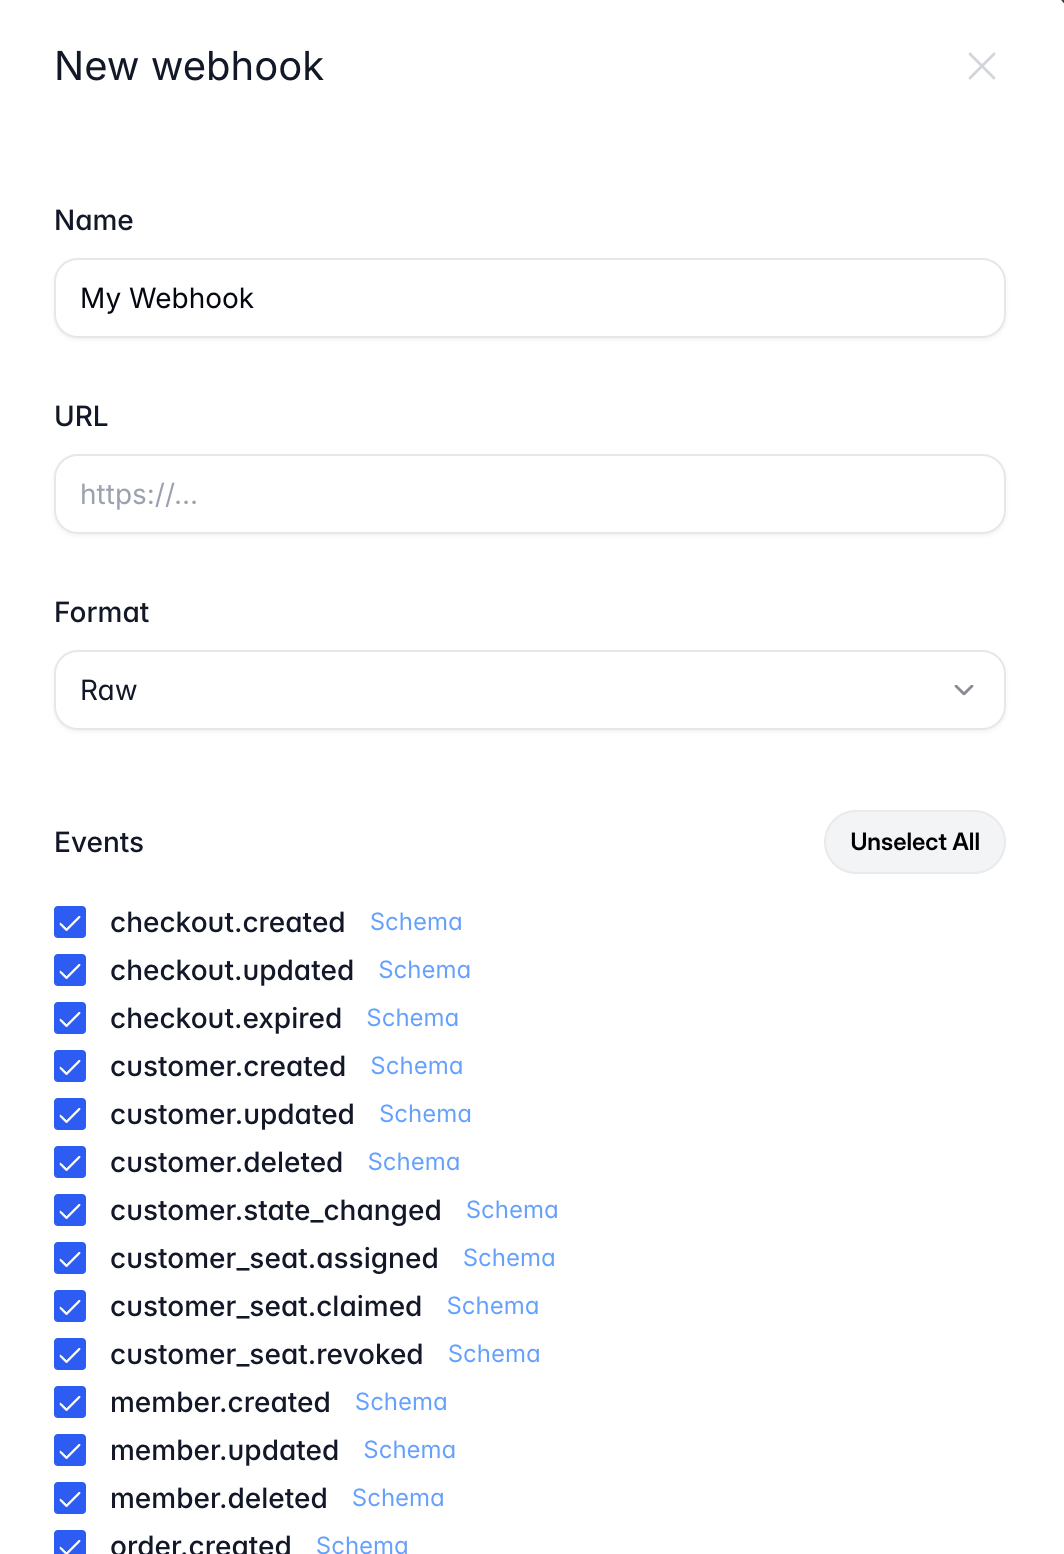
Give it a name, and then in the "URL" field, enter the following URL:
https://yourwebsite.com/api/payments-providers/polar/webhookReplace "https://yourwebsite.com" with your actual domain name.
For development environment, you might want to use ngrok to forward webhooks to your local server. You can check the Payment Webhooks documentation for more details on how to do that.
Select All "Events" and click on "Create".
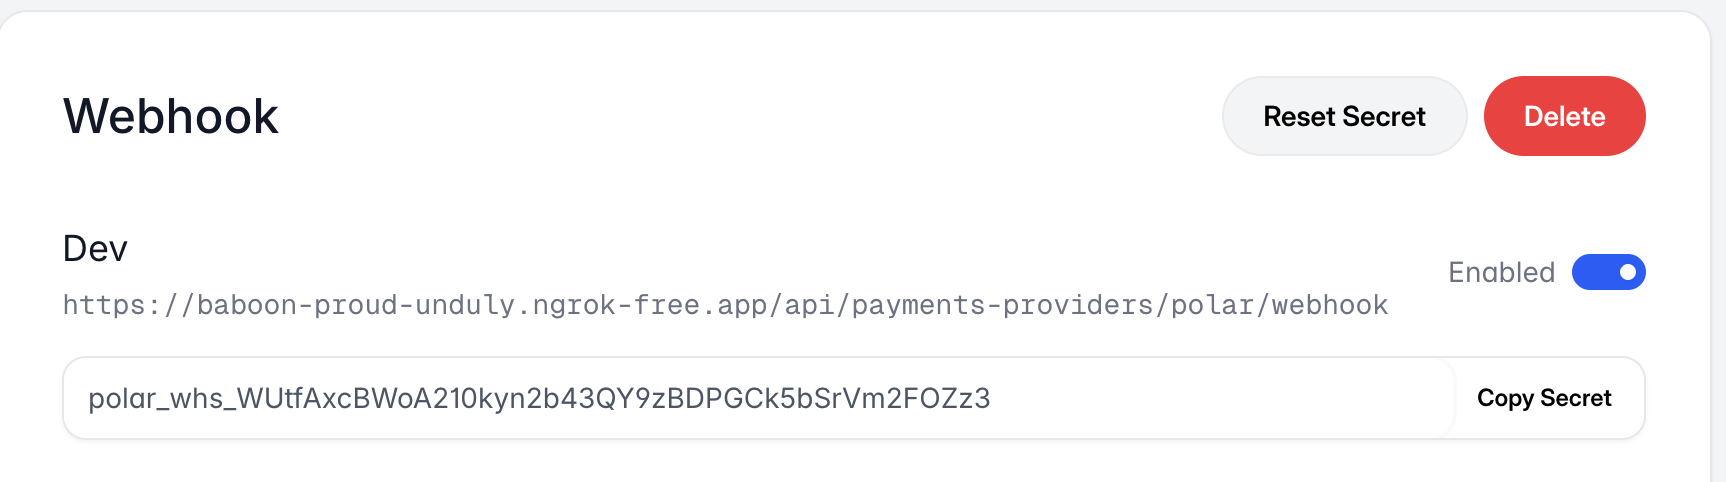
Now open the webhook you just created and copy the "Secret", you will need it to connect your Polar account to your application.
-
In the Admin Panel and under "Settings" click on "Payment Providers". You will be redirected to the payment providers settings page.
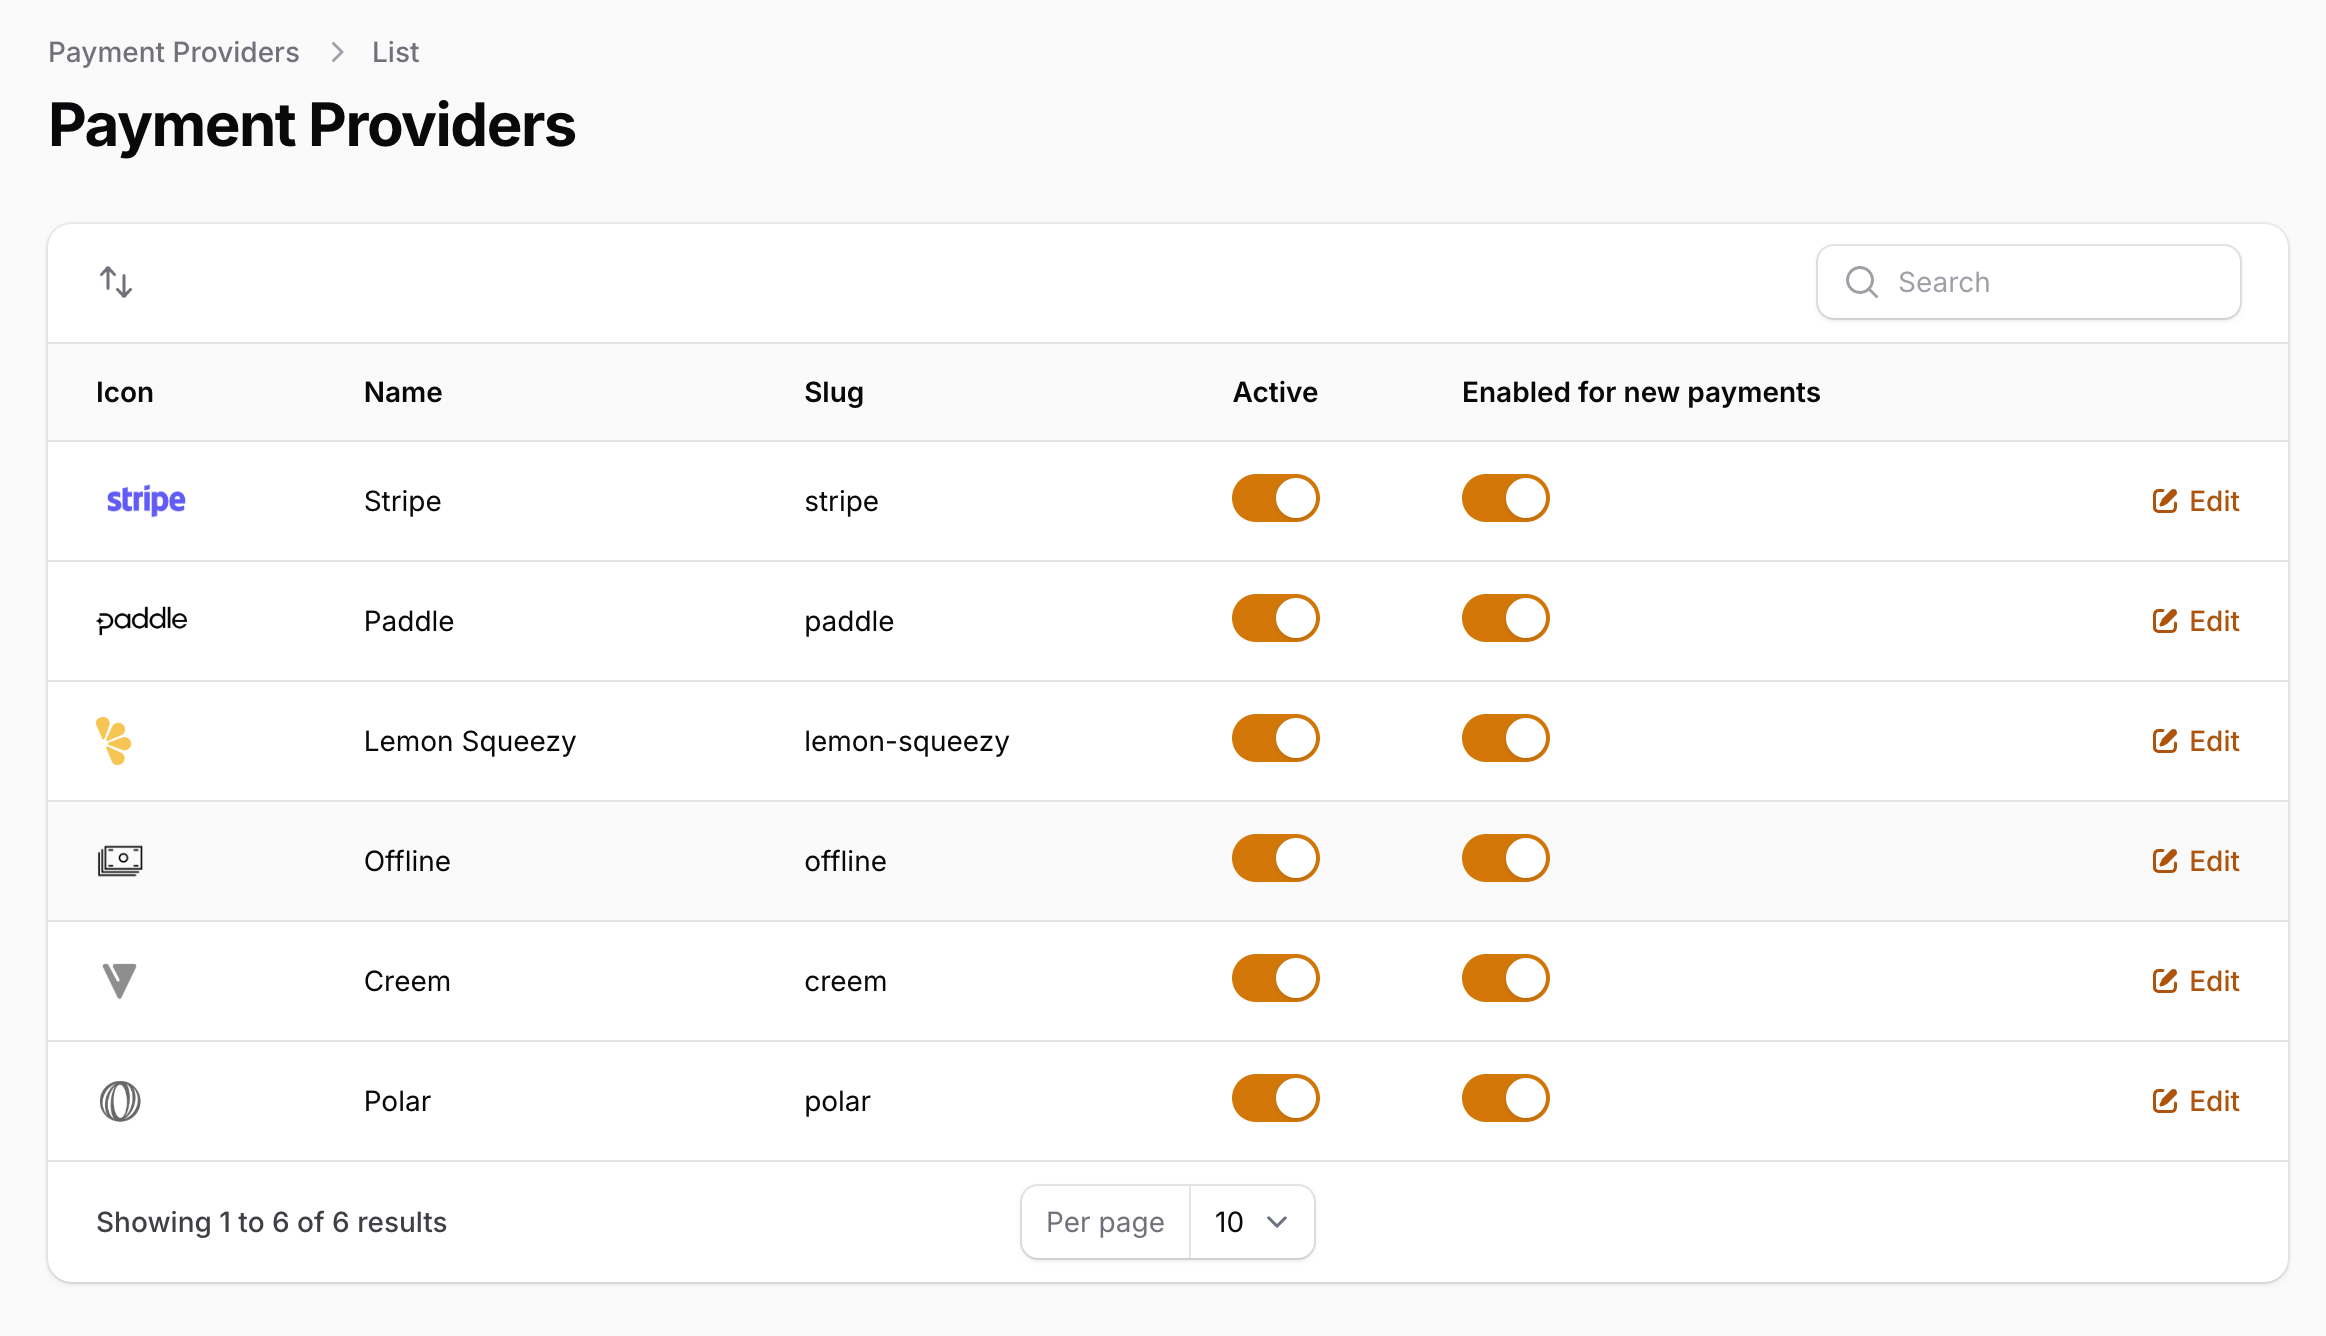
Click on "Polar" and using the toggle "is active" you can enable/disable the payment provider. (Don't forget to click "Save" after you make any changes).
Once you enable Polar, you will need to configure the credentials for it. To do that, click on the payment provider you want to configure, then click on "Edit credentials". You will be redirected to the payment provider credentials page.
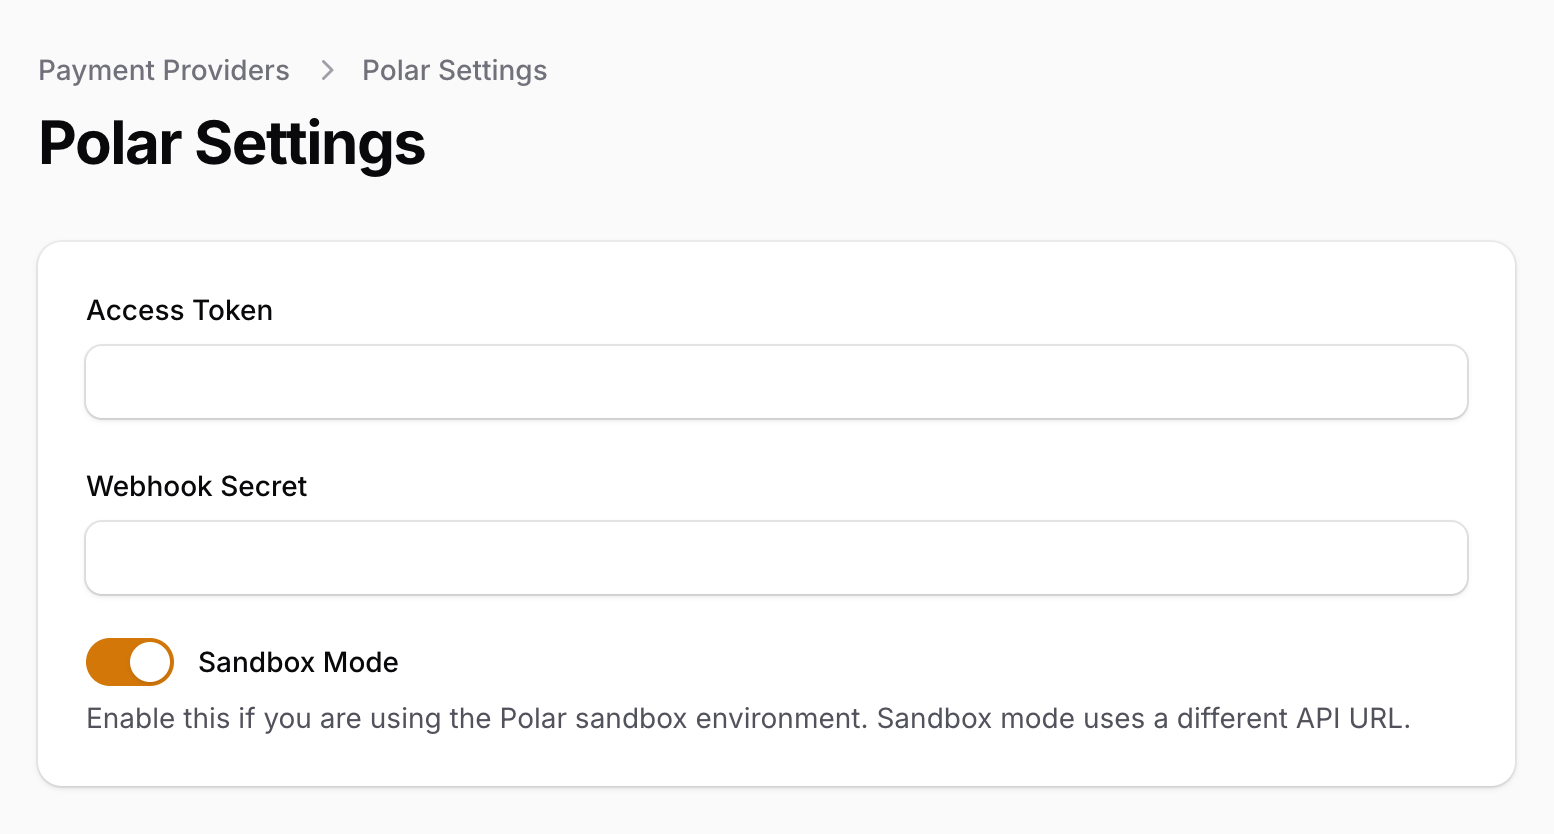
You will need to copy some values from your Polar account to your application to be able to connect it.
- Copy the token you generated in step 1 and paste it in the "Access Token" field.
- Copy the webhook signing secret you copied in step 2 and paste it in the "Webhook Secret" field.
- If you're on development environment, toggle "Is Sandbox Mode" to enable test mode, otherwise, leave it disabled for production environment.
- Click on "Save" to save your changes and you're good to go.
And that's it! You have successfully connected your Polar account to your application. You can now start accepting payments from your customers using Polar.